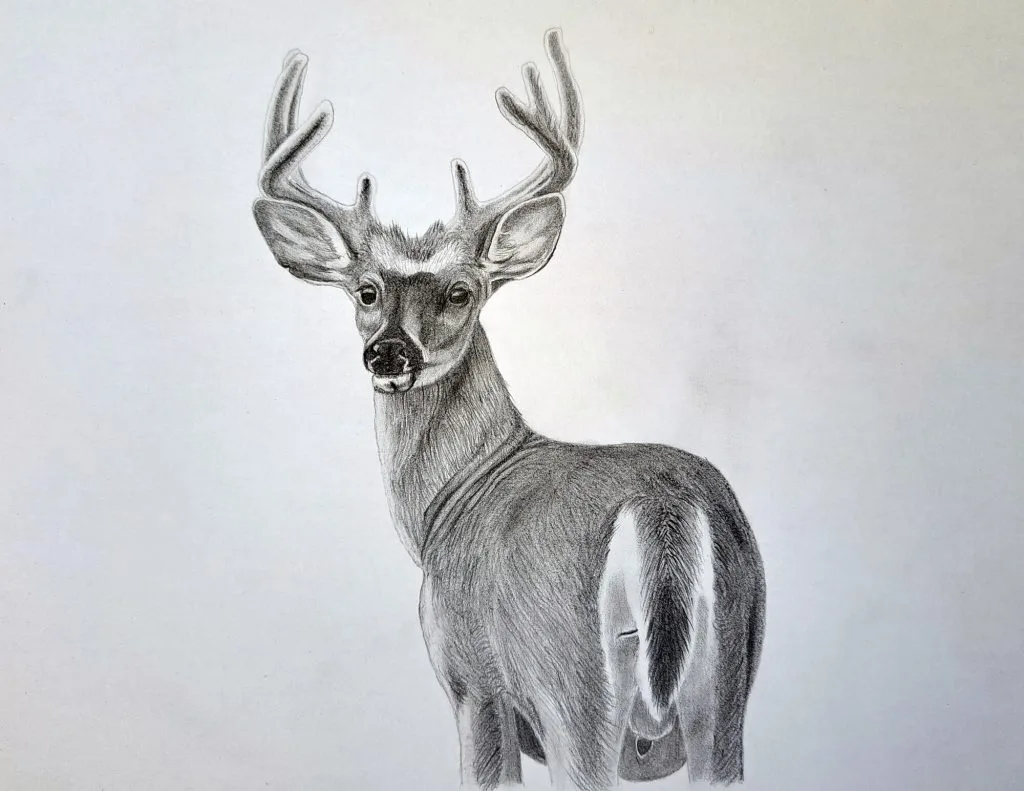
To quote Marc Chagall, ‘Great art picks up where nature ends.’
This is where most of us draw our inspiration, get the ideas, and the energy to execute. It is slowly becoming an obsession of mine to find things in nature that I can sketch and draw.
It’s for this reason that I’m excited to take a stab at drawing a deer – one of the cutest animals in existence, in my opinion.
Besides, this is one animal that is endangered in some regions while in other regions like Canada and the United States, it has become a pest in suburbs and cities. As artists, our work isn’t to just create art but to learn about our subjects and appreciate their significance in our lives.
Enough said:
Here’s an easy tutorial on how to draw a deer realistically using graphite pencils.
Drawing a Deer Step-by-Step
Sketching the general shape in 2D (2H Graphite Pencil)
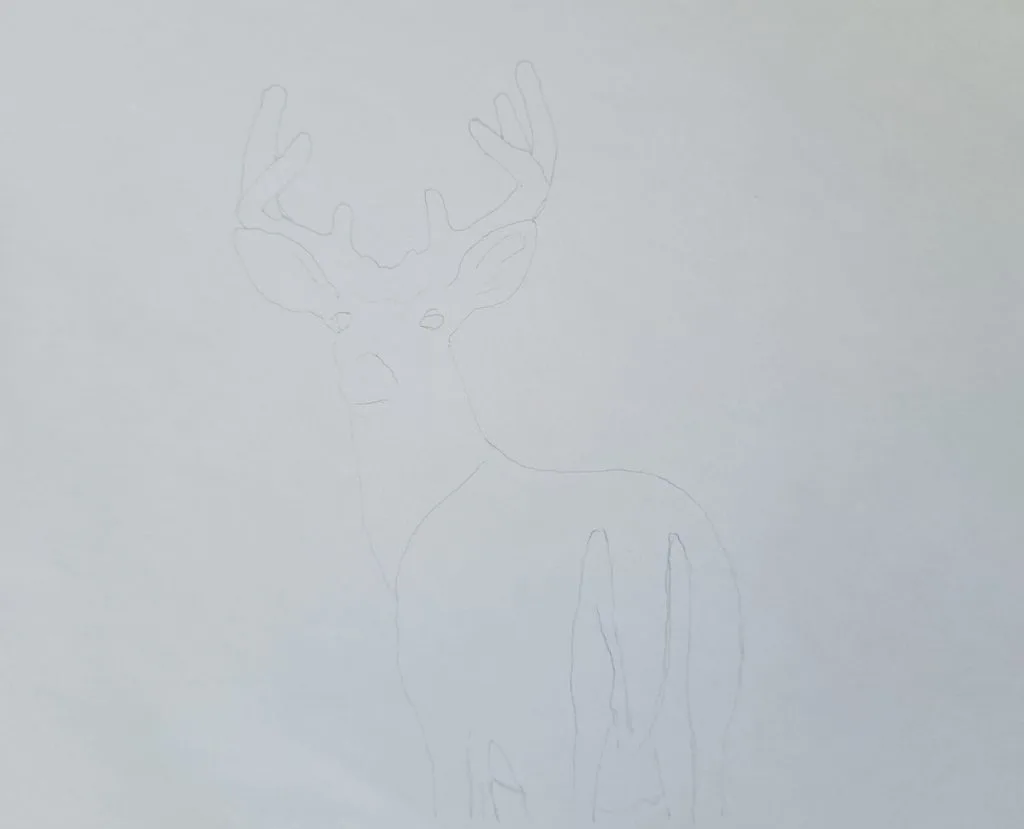
Before we begin, get yourself a reference photo that is well lit and you can see all the details as clearly as possible. Then take around thirty (30) minutes to observe and study it.
Pay attention to the whole before looking at the details (study the whole and then the sum of its parts). This is very important in ensuring that once you start sketching, you won’t miss any detail.
Next, sketch the general shape of the head and the antlers, slowly moving down to the neck and body. Notice in my drawing, that the head is fused with the neck in the shape of a cylinder and the body is round like a circle.
Sketching the details (H Graphite Pencil)
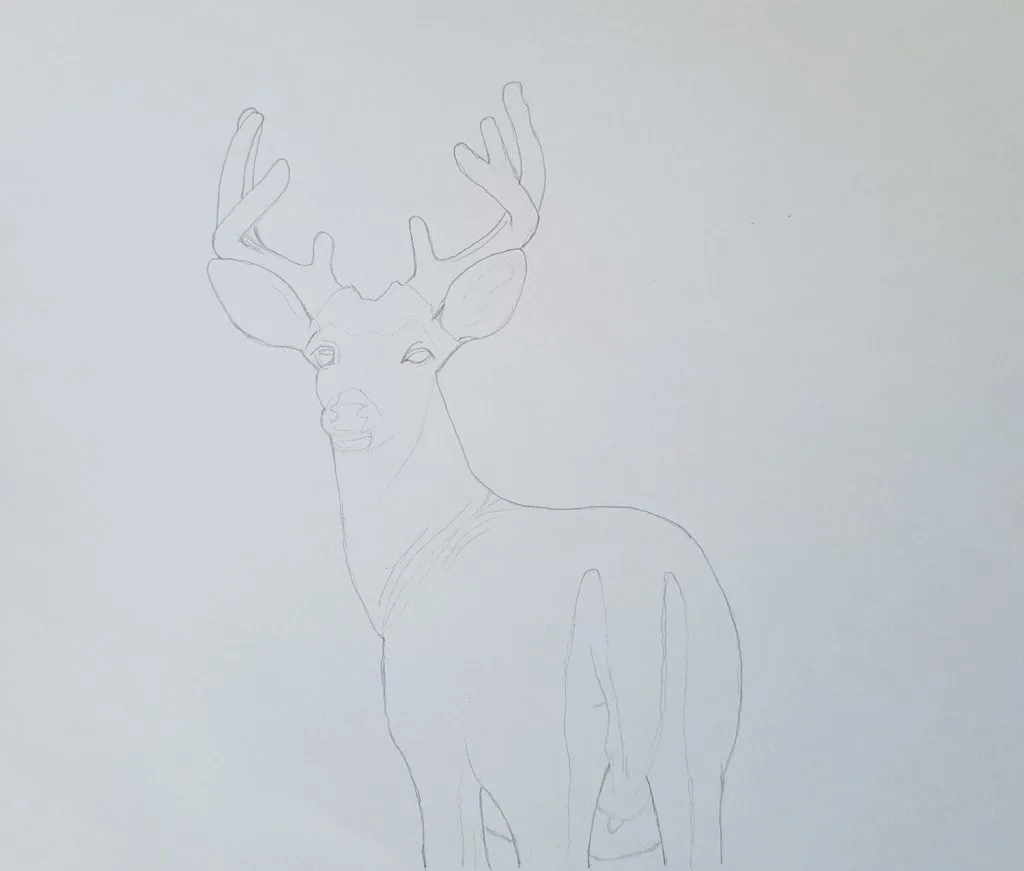
In this step, we need to start refining our previous sketch by clearly drawing the antlers, the ears, the eyes, and the nose. You can also take this opportunity to sketch out the wrinkles on the neck, the tail, and the abdomen.
After this step, your drawing should start to look realistic. Now, take a few more minutes to compare your sketch with the reference photo to see if you’ve captured everything right.
Remember, the initial steps are the easiest but also the most important. If you make a mistake now and realize it, you can easily correct it by erasing as needed.
However, if you notice later on, your best option is to start all over again. Therefore, take your time.
Basic Shading 2D (HB Pencil)
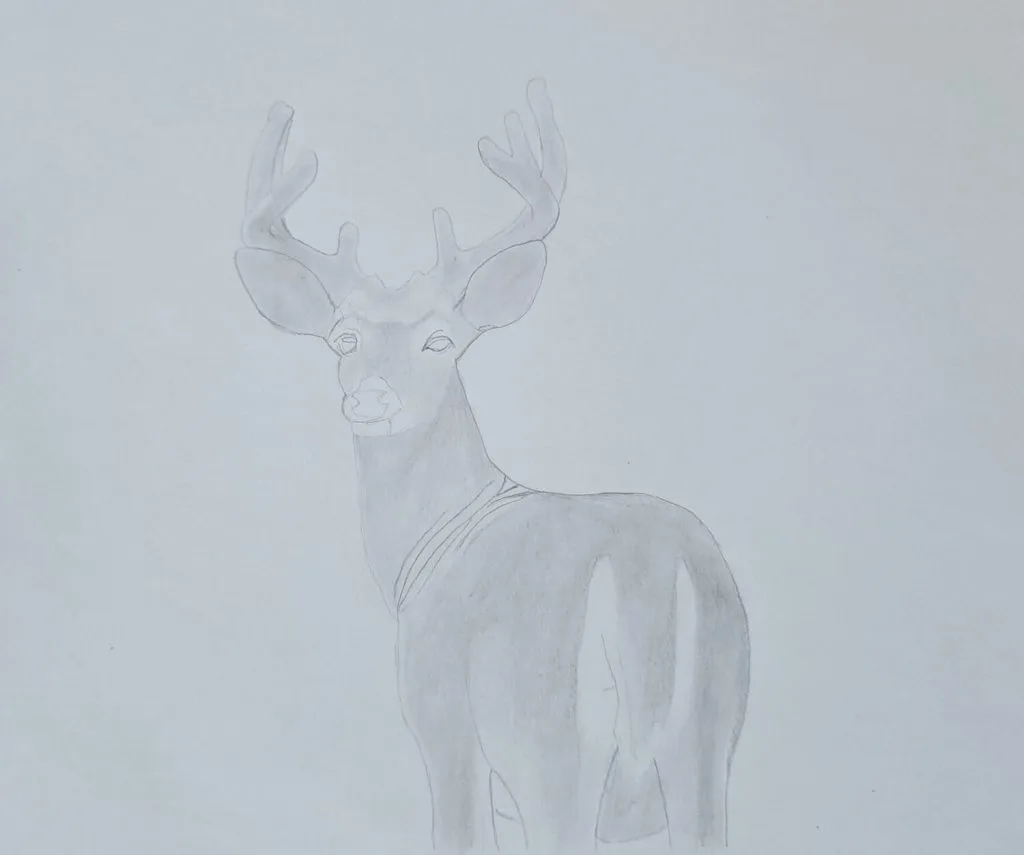
Start rendering your sketching by shading using an HB pencil. Hold it lightly and shade it uniformly starting with the antlers, the ears, around the deer’s face, and the rest of the body.
Once you’re satisfied, blend to attain a smoother finish. You can use a serviette or tissue wrapped around your finger. But I prefer the good old Q-tip.
Leave out any areas that require finer details like the eyes, nose, and around the tail.
Shading the Dark Details (5B Graphite Pencil)
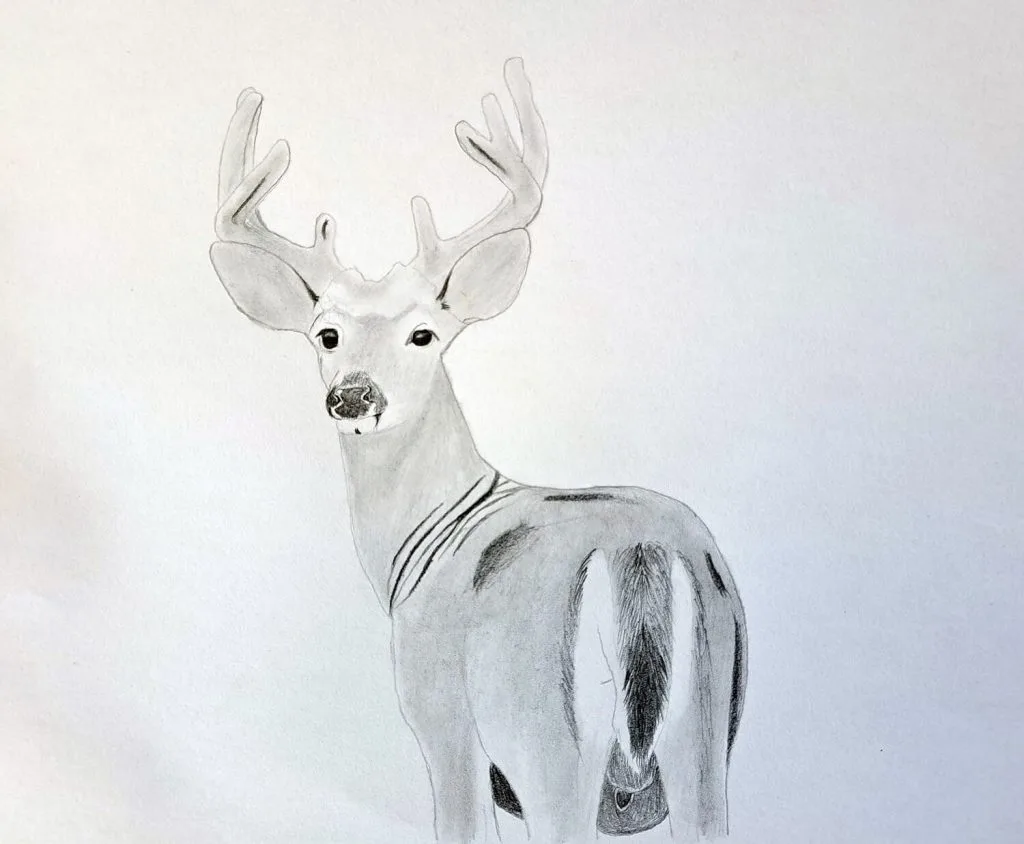
In this step, begin by identifying all the dark areas including the eyes, nose, tail, underside, and wrinkles. When drawing animals, I always like to start shading these dark areas first before the midtones and highlights.
When shading the eyes, remember to leave out the highlights (light reflection). Again, you need to blend after shading. However, use a precise blending stump rather than a Q-tip or tissue.
Shading the Deer’s face and Neck (B Graphite Pencil)
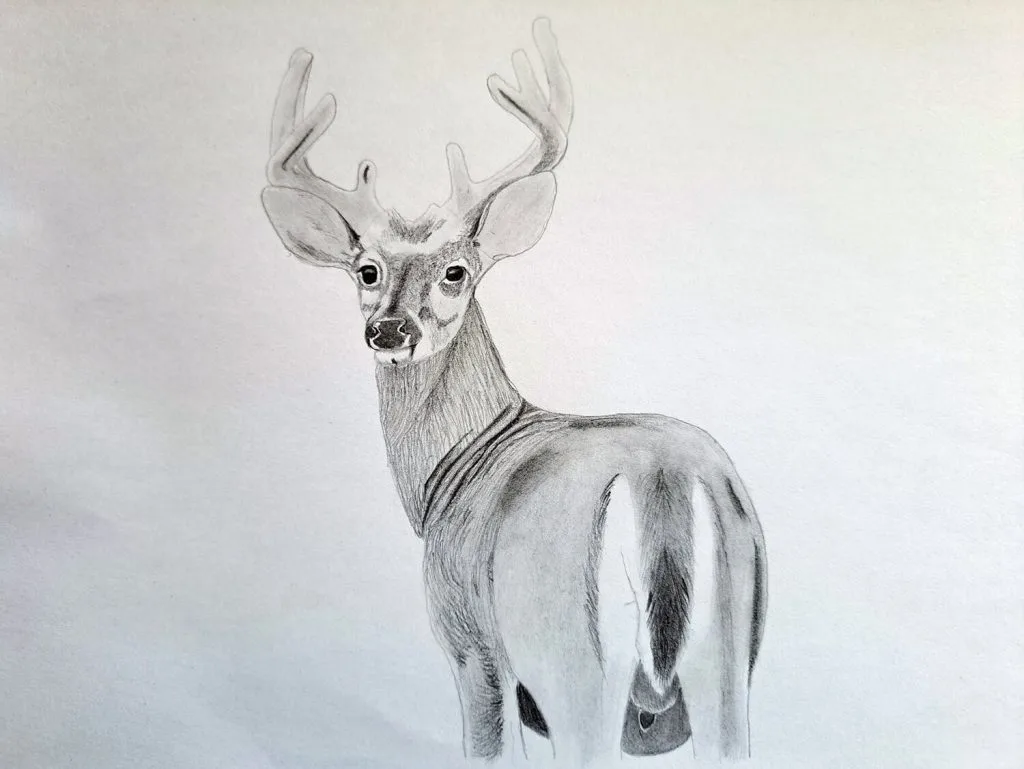
Start shading and defining the deer’s face ensuring you pay attention to the light source and how it’s interacting with different areas.
Then continue shading the neck with precise strokes to represent the hair. Make sure you’ve properly sharpened your pencil before doing this.
Shading the Body (B Pencil)
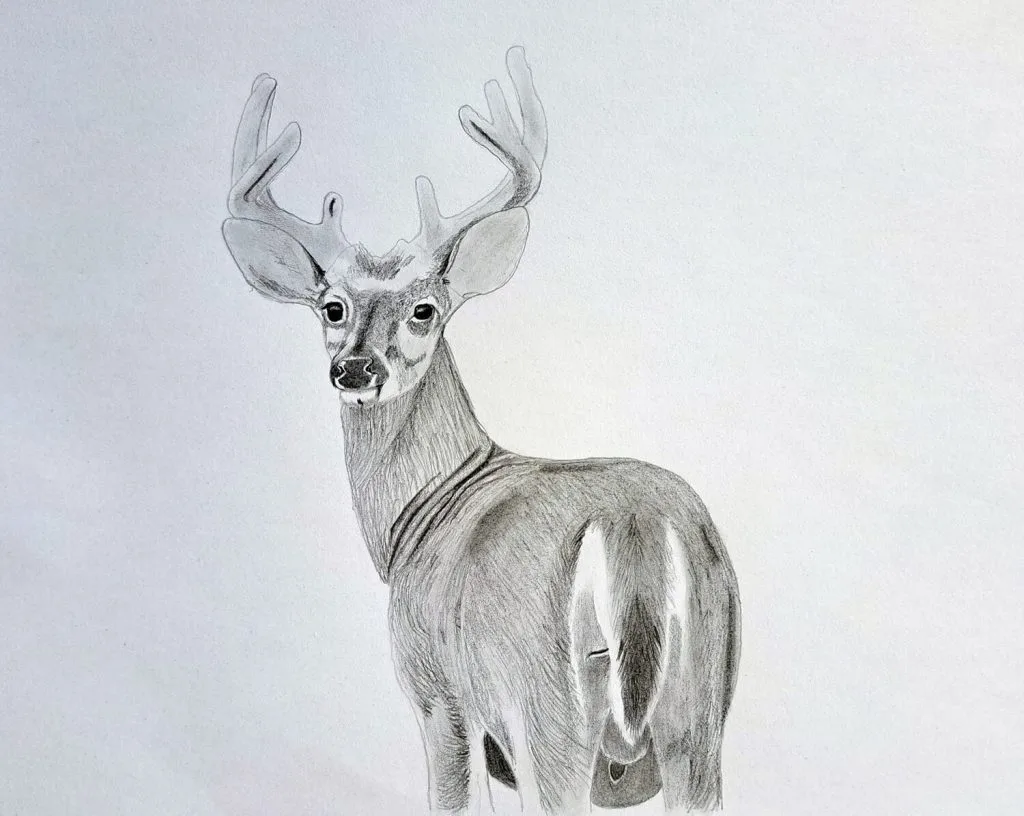
This is a continuation of the previous step.
Note the direction of the hair across different areas of the body including the legs, abdomen, tail, etc. Notice that there are areas where the hair is shorter than others.
Shading the Antlers (B Pencil)
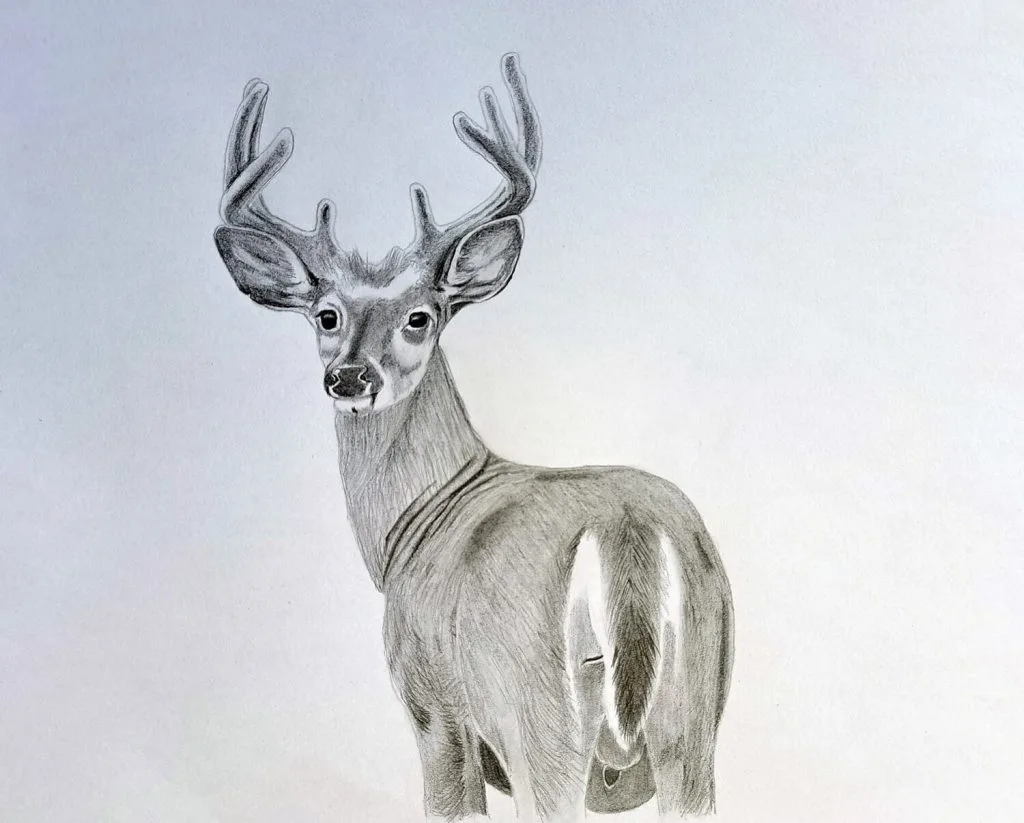
For the antlers, notice the midsections are darker than the edges and shade according. Because we’re using the same pencil, you can vary the degree of the value scale by either pressing or lifting the pressure on the pencil.
After all is done, get a blending tool of your choice and smudge the graphite to smoothen the drawing.
Final Shading
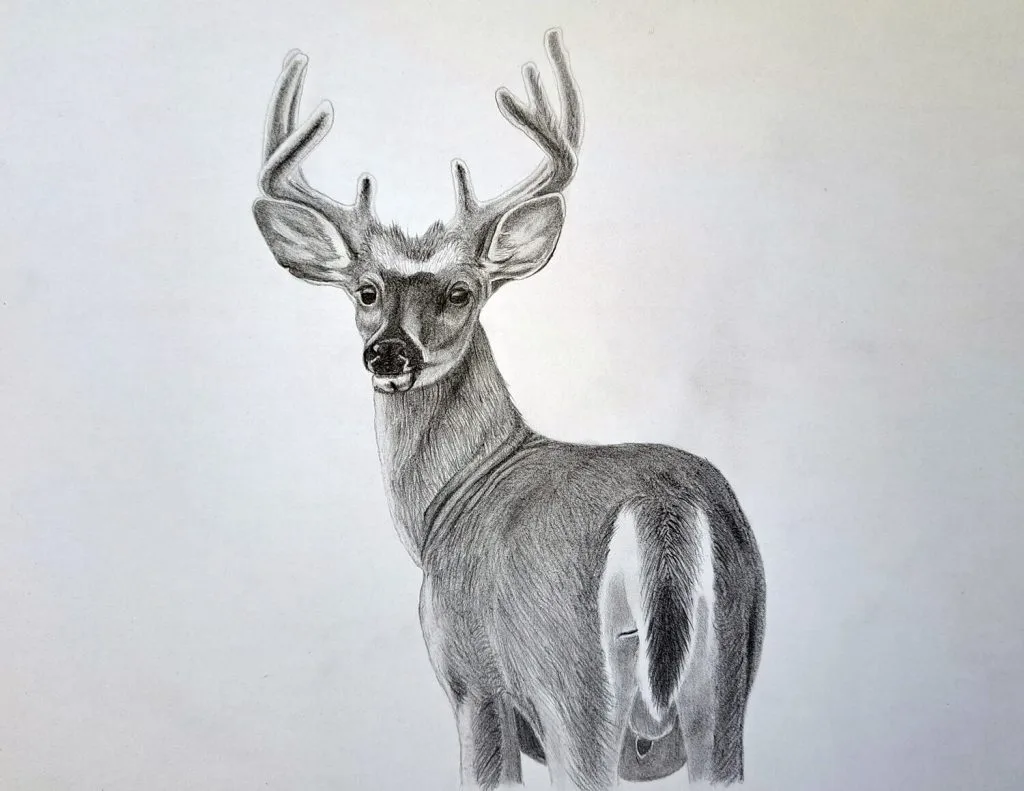
To wind up, you need to do a few things. First, use a kneadable eraser to whiten the highlights by erasing excess graphite.
Secondly, get a 5B pencil and darken areas that still seem lighter. Lastly, shade the whole body with delicate strokes of the pencil to build in even more hair since most of had been smudged in the previous step.
This will also help in building more volume and making the drawing truly realistic and 3-dimensional.
Conclusion
And that is how to draw a realistic deer using easy-to-follow steps. Always remember that you’re never done drawing and making your work better.
You just decide to end it there and focus on other things. But you can always come back and make it even better. That’s what I’m always doing with my drawings.

