If you’re looking for easy drawing ideas to keep your creative juices flowing, drawing butterflies will give you exactly that.
Especially the monarch butterfly.
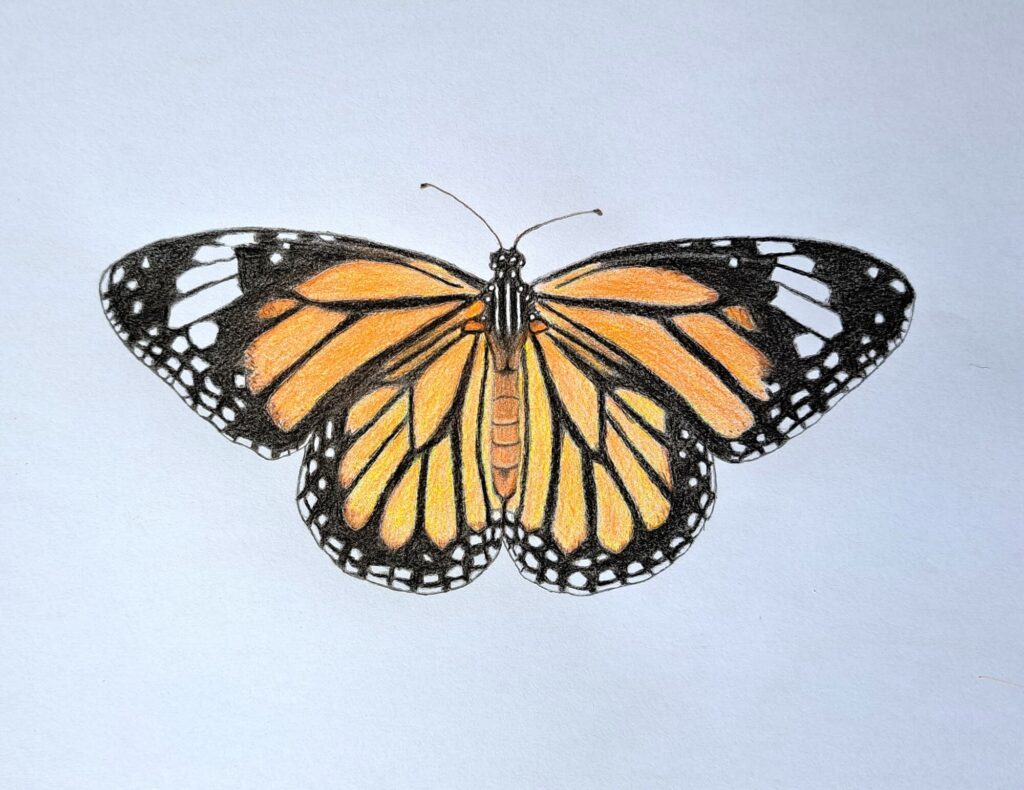
These beautiful organisms possess two pairs of brilliant orange-red wings, featuring black veins and white spots along the edges. This is perfect for improving your coloring skills.
I have a detailed guide on how to draw beautiful monarch butterflies using graphite pencils, and this is part two of that tutorial. If you missed it, I suggest starting from there, since I won’t be going into sketching details.
Let’s get started.
Drawing Monarch Butterfly with Colored Pencils
Materials Used
3H Graphite pencil for sketching
M&G Orange Pencil
M&G Yellow Pencil
M&G Black Pencil
An eraser during sketching (Any will do)
Note: The point is, you don’t need any fancy or expensive pencils (they’re great by the way) to pull this off. Therefore, you’re free to use any colored pencil brand of your choice and availability.
Step 1: Begin with a sketch
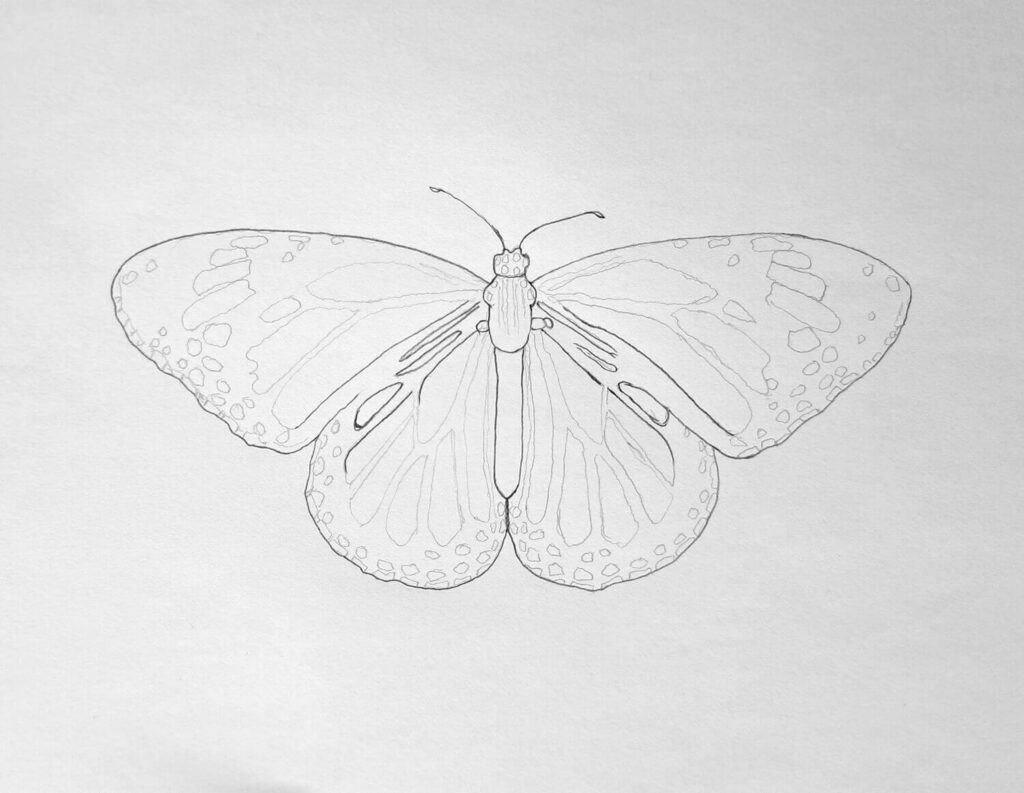
It’s always important to start with a general outline of the butterfly. I’ll not explain the sketching process, but you can check out the guide with the link provided in the introduction.
All the same, remember to have a light sketch that you can erase as much as needed. Alternatively, I understand that not everyone is a fan of sketching or most just want to jump into coloring.
In such a case, you can download my sketch and follow along in the next steps.
Step 2: Coloring the orange wings
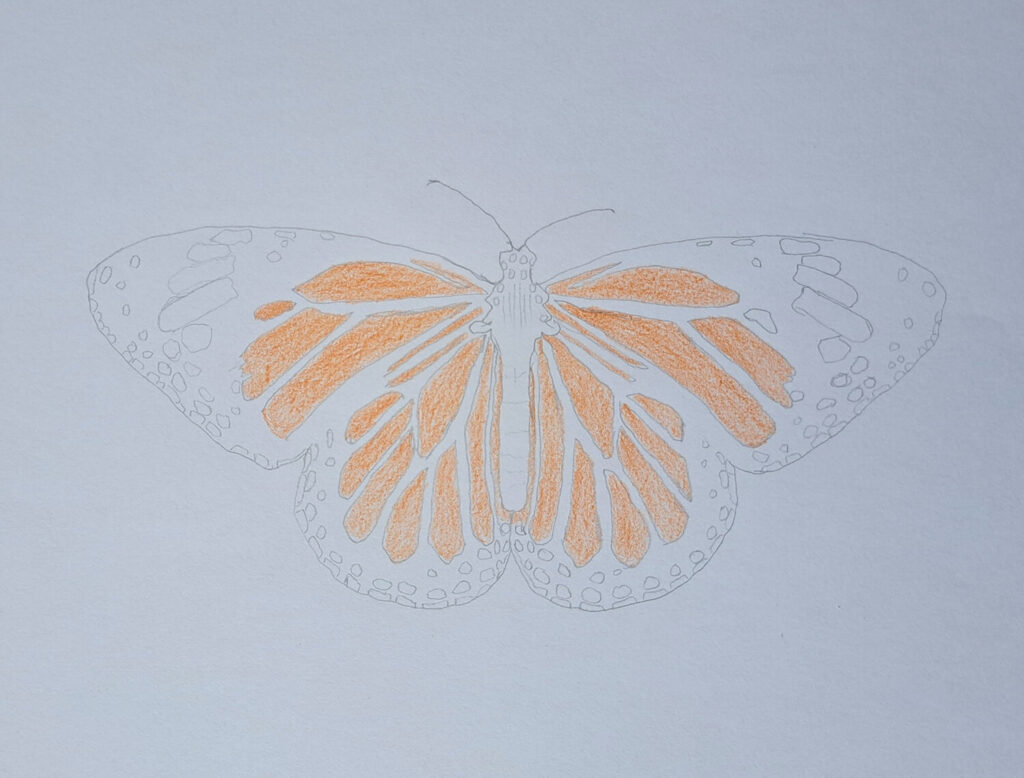
When it comes to working with colored pencils, layering is everything.
Begin with the most dominant color (orange in this case), shading lightly to avoid early commitment. This is because, unlike graphite or charcoal, correcting a wrong shade of color later on is quite a hassle.
It’s okay if the drawing looks dull and faded for now, but by all means, make it light.
Step 3: Coloring the black and white wing edges
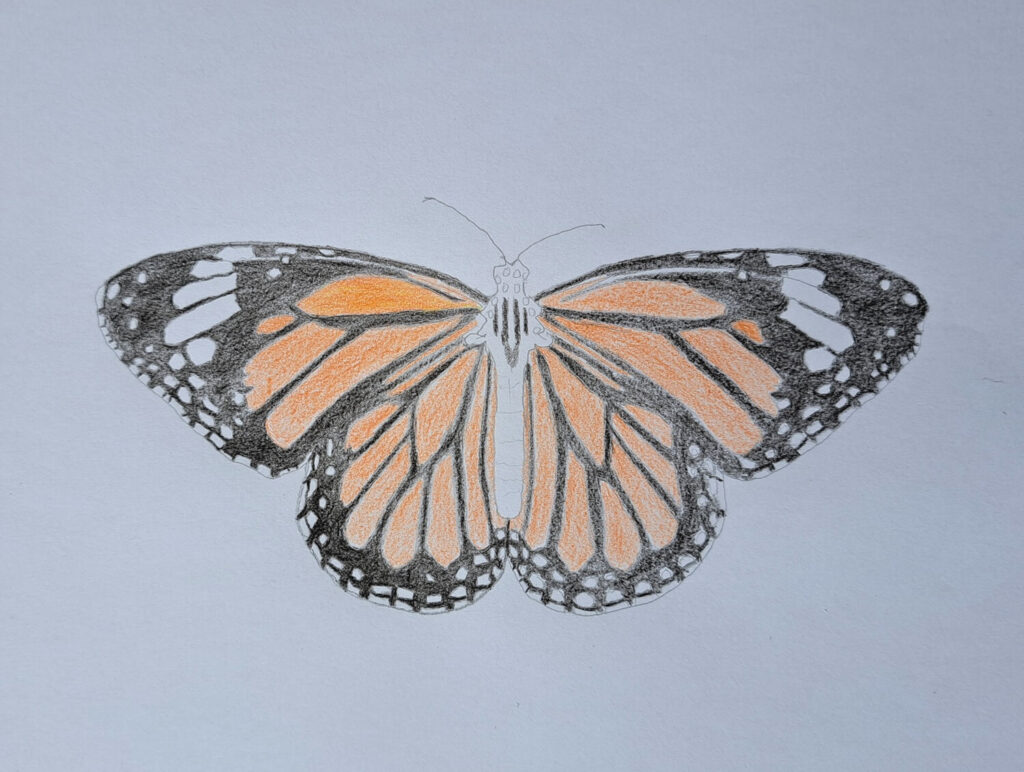
This is the trickiest part, in my humble opinion. However, if you have white color or white gel, it’s quite easy. But in our case, we want to achieve similar results with minimum cost on drawing materials.
Therefore, use negative space coloring, which involves shading around the white dots and marks with the black pencil, creating an illusion of whiteness.
Alternatively, you can shade the veins and edges black and later mark out all those white markings and dots. The key thing is to do it as light as possible initially.
Step 4: Coloring with a yellow pencil

At this point, the butterfly wings are beginning to appear life-like.
However, they’re not as intense as we’d like. The next step, therefore, is to get your yellow and color a second layer on top of the orange. This will create that fiery effect on the wings.
You can keep going from yellow to orange until you achieve the desired shade and effect.
Step 5: Complete coloring the butterfly

The last and final step involves coloring the butterfly’s body. Begin with the head and thorax, which have their signature polka dot appearance.
Use a well-sharpened black pencil to color the white and black strips on the back. The target is to shade while leaving white areas untouched.
Lastly, add another layer of black color to the veins and wing edges for extra contrast.
Conclusion
One thing I love about monarch butterflies is their resilience. They exhibit the most highly evolved migration pattern of any known species of butterfly or moth and perhaps any known insect.
And not just that, they’re great drawing subjects for when you’ve run out of ideas.
If you want to learn how you can help conserve this species of butterflies, check out this feature.
I hope you’ve enjoyed this tutorial. If so, consider repinning on Pinterest so that others can also find it. Whichever way, great to have you here as always.