Did you know that Antarctic penguins are likely to disappear or have their populations significantly reduced if climate change concerns aren’t addressed?
Well, that’s according to a study done by WWF, and you can read all about it here.
That aside, penguins are some of the most unique aquatic birds that are expert swimmers. In my opinion, their cuteness is only rivaled by that of the panda bear.
To honor these gorgeous animals, we’re going to learn how to draw a penguin using graphite pencils.
Shall we?
How to Draw a Penguin Step by Step
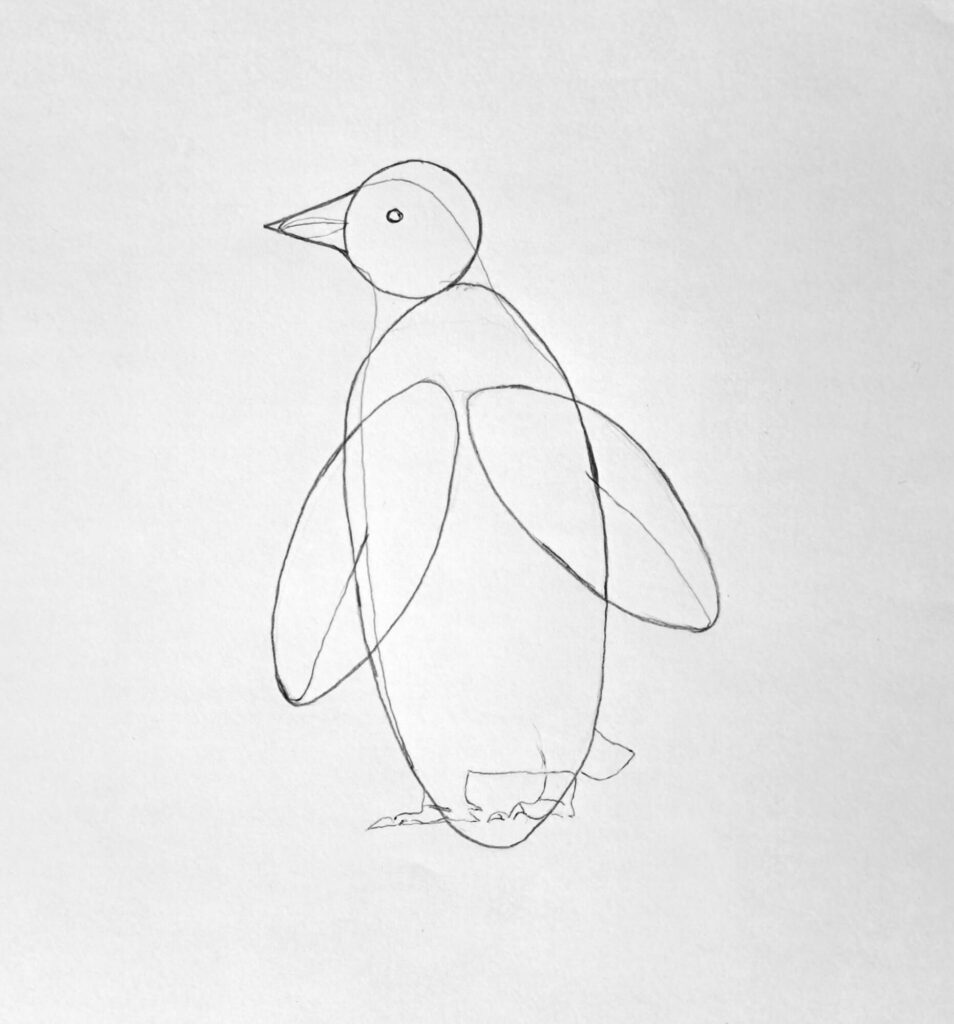
Step 1: Sketch the Basic Guiding Shapes

Before any details, I always slow down and block things in with simple shapes. This step feels boring, but skipping it causes most proportion problems later.
Start with three main ovals. One large vertical oval for the body, slightly wider at the bottom. Two smaller, flatter ovals on the sides for the flippers. Keep them loose and light.
Next, add a circle for the head, sitting slightly forward on the body, not centered. Penguins lean forward naturally, and this tilt matters. Finish with a small triangle for the beak, angled parallel to the ground (depending on your subject).
Step 2: Outline the Shape of the Penguin
Once the guides feel right, start connecting them into a clean outline. Don’t trace the shapes exactly. Instead, use them as scaffolding.
Soften the body edges and let the belly bulge slightly forward. Penguins aren’t sleek. They’re dense, insulated, and rounded. That fullness is what makes them believable.
Refine the flippers by tapering them toward the tips. They should look stiff, not floppy. Then define the beak more clearly, keeping it short and sturdy rather than sharp or exaggerated.
At this stage, I like to step back and ask myself one question. Does this silhouette read as a penguin from across the room? If yes, you’re on the right track.
You can also proceed with sketching the web-like legs. Study a few penguins to get the general idea.
Step 3: Complete the Penguin Sketch
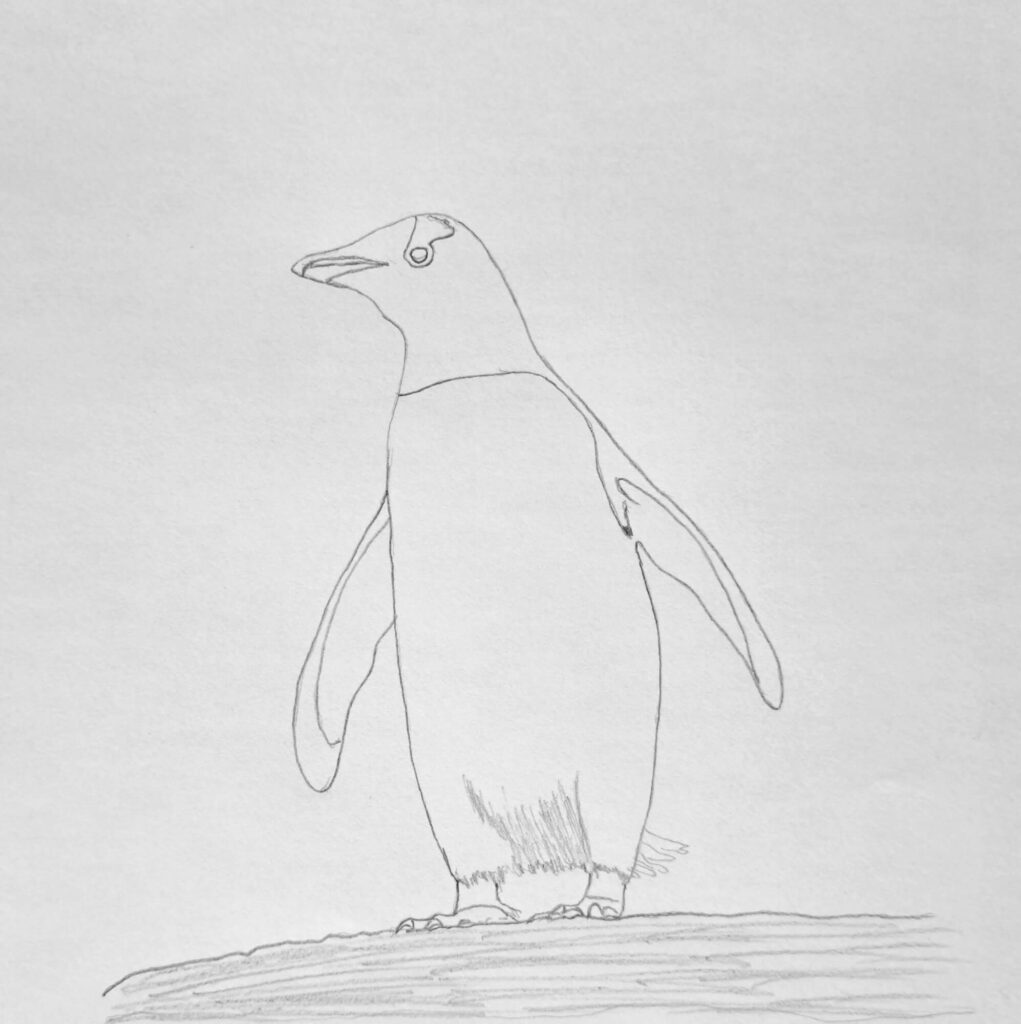
Now it’s time to add structure and key features. Lightly place the eye first, usually slightly above the midpoint of the head circle. Penguins have small eyes relative to their head, and oversizing them is a common beginner mistake.
Add the line that separates the dark head from the white facial area. This curve is subtle and species-dependent, so reference photos help a lot here. The National Geographic image library is also an excellent resource for studying penguin facial markings.
Clean up unnecessary guidelines and strengthen the final contours. Keep your line weight varied. Thicker lines under the belly and flippers help suggest weight and gravity.
At this point, your penguin should look complete even without shading. If it doesn’t, fix the drawing now.
Shading won’t rescue a weak structure.
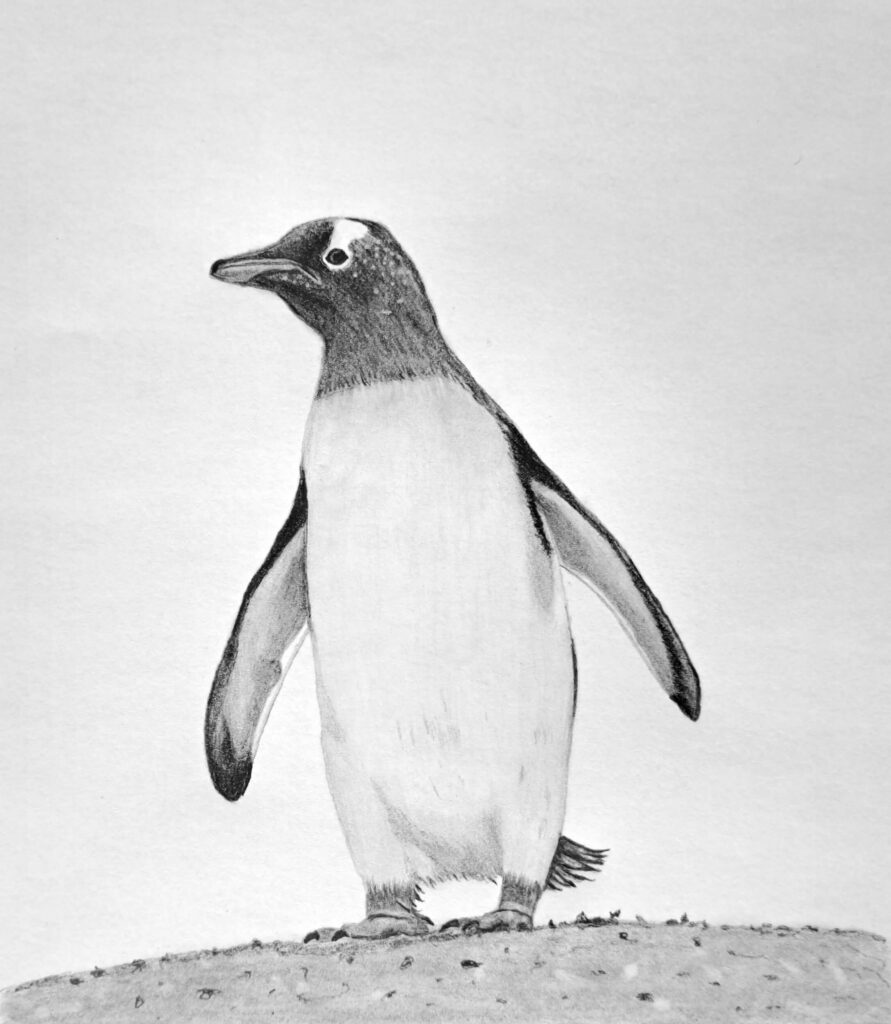
Step 4: Shade the Eyes and Dark Values
This is where realism really starts to show.
Begin with the darkest areas first. The head, back, flippers, and eye patches are near-black, but not flat black. Use layered graphite or colored pencil pressure to build depth slowly.
The eyes deserve special care.
Leave a tiny highlight untouched, even if it feels too small. However, unlike other birds, the highlight is rather dull. Carefully study my drawing above and contrast it with this bird’s drawing guide.
Always remember to avoid outlining shadows and let values do the work instead. Soft transitions between dark and midtones make the feathers feel dense and velvety instead of cartoonish.
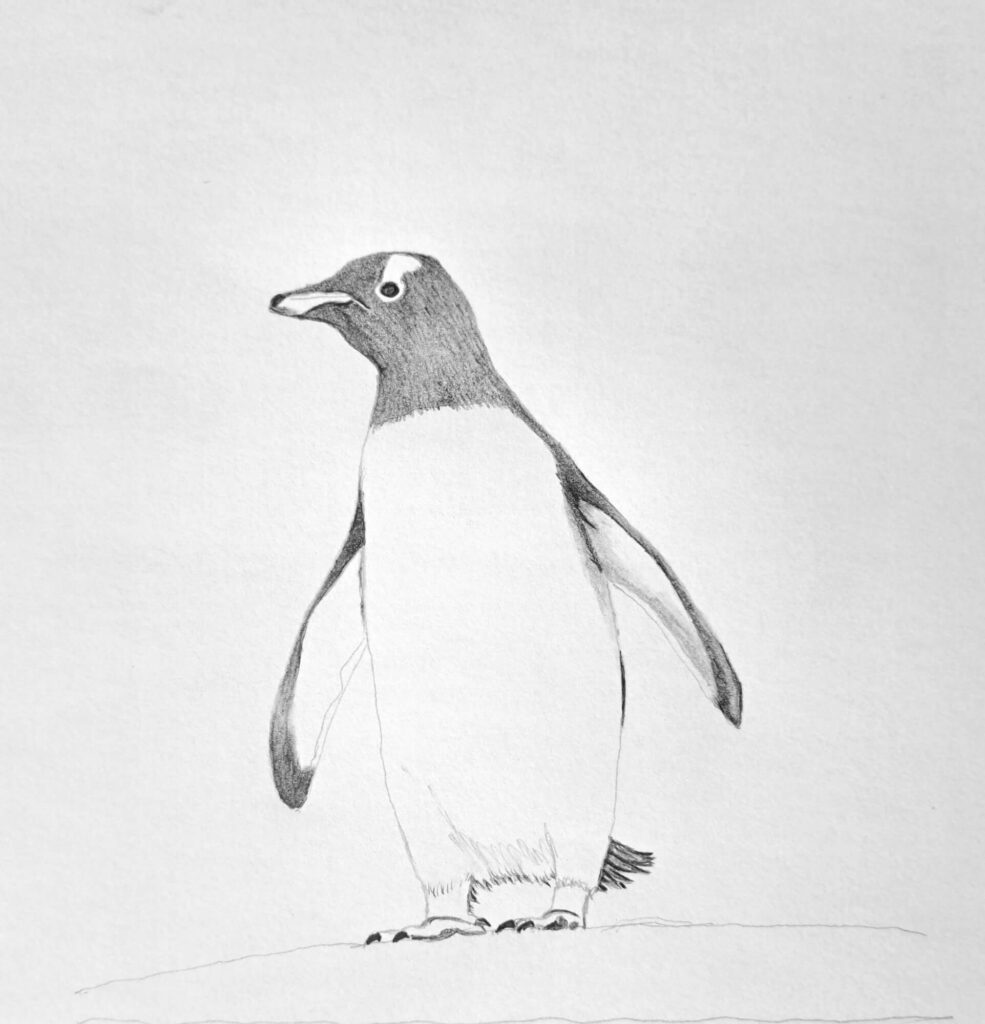
Step 5: Detailed Shading and the Ground Surface

Now shift your focus to subtle shading. The white belly isn’t actually white. It’s full of gentle grays, especially near the edges where the body curves away from light.
Use light, controlled strokes that follow the form of the body. Think of shading like wrapping fabric around a round object. Instead of focusing on the pencil strokes’ pressure, pay attention to the direction of those strokes.
The last thing I do is use an eraser kneaded to a point and make those subtle polka dots on the head near the eyes.
Finally, anchor your penguin to the ground. Add a simple shadow beneath the feet, darker closest to the body, and softer as it spreads outward. Even a minimal ground shadow instantly stops the floating effect.
If you’re drawing ice or snow, keep the texture restrained. Too much detail competes with the subject.
You may also be interested in learning how to draw a bird feather.
Conclusion
I hope you’ve been inspired to keep drawing the simple things in your life.
And although penguins are complex, we can always find a way to appreciate and conserve their existence.
While drawing them, and something looks off, it’s rarely the shading at the end. It’s usually the shapes at the beginning or the values in the middle. That’s actually good news because those are things you can fix with practice and better observation, not talent.
So, take your time with the early steps (the adage of measuring twice and cutting once). Then pay special focus to the dark values before grounding the figure so it belongs on the page.
When everything works together, the penguin stops being a drawing and starts feeling like a presence.
I appreciate you!