
The koala is one of the world’s most iconic animal species. With their round bodies, large fluffy ears, and distinctive spoon-shaped noses, they make cute drawing subjects.
I’m excited to show you my two-phase process for drawing a realistic koala in easy steps to follow.
Let’s start:
How to Draw a Koala Step by Step with Pencils
Phase 1: Sketching a Realistic Koala
Draw the main segments
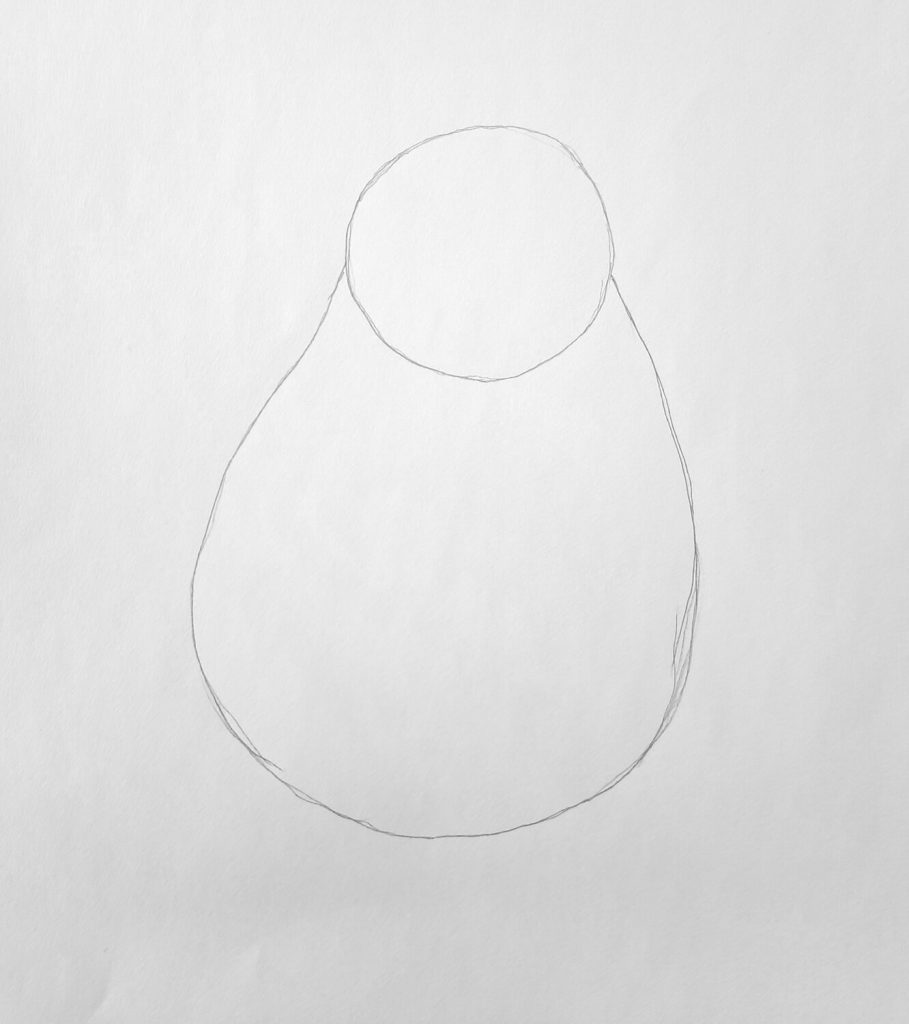
The first step is segmenting your subject into two main shapes that you can observe. Try to identify the segments and their proportions. When sketching the koala segments, notice that they’re only two main ones – the head and body.
Draw a circle to represent the head and join with a tapered oval to represent the body. The shape of the body resembles the lower part of a butternut squash.
The size of the body is about two times the size of the head.
Draw the basic shapes.
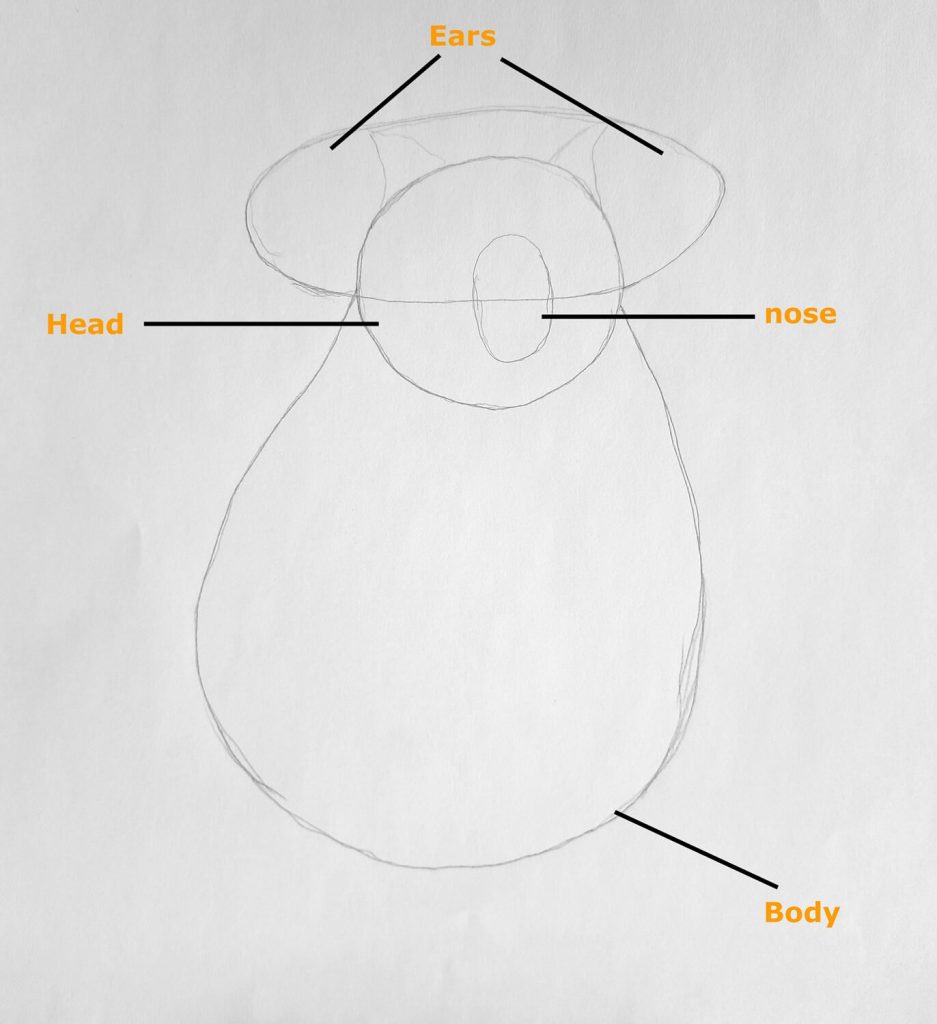
Next, sketch more guiding shapes. These include a top oval intersecting the head circle at the center. We will sketch koala ears inside this oval on the opposite ends.
Add a smaller oval inside the circle to mark where we’ll draw the nose.
Sketch the complete outline of the Koala.
At this point, we have four distinct shapes, i.e., the circle for the head, two ovals for the ears and nose, and the last big oval for the body.
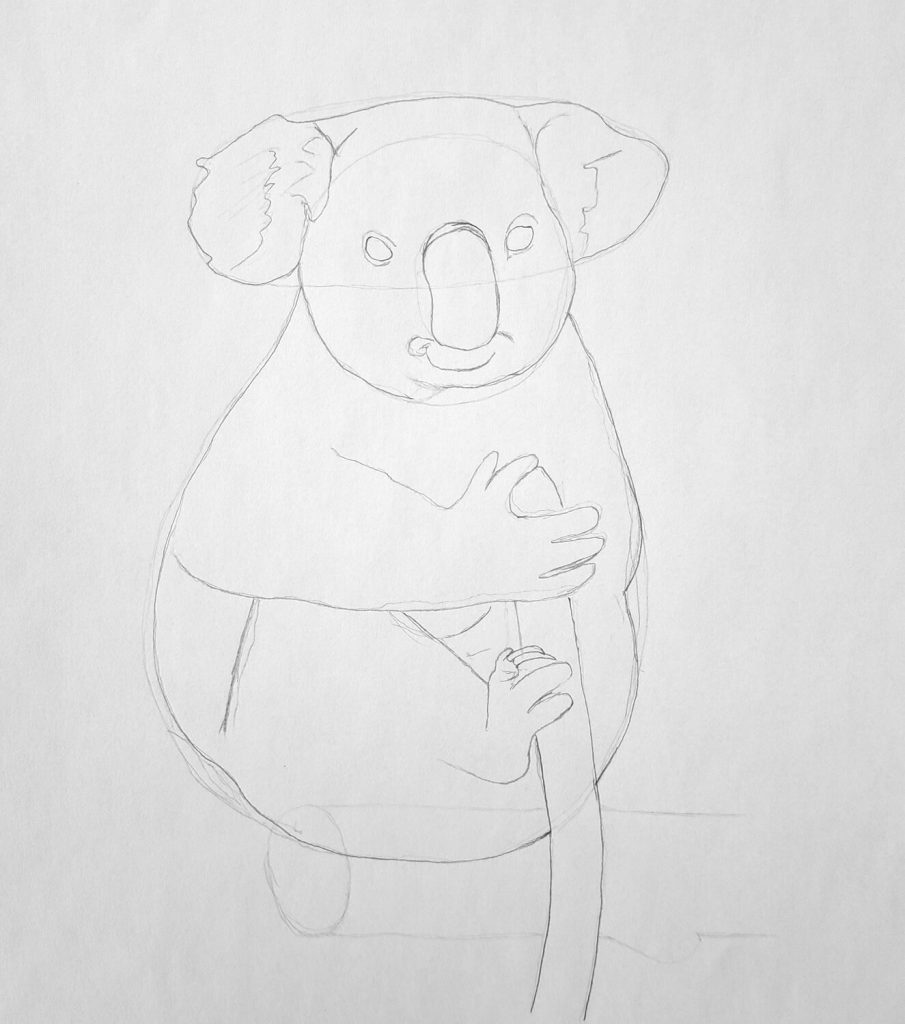
Now, begin sketching all the important body parts as illustrated. To do this, sketch the complete head with ears that resemble an elephant, sketch the eyes, nose, and an upward curve for the mouth. The koala looks like a smiling emoji.
Finish by outlining the visible front and back limbs. The other pair is hidden because the koala is slightly facing to the sides. You can also sketch the tree trunk and the stick the koala is holding onto.
Cleaning up
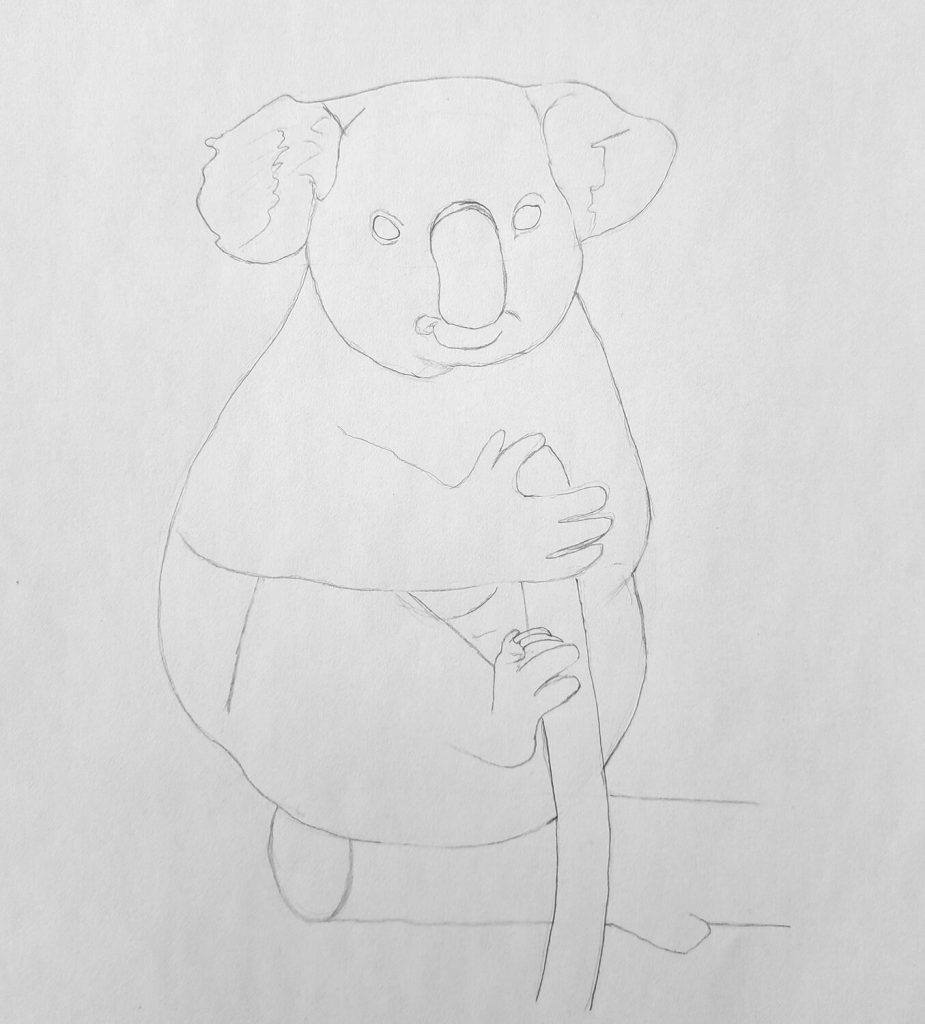
Cleaning up is the final step in phase one, which involves erasing all the shapes we used to break down the image into distinct parts.
I prefer to use a battery erase to erase all the unwanted lines to make my sketch as clean as possible. Also, check for accidental strokes in or outside the sketch and erase them as well.
Phase 2: Shading the Koala
Basic shading
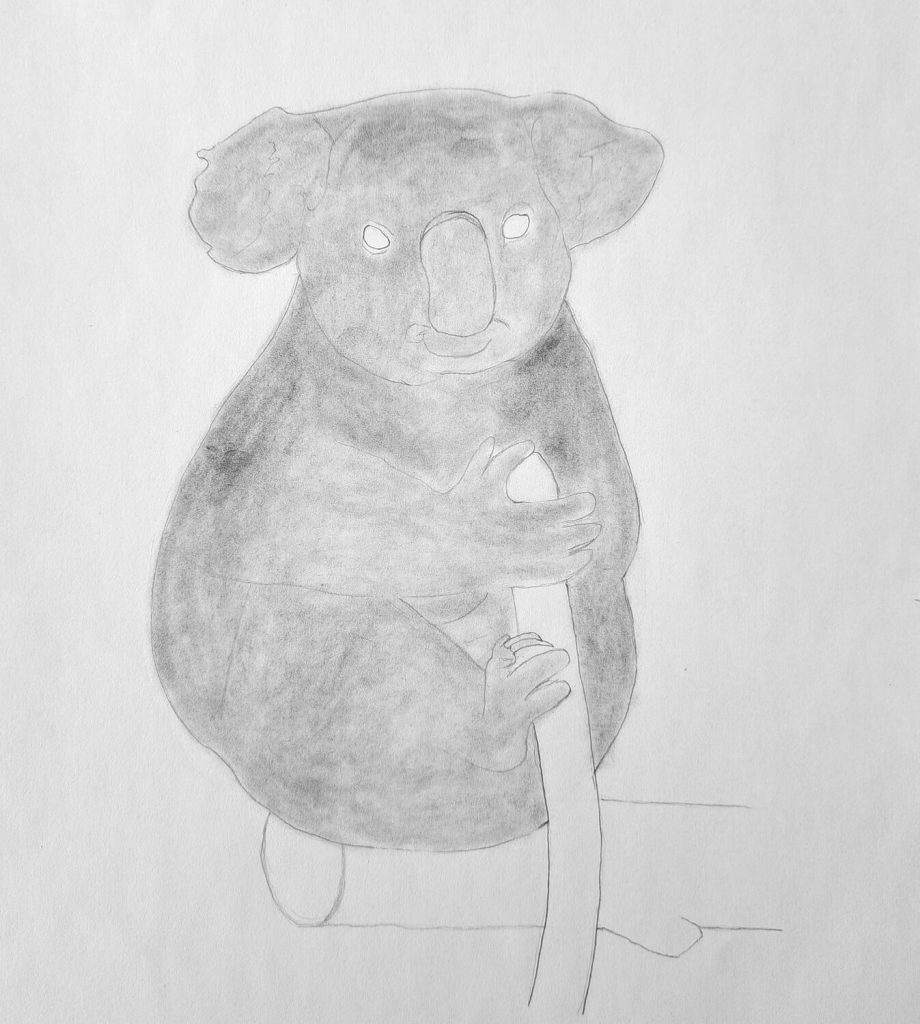
Basic shading involves applying graphite uniformly to the entire sketch except the eyes. This helps us with creating form. There are two ways to shade. First, get an HB pencil and shade uniformly using circular strokes or the hatching method.
The only drawback is that the resulting shade isn’t as smooth.
Hence, the second method – which involves applying graphite powder using a Q-tip. Always remember to blend the graphite with whichever method you choose.
Shading the koala’s nose, eyes, ears, and mouth
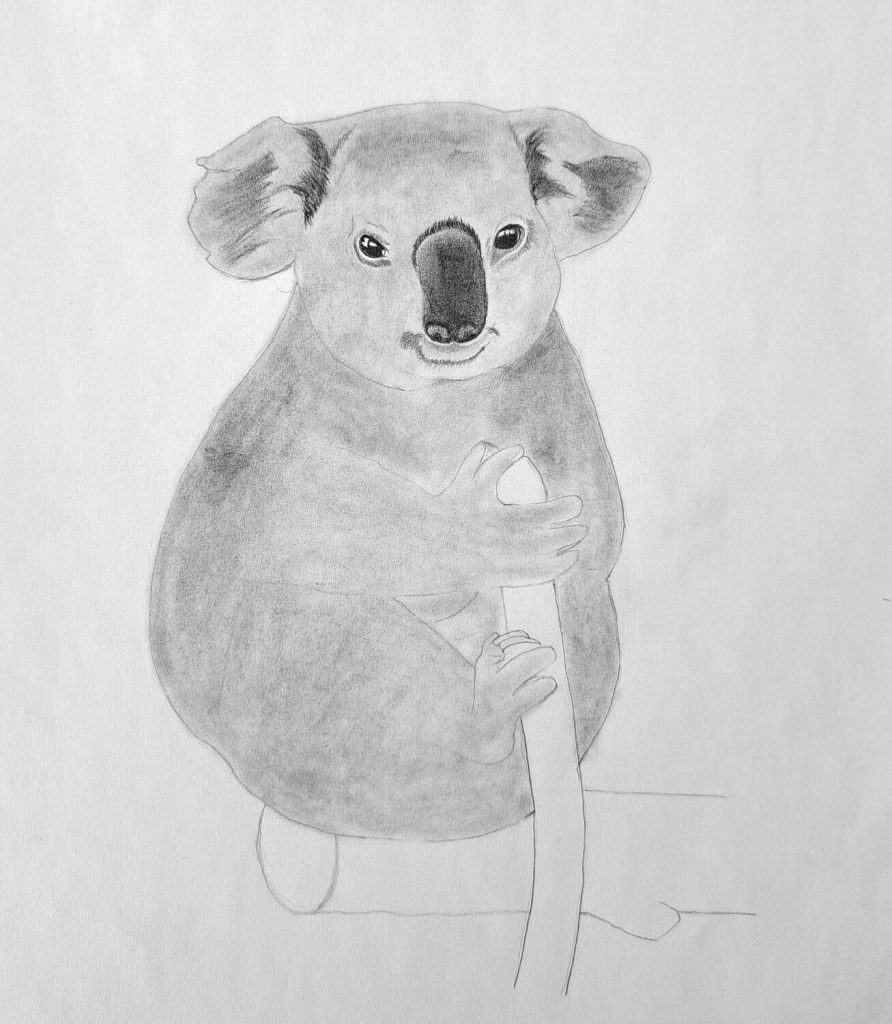
I shaded the koala’s eyes first using an 8B pencil for the dark part of the eye – leaving out the light reflection (highlights). Next, I used a 6B pencil to shade the nose, touched up the ears, and finalized with the mouth curve.
For the eyes, I blended using a blending stump and Q-tip for the other areas.
Shading the body
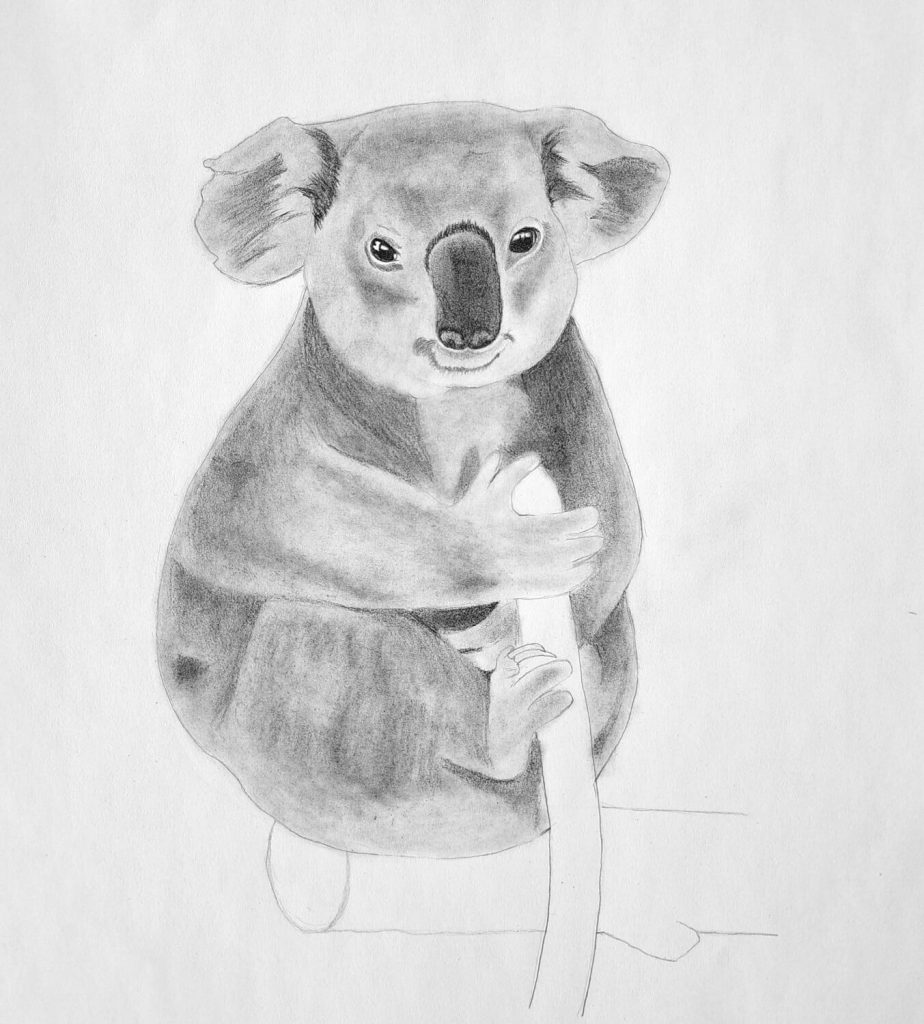
I always like to shade the darkest shadows first, working my way to the midtones and then reflections. This way, I’m able to accurately define and interpret the value scales.
Remember, at this particular point, our objective is to have as smooth shade as possible. The most important thing is defining how light interacts with our drawing subject. As usual, make to smudge the graphite after every step.
Shading the koala’s fur
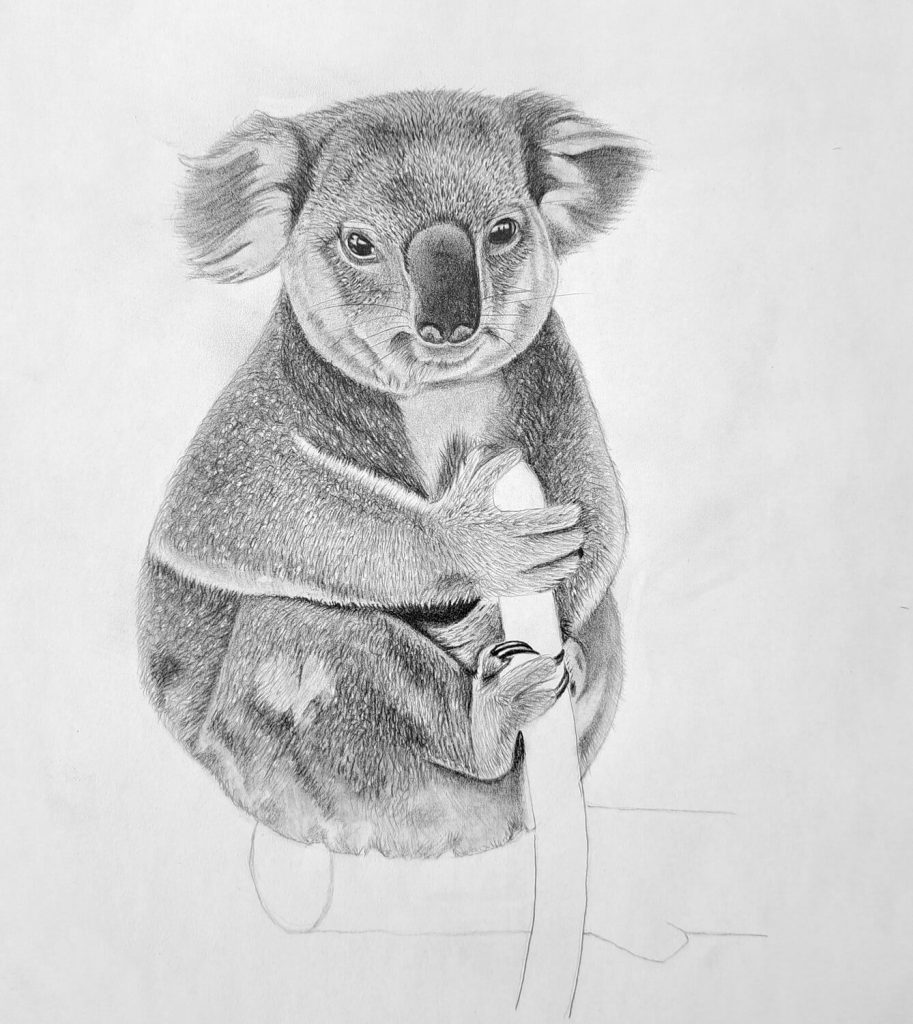
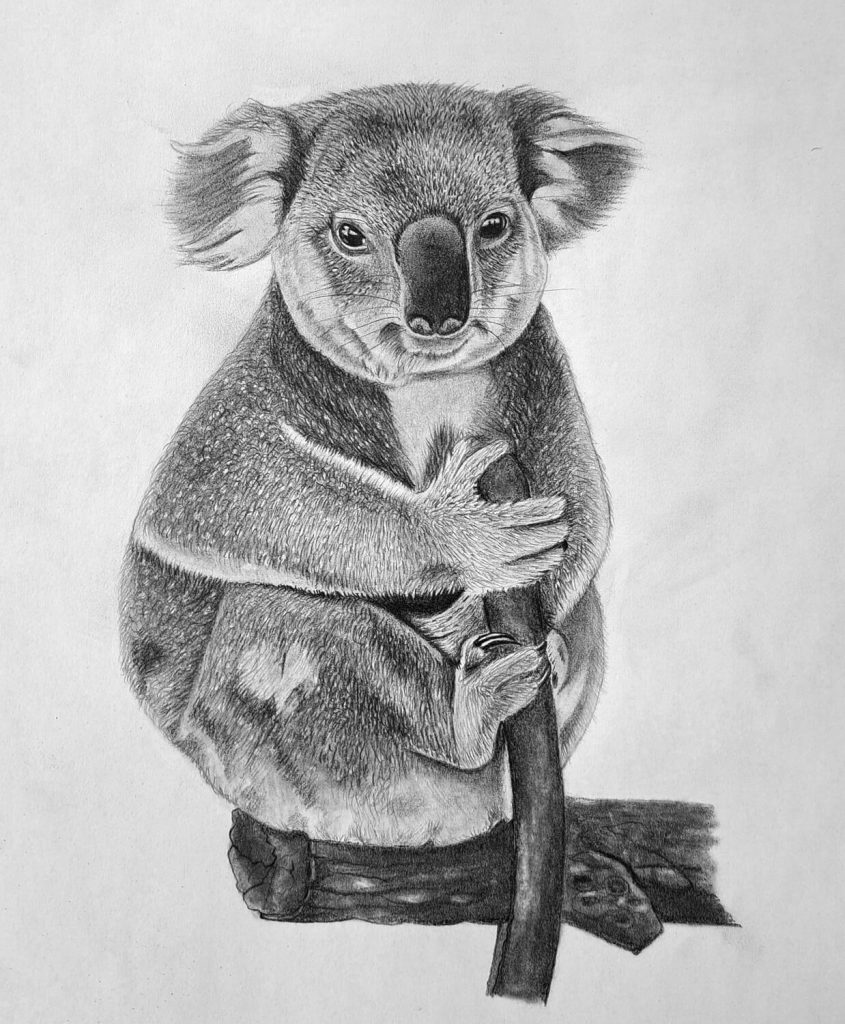
This is one of the most challenging steps. However, if you know what to do, it becomes like cheating. If you look at my koala drawing above, you’ll realize that the fur is growing in different directions depending on the body part.
Therefore, the first thing is to identify this direction and take note. Start with the head before progressing to the rest of the body.
Next, get your kneadable eraser or battery eraser and make small marks on the koala’s head and body. Then, get a mechanical pencil or a sharpened 4B pencil (depending on how dark you want the fur to appear), and make short strokes close together in the direction of growth.
Note: The fur closest to the eye appears sharper and more defined than that away. You can smudge the fur away from your eye to create this illusion of blurriness.
Detailed shading
This is the last step to drawing a realistic koala, and it involves a few final touches. For instance, make sure that the shadows appear darker and the highlights appear brighter.
Use a sharp 6B pencil to add more fur in shadowy areas of the body. Similarly, take a kneadable eraser and erase off highlights.
Lastly, shade the tree log for extra realism.
Conclusion
While creating animal portraits can be challenging, especially for beginners, it’s one of the most rewarding experiences. With sufficient practice, you’ll be on your way to creating masterpieces.
I hope you’ve enjoyed this tutorial on drawing a realistic koala – what a cute animal!