I used to think drawing flowers meant tiny, perfect petals and botanical-illustration-level precision.
Hibiscus flowers especially felt intimidating with their big, showy petals and that dramatic center.
But once I actually sat down and started sketching one (after way too much procrastination), I realized it wasn’t as complicated as it looked.
The trick?
Breaking it down step by step, and not stressing about making it “perfect.”
In this guide, I’ll walk you through exactly how to draw a hibiscus flower in a simple, beginner-friendly way. No fancy tools needed, just a pencil, some paper, and a little patience.
I’ll also share a few things I messed up the first time so you can skip the same awkward petal disasters. If you’re ready to get into a creative flow and bring a bit of the tropics to your sketchbook, let’s get into it.
Drawing Hibiscus Flowers in 6 Easy Steps
1. Light Sketch with Main Parts
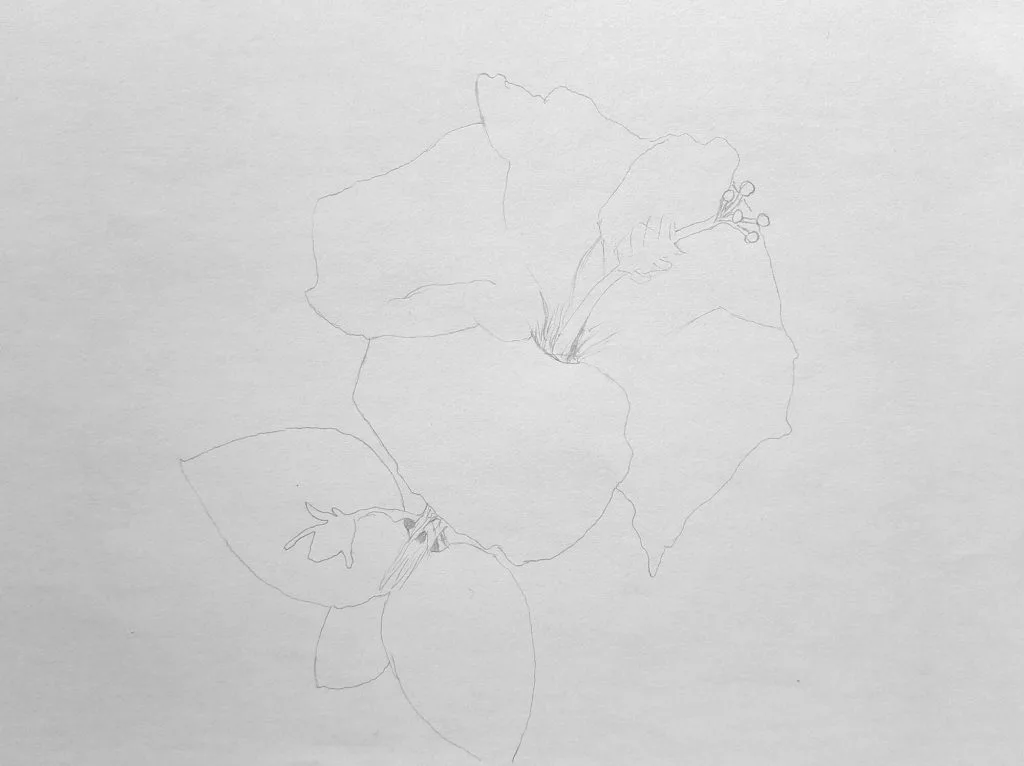
Start with a super light sketch using a 3H pencil..
I like to map out a small circle for the center of the flower, then lightly draw five petal shapes around it (they don’t have to be perfect ovals; hibiscus petals are more wavy and natural).
Use my illustration above for reference in case you feel lost.
Sketch in a few leaf outlines so you know where everything’s going.
Don’t press hard here! This is your blueprint, and trust me, you’ll want to erase and adjust as you go. If you’re nervous, imagine you’re just doodling in the margins of your notebook.
I’d also like to recommend that you check out 10 common drawing mistakes. Hopefully, you’ll avoid them here and onwards.
2. Complete the Hibiscus Sketch
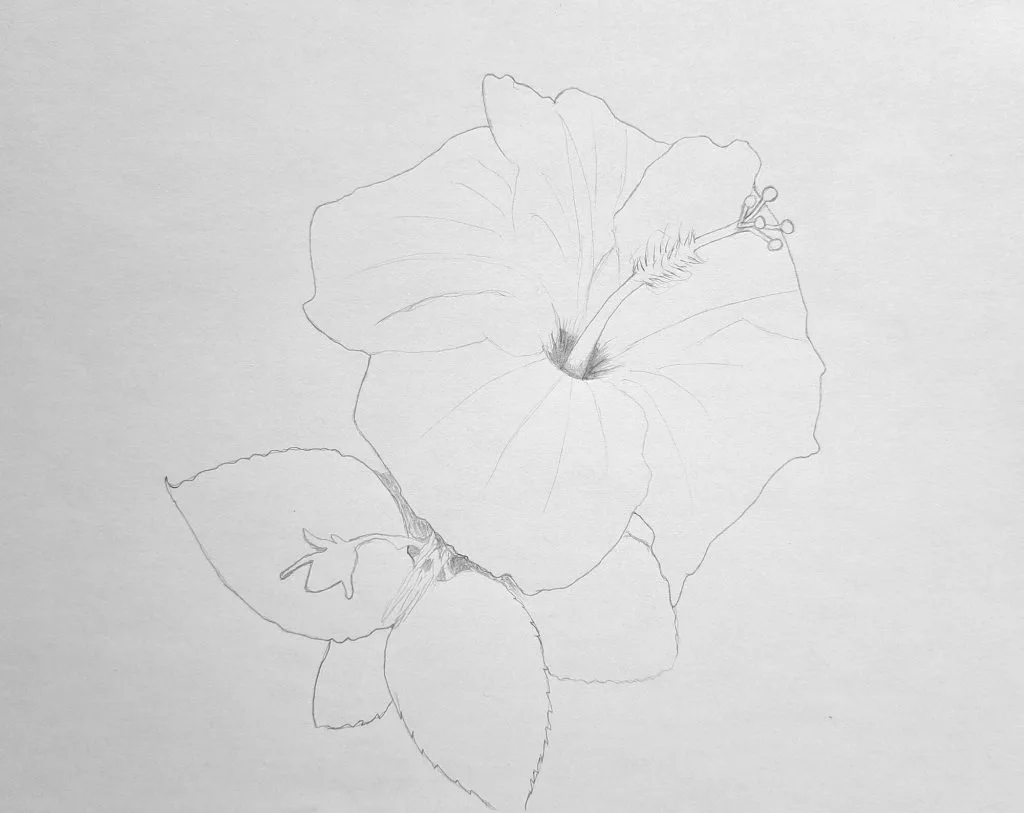
Now that you’ve got your layout, start refining the outlines of the petals. Hibiscus petals are bold and ruffly, so let those lines wave a little.
Draw the stamen (that long, dramatic part sticking out of the middle) a slightly curved line with a small pod-like tip and tiny dots or ovals for the anthers.
For the leaves, add some jagged edges to give them that classic hibiscus leaf look. If your flower ends up a bit lopsided, that’s okay! As long as it still reads as a flower, you’re good to go.
Nature’s rarely symmetrical anyway.
3. Basic Shading – Leaves and Petals
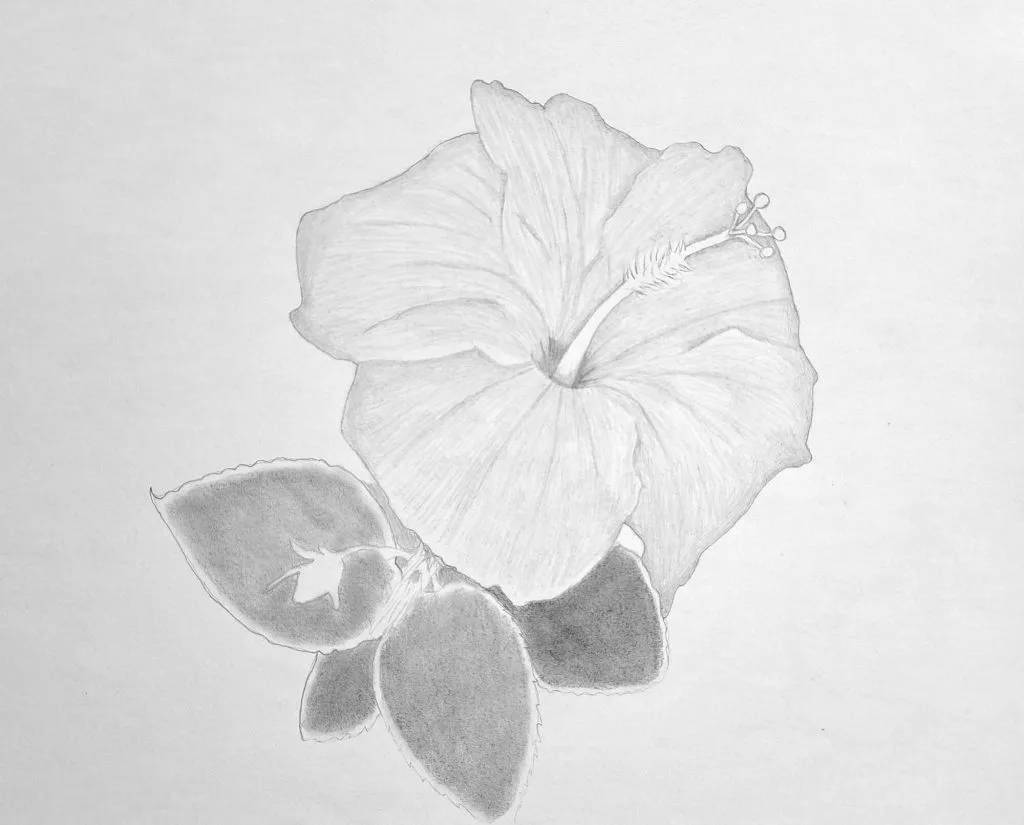
Once you’re happy with the outlines, let’s dive into shading.
Start by gently shading in the petals using the side of your pencil for soft gradients. The idea here is to show where the light hits and where shadows fall. Usually, petals are a bit darker near the base and lighter at the edges.
For the leaves, use a slightly firmer hand. I usually shade uniformly using an HB pencil and blend using a Q-tip. Don’t worry about details yet; we’re just getting the base tones down.
4. Detailed Shading of the Petals
Here’s where the magic starts.
Add more contrast to the petals by darkening the base even more, and layering soft pencil strokes outward to mimic those fine natural lines flowers have. Don’t go too dark too fast; it’s easier to add shading than take it away.
Also, resist the urge to outline everything too hard. Instead, let your shading do the work to define the petal edges and folds. If you go a little overboard, just lift some graphite with an eraser!
5. Detailed Shading of the Leaves

Leaves have so much texture, and hibiscus leaves are no different. Add in the veins. Start with a central one, then branch off like a tree.
Use quick, light strokes to sketch them in. Then deepen the shadows between veins to really make them pop.
I usually darken the area where the leaf curls or folds under, and leave the parts facing the light a little lighter (a kneadable eraser helps with highlighting the veins). It’s all about creating a bit of dimension.
If your leaf looks like it belongs in a different sketch entirely, don’t worry, mine used to look like awkward seaweed, too. By the way, here’s a great tutorial on how to draw realistic leaves.
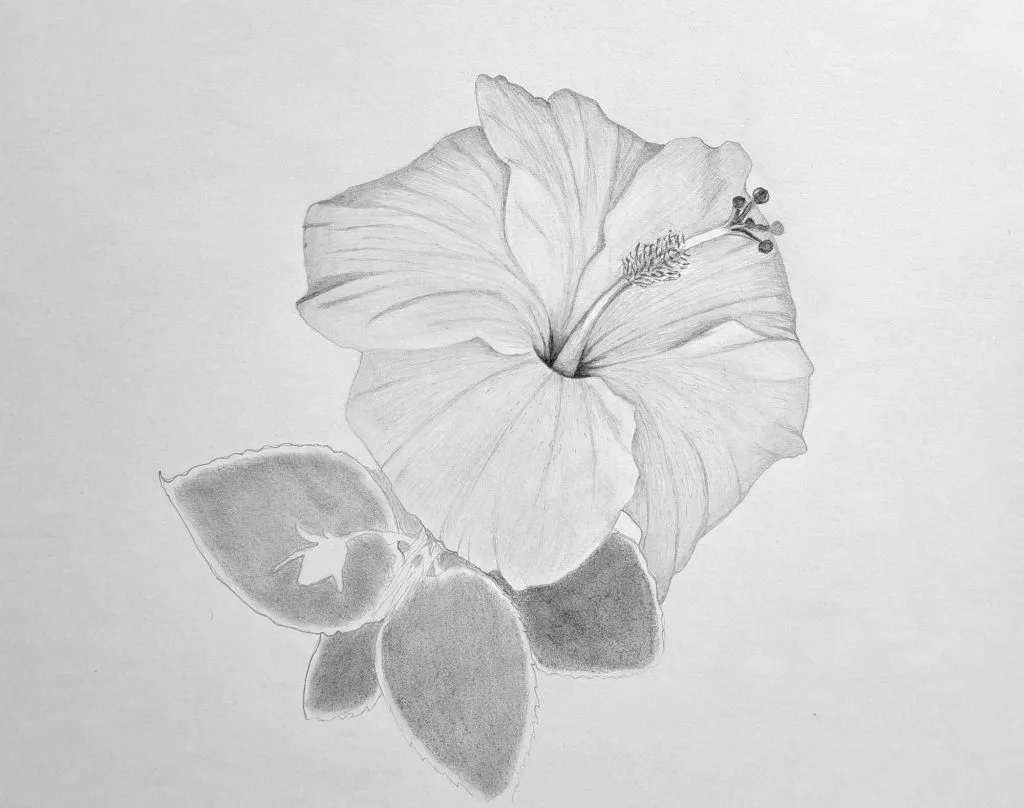
6. Final Shading – Unopened Flower Bud

This part is small but adds a lot of personality to your drawing.
Sketch the unopened bud near the stem; it’s like a tiny teardrop with a textured wrapper. Shade one side more heavily to show it’s rounded, and use small curved lines to hint at its layered shape.
You don’t need to go wild with details here, just enough to suggest its form. A little shadow where it meets the stem helps make it feel more grounded.
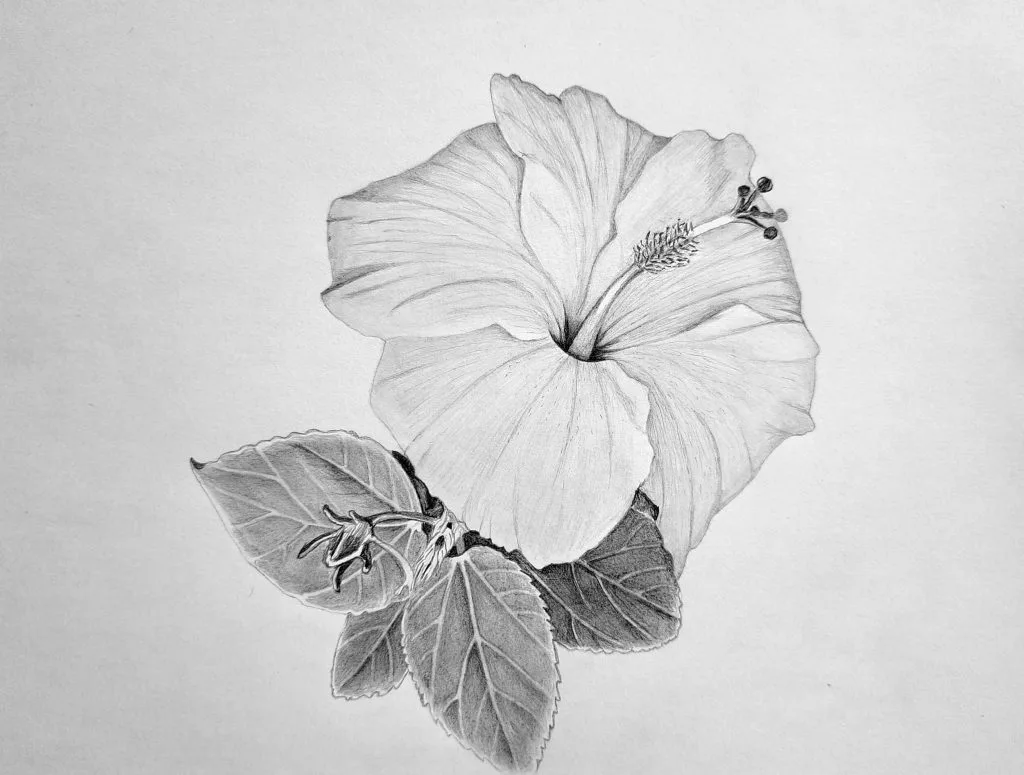
Conclusion
And there you have it! Your very own hibiscus flower drawing.
Whether it turned out how you imagined or you’re giving your petals some “abstract flair,” what matters is that you showed up and tried. Every sketch teaches you something, even the wonky ones (especially the wonky ones).
If your petals looked stiff, try loosening up your hand on the next round. If your lines got muddy, lighten your pencil strokes during the first sketch layer.
Honestly, it’s all part of the process, and no drawing journey is a straight line. You’ll get better with every bloom.
Keep practicing, keep experimenting, and most importantly, have fun with it. Art isn’t about perfection; it’s about expression. And in my opinion, a hibiscus is one of the most fun flowers to express.
Can’t wait to see what you create next!