They are as bright and cheery as the sun. But that’s not the reason behind their name. Apparently, the young sunflowers love basking in the sun and move to face it all day long!
That’s quite fascinating if you ask me.
It’s believed that these remarkable flowers symbolize loyalty and adoration. While thinking of sunflowers ring their big, distinct yellow petals and a brown center, there are quite a variety of colors.
This diversity is what inspired me to draw a rather unconventional sunflower called Ring of Fire Sunflower. It is a five-inch sunflower having golden petal edges and a ring of red surrounding the chocolate brown center.
I hope you’re as excited as I am to draw this gorgeous flower.
How to Draw Sunflowers Step by Step
Drawing the shapes for the flower head (2H Pencil)
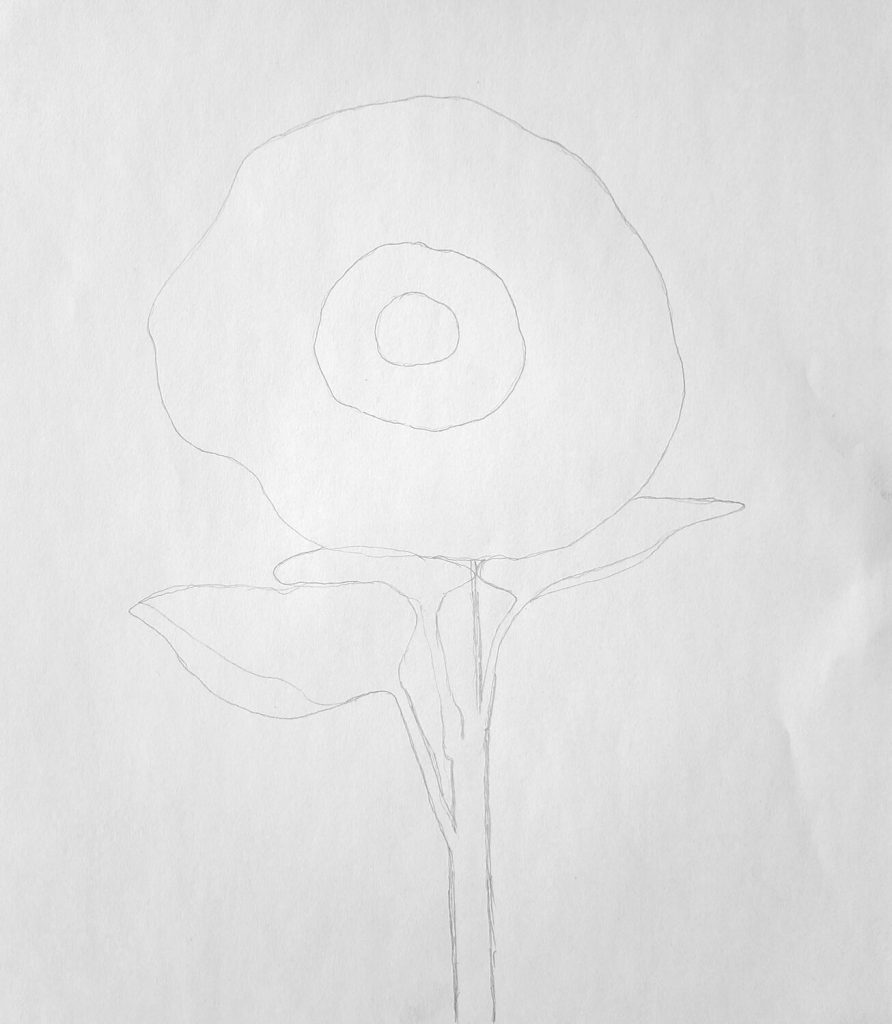
The first step is to draw three circles inside each other. That is a bigger outer circle where we’ll sketch the ray petals (florets) and two smaller ones where we’ll sketch the disc florets.
To make our work easier later on, sketch the shape of the leaves and the stem. It’s worth mentioning that don’t chase perfection at this point. We want our sketch to be as loose as possible.
Don’t worry about erasing as much as you can.
Sketching the sunflower petals (Ray Florets)
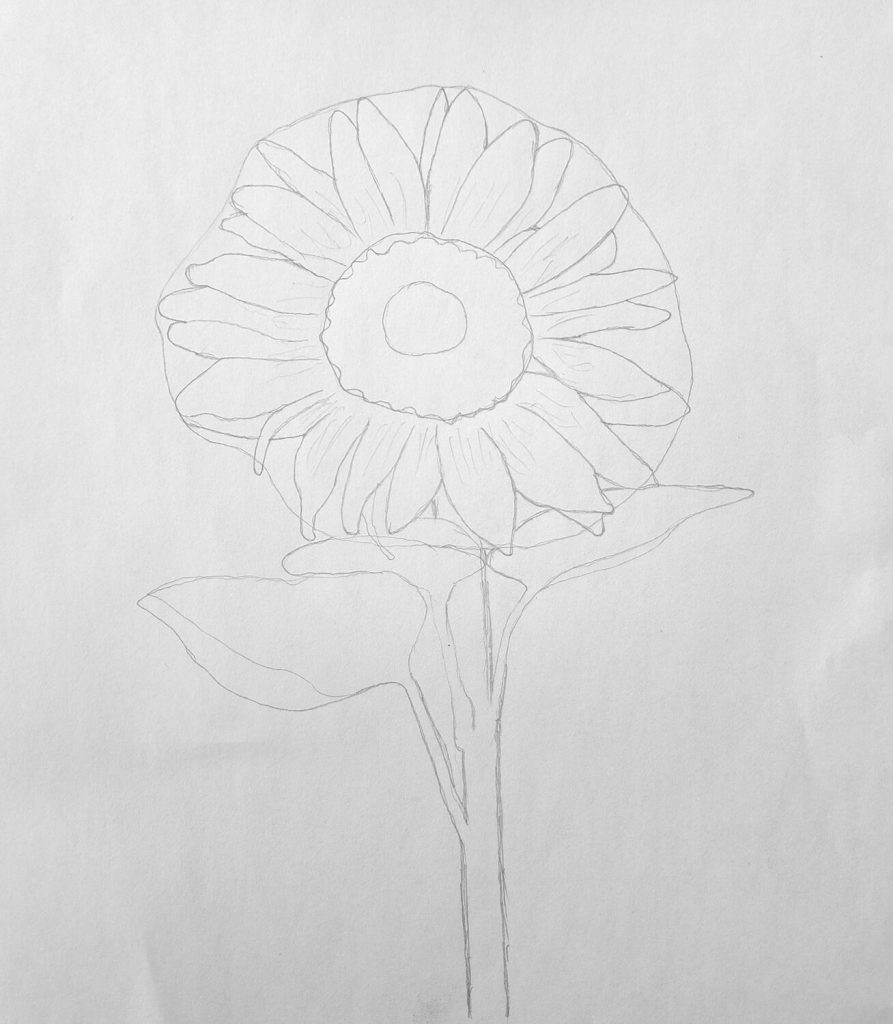
To sketch the sunflower petals, draw several ovals originating from the second circle up to the outer one. These ovals don’t have to be perfect if you want to achieve realism.
Sketch some small, some medium, and large ones. This is because real flowers are rarely homogenous. Once you’re done, try to make the inner circles wavy rather than a straight-lined circle.
Cleaning up the sketch
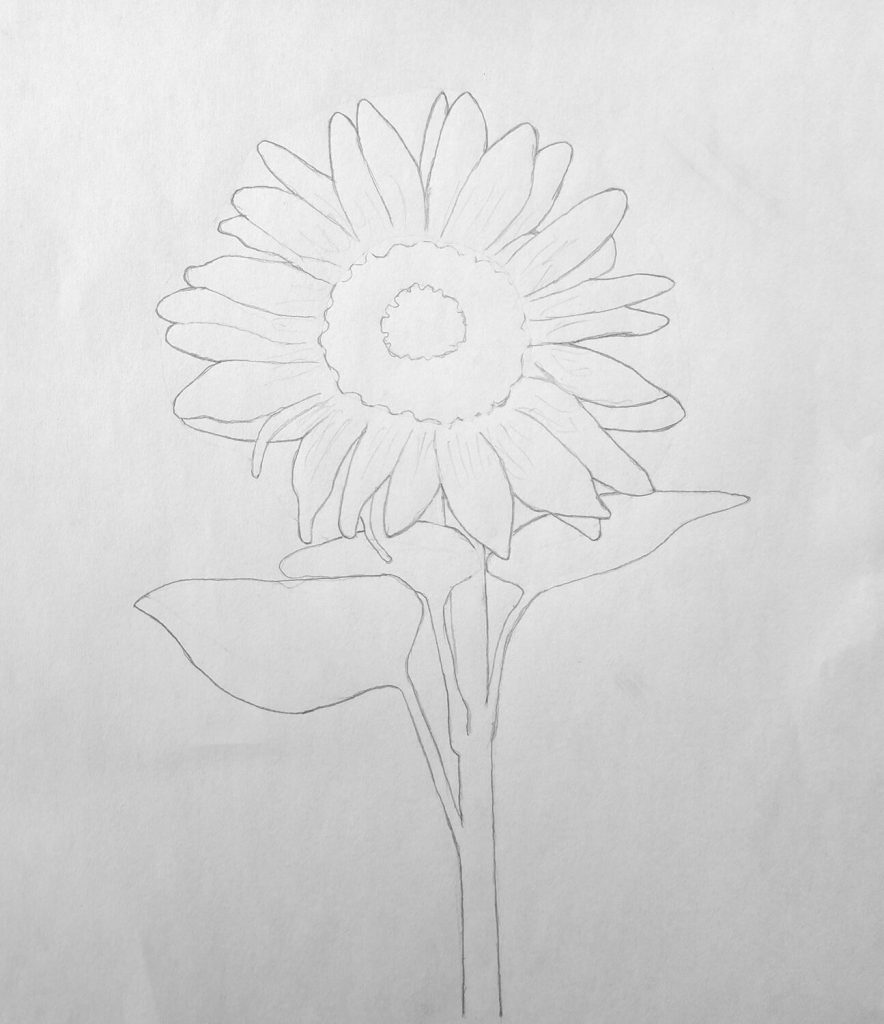
Remember the guiding circles we drew earlier on? They’ve served their purpose and it’s time to erase them. I’ve used a Derwent battery-powered eraser to erase all those unnecessary lines.
In my experience, this eraser isn’t only faster but it’s quite thorough. But feel free to use any eraser at your disposal.
Basic petal shading (H and HB Pencils)
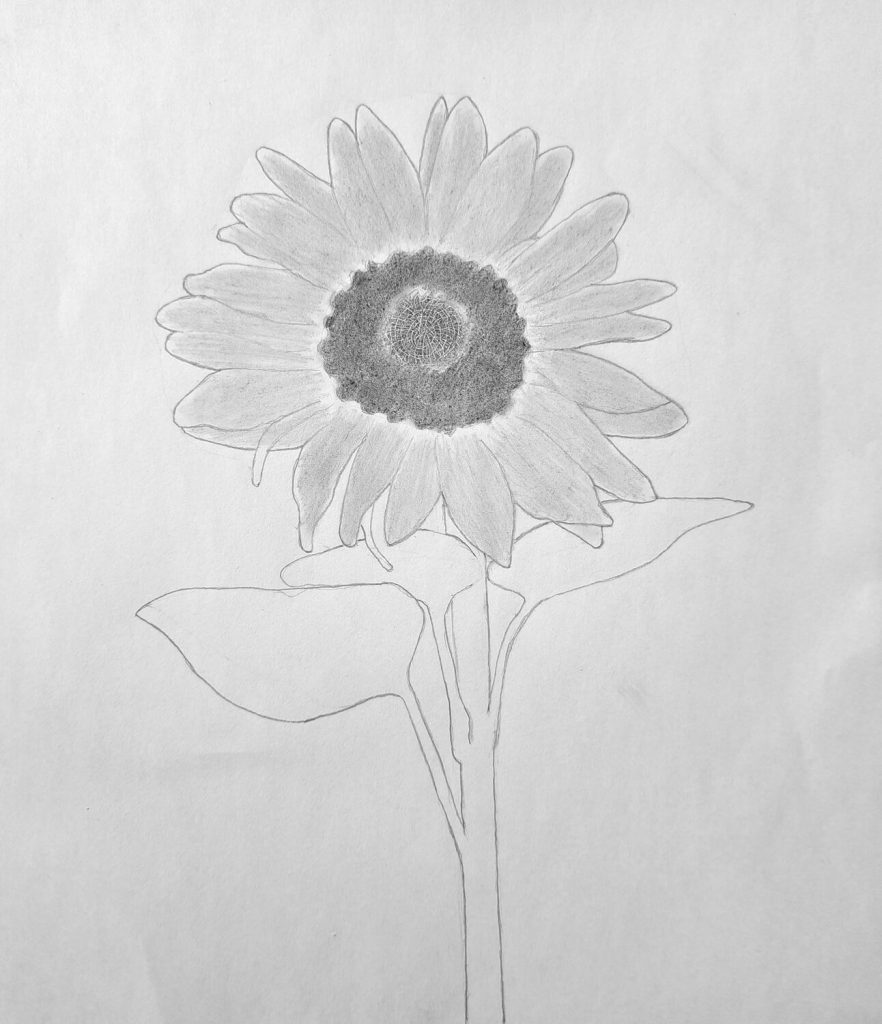
This step involves rendering form and volume for the flower. Use the H pencil to shade the petals uniformly to eliminate the white of the paper.
Next, use the HB or B pencil to shade the center. Study my illustration image and slightly shade a bit lighter for the inner circle.
Blend the graphite to achieve a smoother shade using a Q-tip.
Shading the petal details
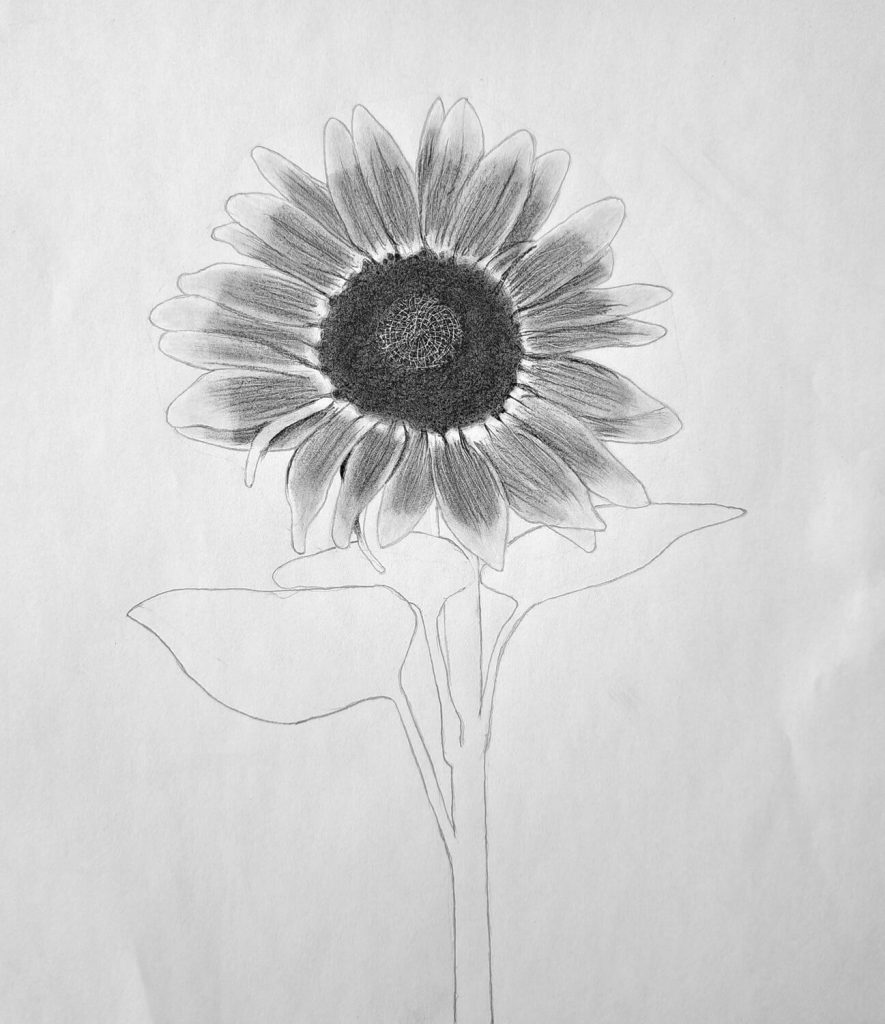
At this point, we need to take our shading game a step further by properly defining the details on the petals. This will involve using a well-sharpened 4B-6B pencil depending on how darker you want the “flame ring” to be.
With a steady hand, make consistent strokes on the petals from the center of the flower until midway. Also, use the same pencils to darken the middle rings. Lastly, smoothen the drawing by blending.
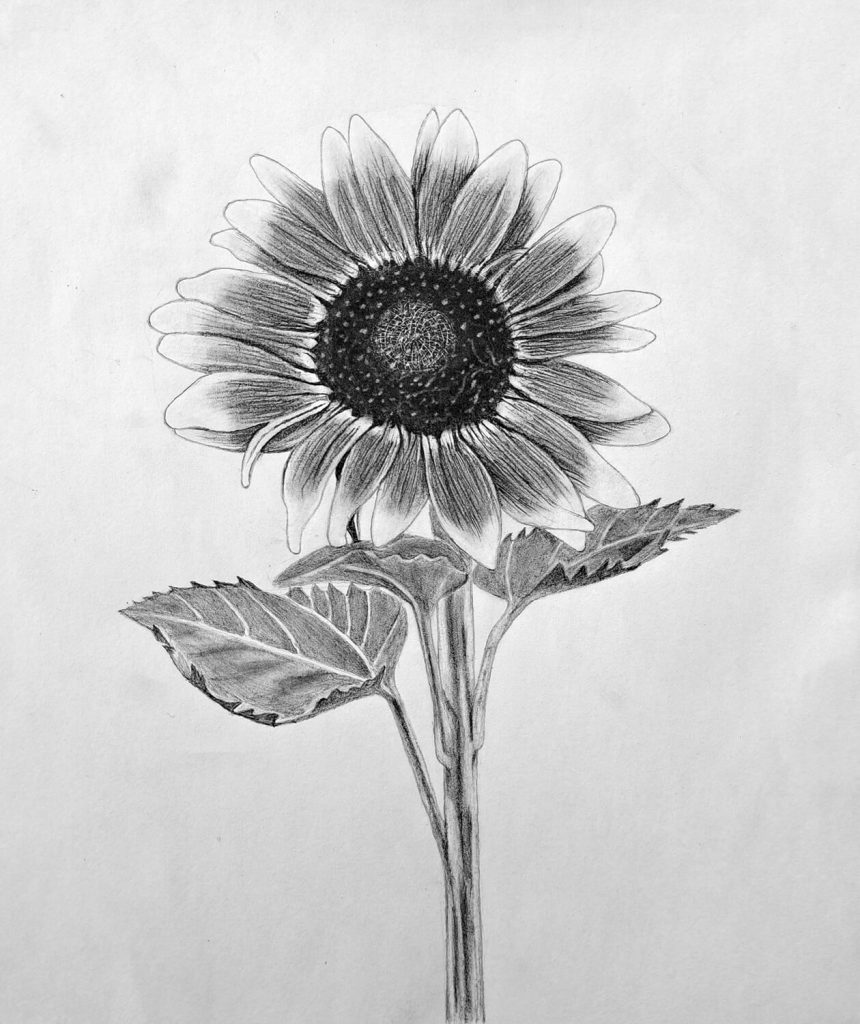
Shading the leaves and stem

Right now, our sunflower drawing is beginning to take form and look realistic. But we haven’t done anything about the stems and leaves.
Therefore, this is what we need to shade next. But before shading, sketch the leaves, ensuring that the edges are serrated.
Erase any guidelines since we had drawn shapes rather than the real sketches. If you’re satisfied, you can begin shading the leaves, leaving out the midribs, or you can shade uniformly and sketch out the midrib and veins later on.
Proceed to shade the stem as you would a cylinder. In this case, the middle is darker than the sides. Shade accordingly and remember to smudge the graphite. This time, use a more accurate blending stump.
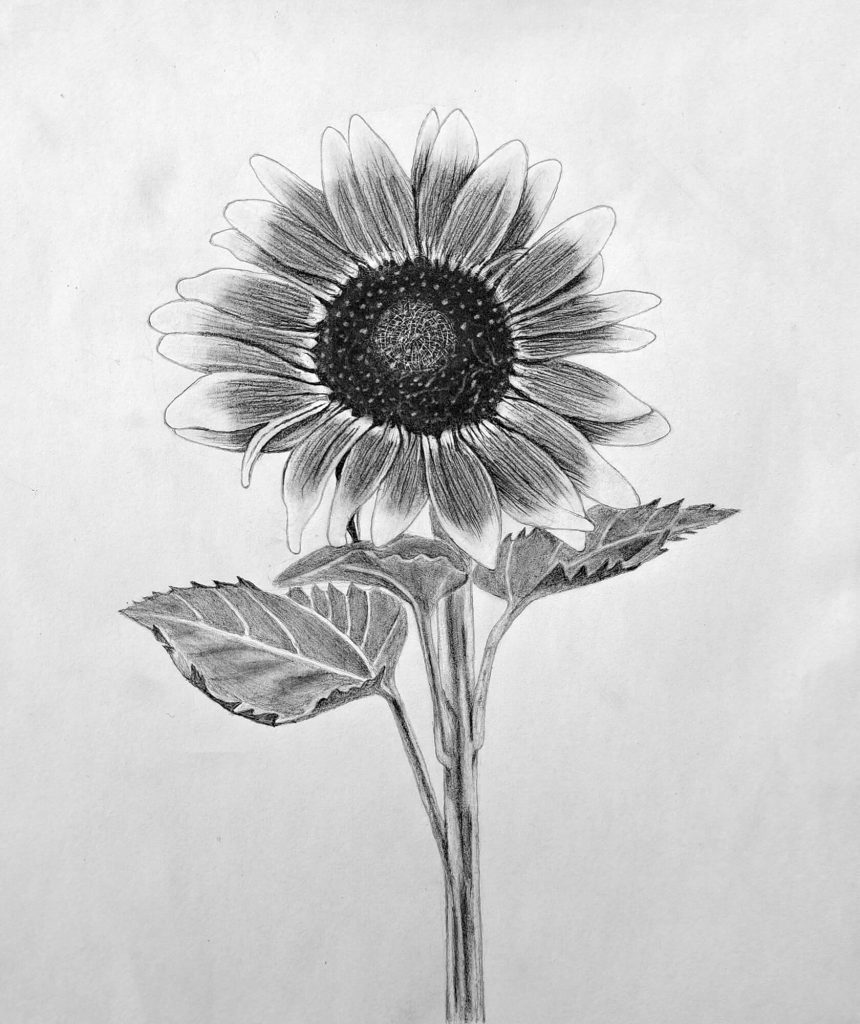
Final shading including the disc florets
You have made it to the final step. Congratulations!
We now need to make sure that shadows look darker and the highlights look brighter. To do this, get a 6B pencil and shade anywhere you want dark. Similarly get a kneadable eraser and lift excess graphite in highlight areas.
For the center with disc florets (later forms seeds as the sunflower matures), get a battery-charged eraser or kneading eraser and make small marks.
Conclusion
If you’re looking for the best flowers to draw, sunflowers should be on your list. Generally, when you need to practice your drawing craft and looking for ideas and inspiration look no further than what nature has to offer.
I hope you’ve found this tutorial helpful in guiding you to draw sunflowers.