Have you ever marveled at the power and grace of a golden eagle soaring through the sky?
Imagine capturing its strength and beauty on paper with just a pencil and some simple techniques.
Whether you’re a beginner or an experienced artist, drawing a golden eagle can be both a challenge and a rewarding experience.
With its hooked beak, piercing eyes, and intricate feather details, this bird of prey is a stunning subject to bring to life. The golden eagle is brown with golden feathers on the back of its head and neck – hence the name.
By following this guide, you’ll learn how to sketch the eagle’s fierce expression, define its elegant feathers, and add realistic textures to make your artwork pop out. Step by step, you’ll gain the confidence to illustrate this magnificent creature with precision and artistry.
Grab your sketchbook, sharpen your pencils, and let’s start drawing! Follow along as we break down each stage, making the process easy and enjoyable. Get ready to bring your golden eagle to life!
Steps to Drawing a Golden Eagle
Basic Sketch of a Golden Eagle
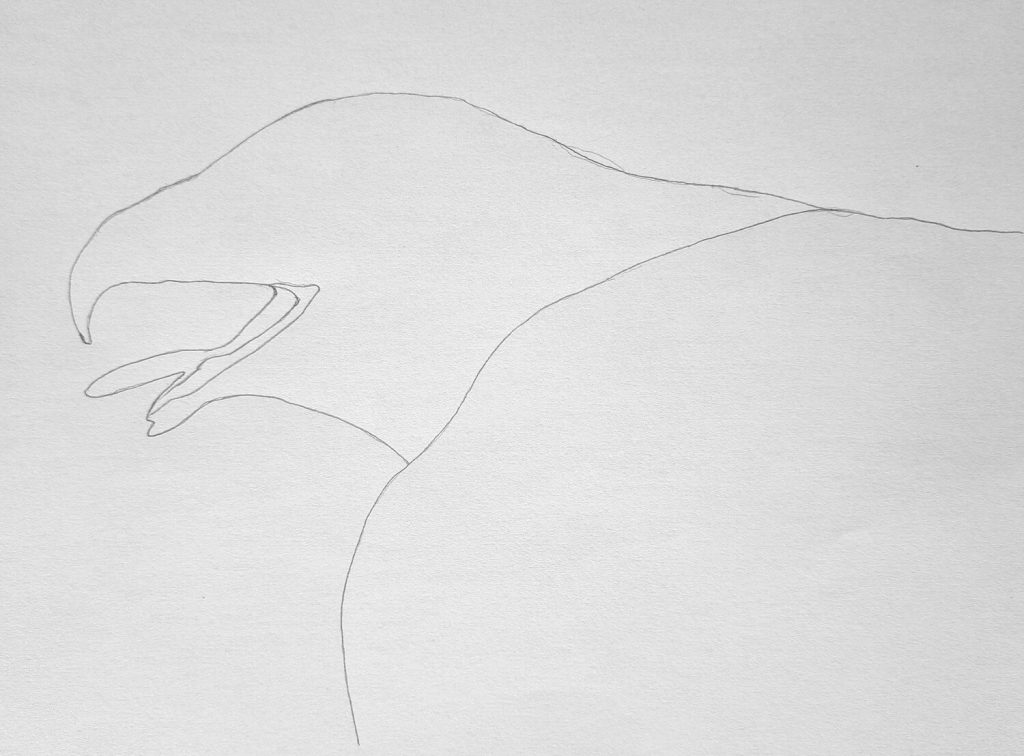
Begin by studying the subject and identifying the general outline. Once you begin to sketch, make sure your hand is loose and free. At this point, you have the freedom to sketch without much care and erase as much as possible.
Besides, use a light pencil without pressing too hard. A 2H pencil is always ideal. Draw the shape of the eagle’s head first and then the body. In our illustration, the eagle has an open beak. Therefore, sketch the protruding tongue as well.
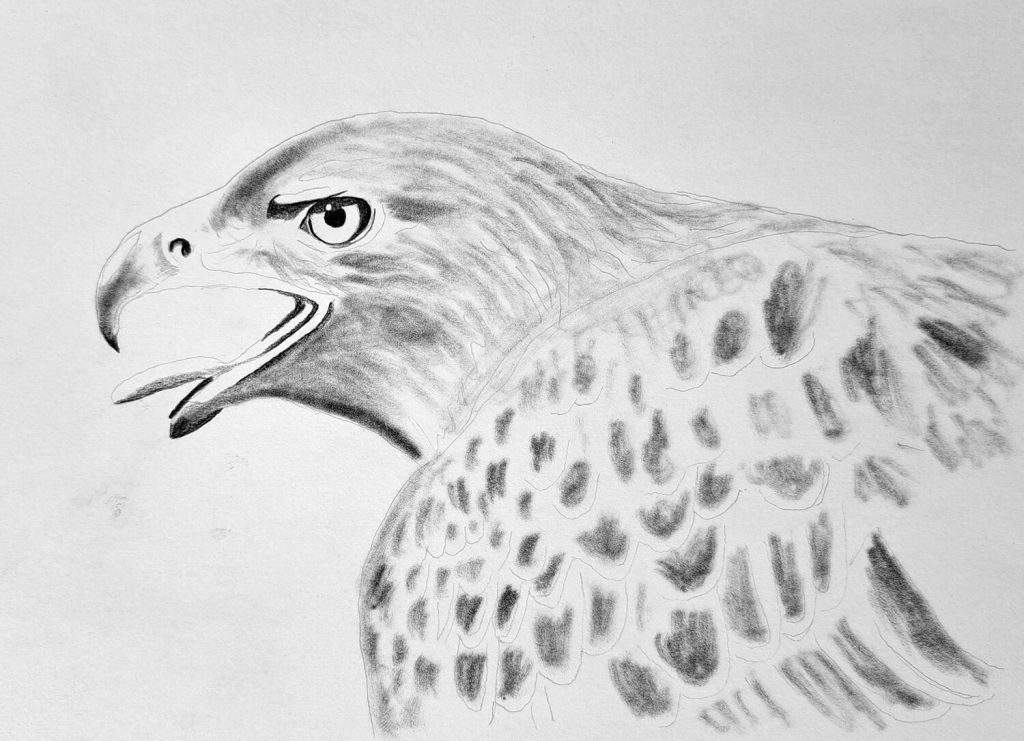
Sketching the Details on the Head
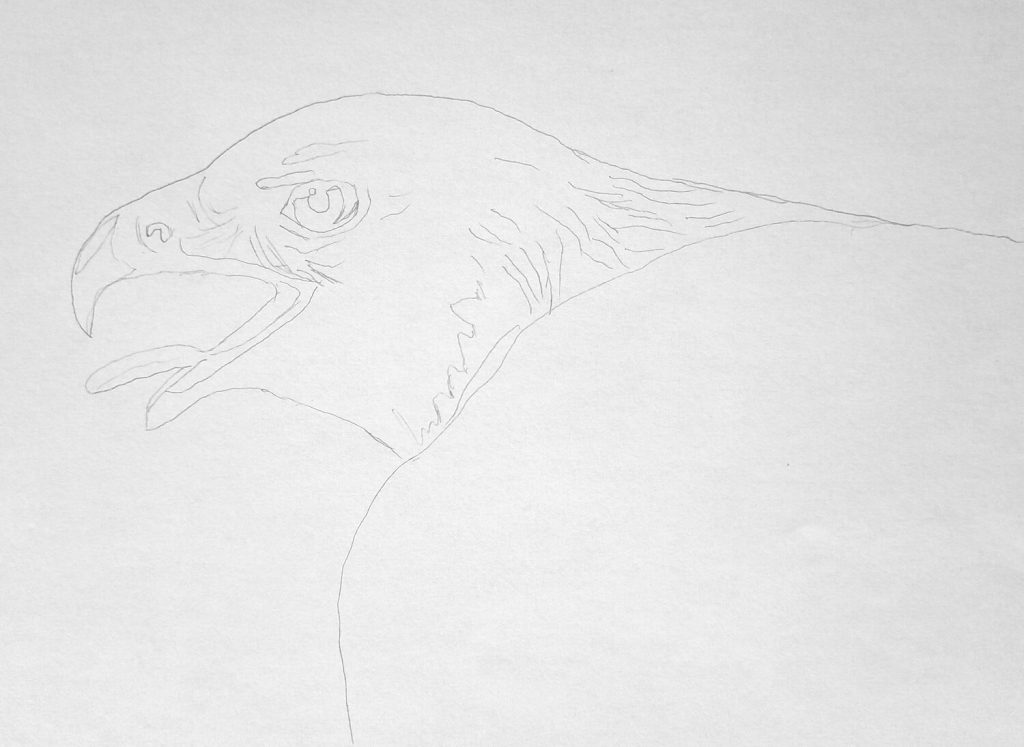
Still drawing lightly and freely, sketch the eagle’s eyes, including highlights. Sketch the position of the nose (it resembles an apostrophe). You can also proceed with sketching the direction of the head feathers using light pencil strokes.
The key is to capture as much detail as possible. This guarantees that once you begin shading later on, you won’t miss any expression and, hence, the subject’s identity.
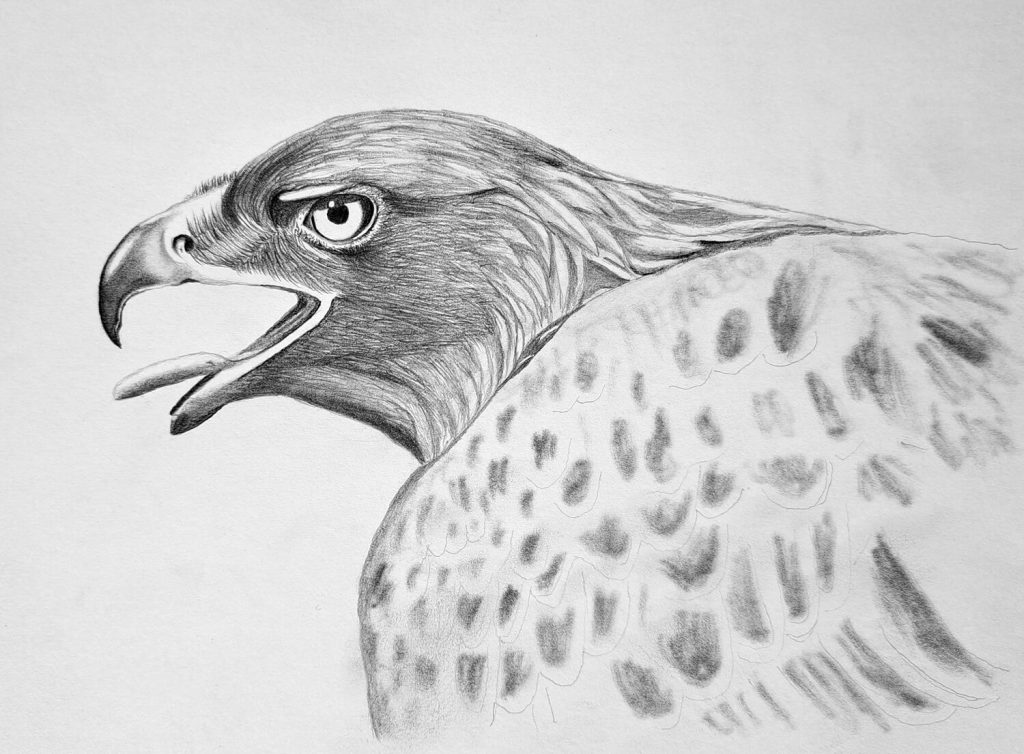
Shading the Eyes, Beak, and Nose
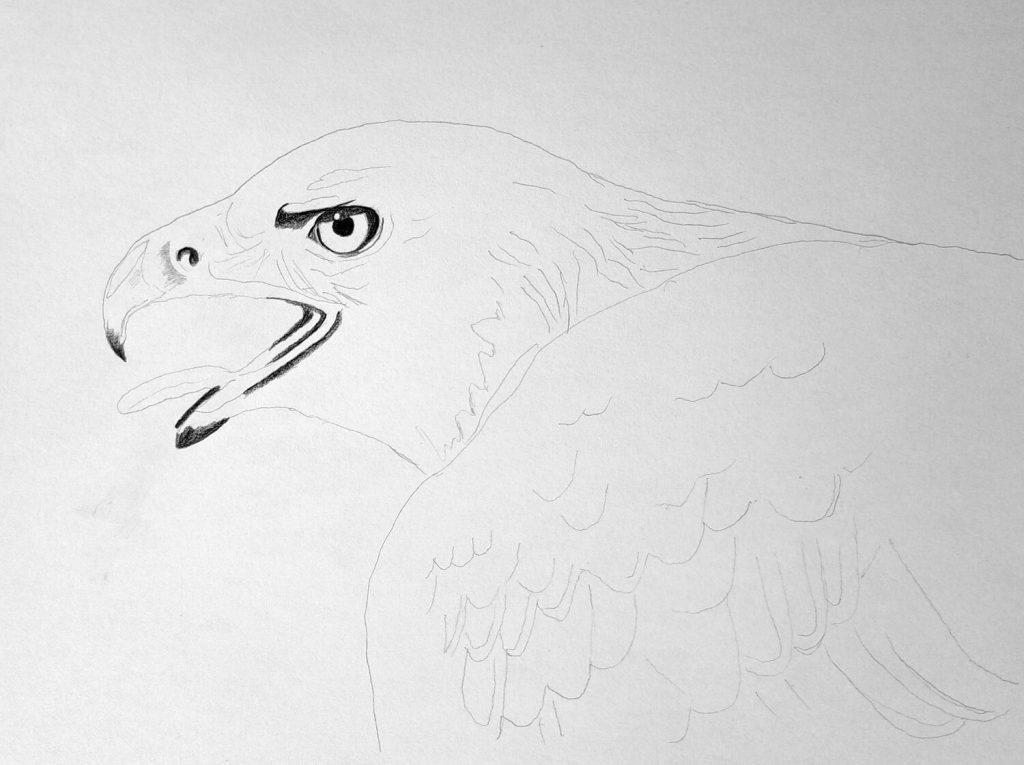
This is my favorite step – shading the details that depict the subject’s expression. As an art and drawing student, I’ve learnt that when drawing a live subject, rendering the eyes accurately means 50% of your work is done.
Therefore, spend enough time and attention shading the eyes, nose, and beak. At this step, I’m only concerned with shading the shadows in those areas while leaving out the highlights or light reflection.
Use a soft and dark pencil like 6B or 8B, depending on how black you want your dark values to be. This will also set a benchmark for our dark values across the entire drawing.
Golden Eagle Basic Shading
Ideally, basic shading involves eliminating the whiteness of the paper to give our subject volume. While for smaller drawings, you can use a pencil to shade, it might take an eternity for larger drawings.
Instead, use a Q-tip dipped in graphite powder and shade the sketch while blending. This saves a lot of time and is much faster. If you don’t have the powder, like in my case, just use an art knife to scrape off graphite from your pencil.
Refer to my illustration for the deliberate shading pattern.
Shading the Eagle’s Head in Detail
After the initial basic shading, you can embark on shading to define more detail. Begin shading a smaller area and progress from there. I prefer to start with the head – shading the beak, eyes, and nose.
At this stage, I’m focusing on the midtones and highlights since we have previously shaded the dark values.
Then, make thin, deliberate strokes for the feathers around the eagle’s face. Pay particular attention to the direction of growth and try to replicate it as much as you can.
Final Drawing of a Golden Eagle
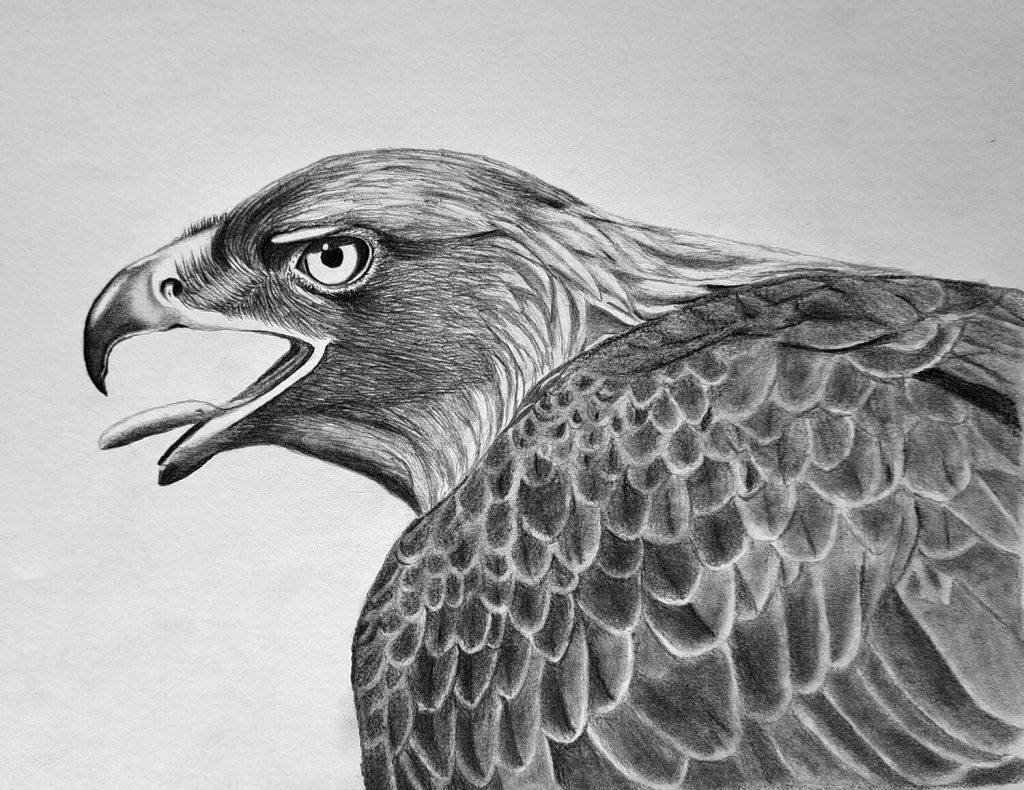
Even though this tutorial has been about how to draw a golden eagle head, which we have achieved in the last step, let’s take it a notch further.
Shading the pattern of the wings will make our sketch more realistic.
Observe the pattern of the wing feathers and shade accordingly. The last thing I always do in all my drawings is to try and make the dark values even darker while brightening the highlights with a kneadable eraser.
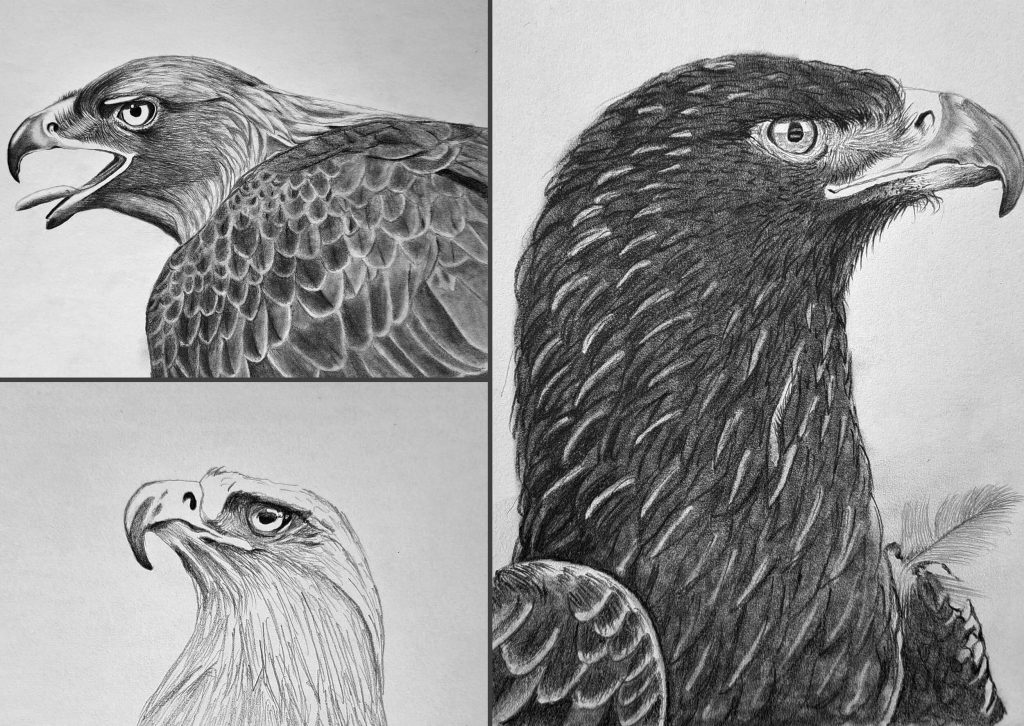
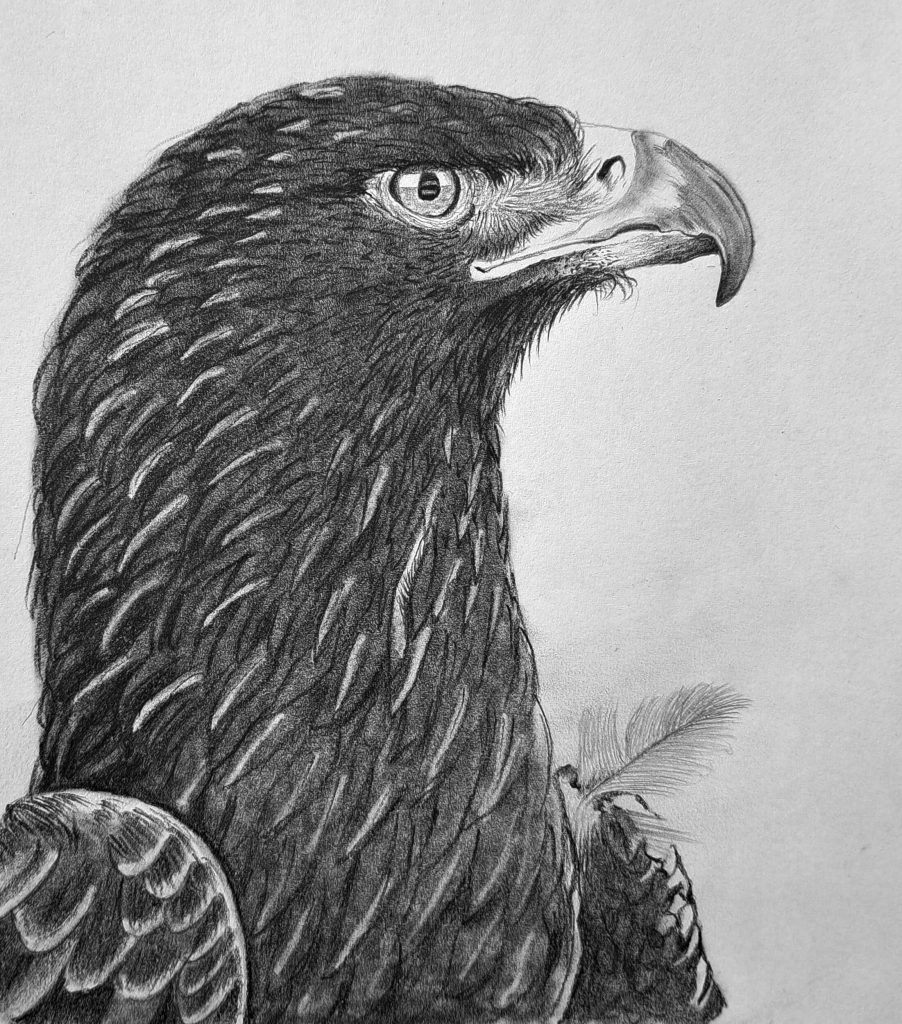
As a bonus for this guide and using the same techniques discussed herein, I’ve sketched the golden eagle from various angles as follows:
The Drawing of a Dark Golden Eagle Facing to the Side with a Closed Beak.
A Light Drawing of a Golden Eagle Facing Slightly to the Front.

Conclusion
Congratulations!
By following these steps, you’ve transformed simple pencil strokes into a powerful and majestic golden eagle. But this drawing is more than just an artistic achievement—it’s a tribute to one of nature’s most awe-inspiring birds.
Golden eagles symbolize strength, freedom, and precision.
By studying and drawing them, you not only improve your artistic skills but also develop a deeper appreciation for wildlife and the beauty of the natural world. These birds play a vital role in their ecosystems, and capturing them through art reminds us of the importance of conservation and respect for nature.
Art is a powerful way to connect with the world around us. Each time you sketch, you refine your skills, sharpen your eye for detail, and express your unique perspective.
So, keep drawing, keep exploring, and most importantly, keep appreciating the incredible subjects that inspire your creativity.
Now, take a step back and admire your work.