When it comes to drawing facial features, the lips or the mouth can make or break your portrait.
While the upper face, including the eyes and eyebrows, is essential in expressing anger, fear, surprise, and sadness, the lower face, especially the mouth, is important in portraying happiness and disgust.
Of course, they all work together, but you get the point.
The lips might not seem complicated to sketch, but trust me, it’s very easy to get them wrong, even for seasoned artists.
However, there’s an easy method for approaching the drawing of human lips. It’s called the 3-Circle Method (I’ve made up the name, but didn’t invent the original idea). This is an especially helpful way for beginners to come up with a proportional sketch.
If you’re already good at drawing by observation, you don’t need this technique; instead, feel free to use a reference photo or observe yourself in the mirror.
Let’s begin:
Drawing the Lips with the 3-Circles Method
Draw the 3 Equal Circles
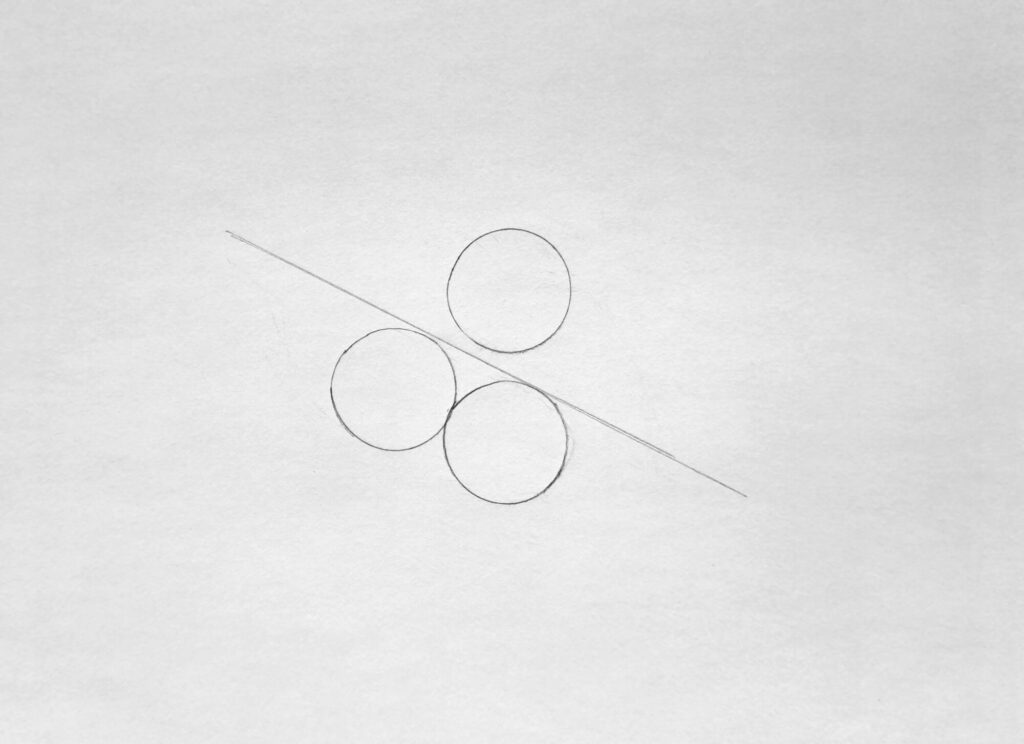
Begin by sketching 2 circles at the bottom and one at the top, as illustrated in my drawing. The two lower circles represent the lower lip, while the upper one will guide in drawing the top lip.
When using this method, you need to note the following: the circles don’t have to be perfect, but the results will be better if they are – use a round object or a compass. Next, the top circle doesn’t have to touch the bottom two, but it should be at the center.
When drawing a slightly open mouth, the upper circle must not touch the bottom one. How far apart depends on how open you want to draw the mouth.
Closed vs Open Mouth
As already established, you can draw the circles next to each other if you want lips on a closed mouth, as shown above.
But for the sake of today’s tutorial, we’ll proceed with a slightly open mouth.
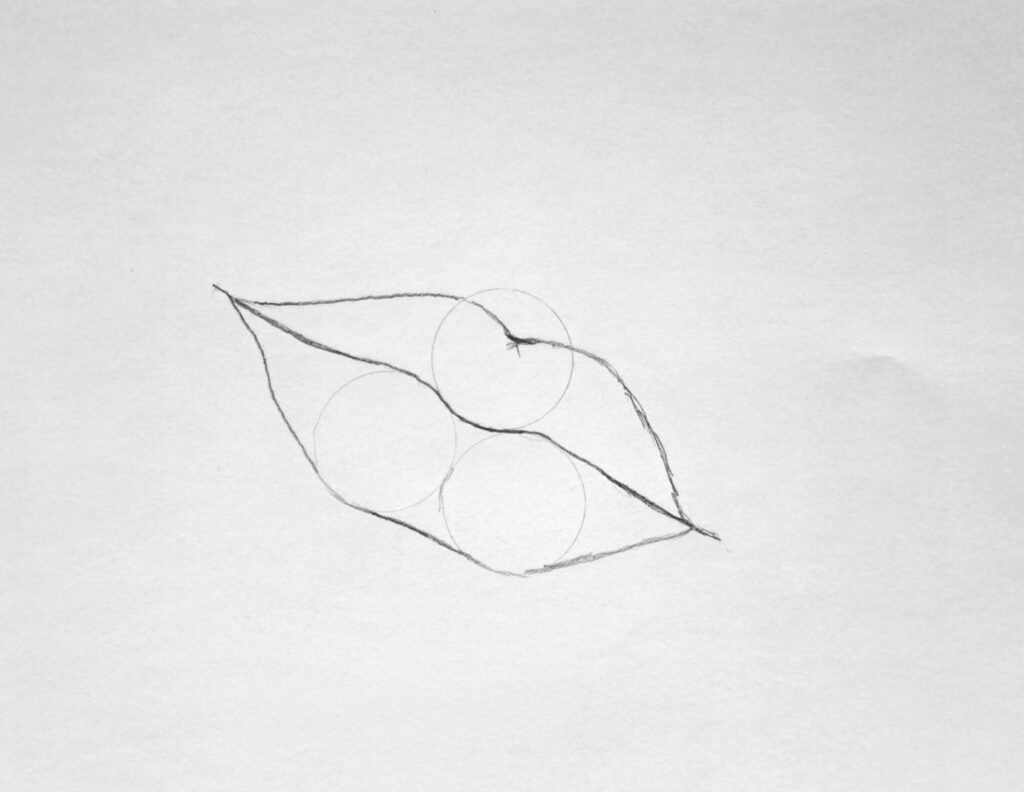
Sketch the Lips Around the Circles

Study my sketch above. You’ll realize that where the bottom circles meet becomes the middle of the lower. I’ve also sketched the lower lip around the two circles so that it looks like a bean pod.
Notice that the lower line curves significantly upwards and that the top line is almost straight. Try to replicate the same.
As for the top lip, a third of the circle is left out to form the cupid’s bow. The connecting lines curve downward to meet the lower lip on the sides, leaving a space for the mouth opening.
Complete the sketch of the lips
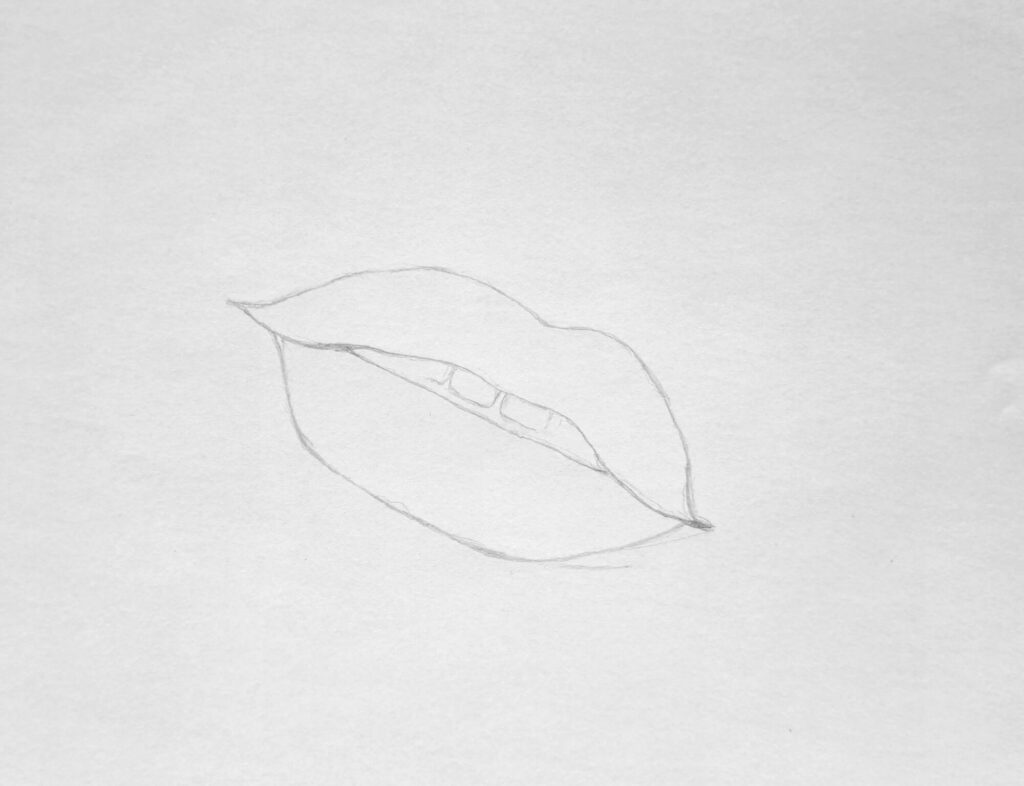
Remember that the circles were meant to be guidelines and nothing more. Therefore, you have a proportional sketch of the lips; you can erase those guides. Also, make sure the sketch is light (ideally done with an H or HB pencil).
Then proceed by sketching the visible teeth and erasing and or adjusting anything that looks off. You won’t have any other time to make corrections. Once you’re satisfied, you can begin shading or coloring.
How to Shade Realistic Lips with Graphite Pencils
Shading the First Layer
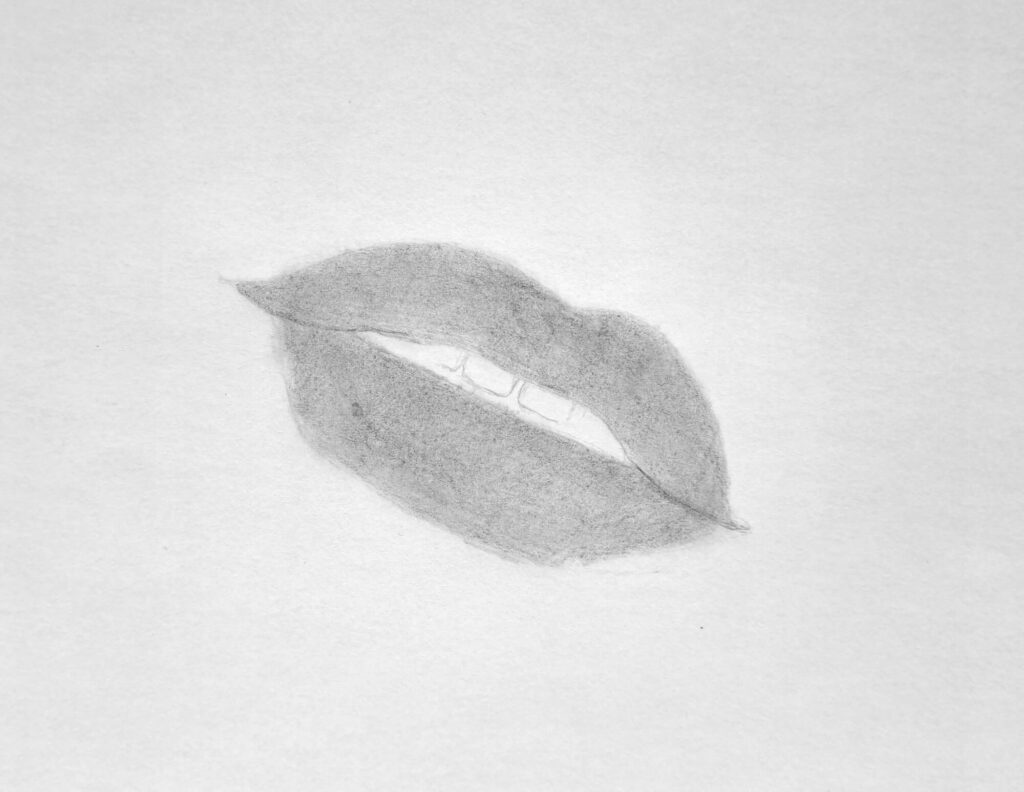
This step involves shading the top and lower lip as uniformly as you can. I recommend using an HB pencil since it’s not too hard to create unnecessary marks and not too soft to make your shading shiny.
Then blend to smooth the tooth of the paper and achieve a homogeneous finish.
Shading the Mouth Opening
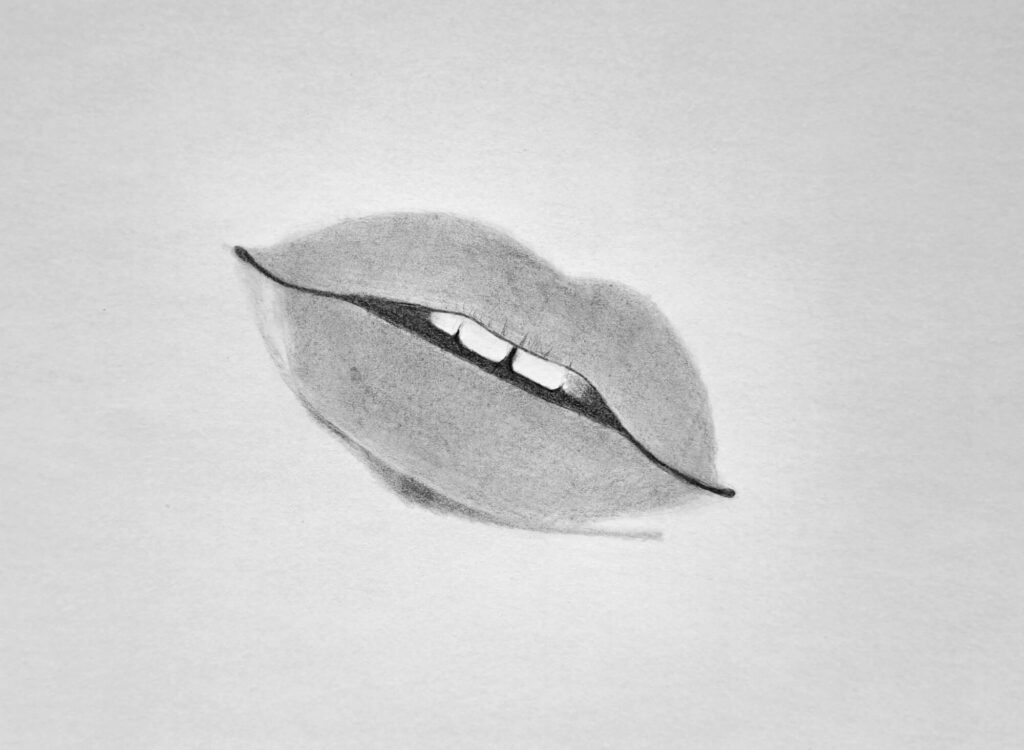
The mouth opening receives the least light exposure. This means it has darker values than anywhere else.
Use a preferably 2B pencil and shade from the sides to the center, leaving out the teeth unshaded. You can also have a touch just below the lower lip.
Shading Shadows on the Lips
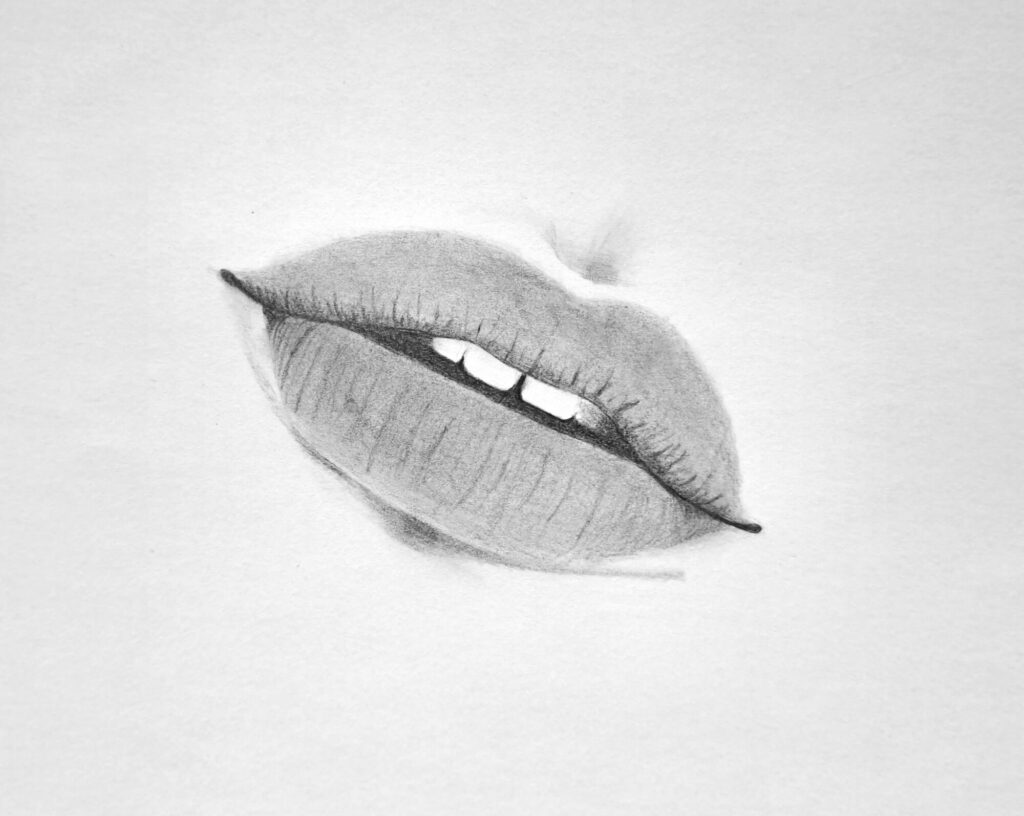
Human lips are seldom as smooth as most other surfaces. Instead, it has bumps, ridges, edges, and flat surfaces. All these features interact with light differently. Take ridges, for example, which are deeper and hence receive little light, making them appear darker than bumps.
Using a well-sharpened B pencil, make subtle strokes from top to bottom following the contour of the lips as shown in my illustrative diagram above.
Shading the Visible Teeth
Congratulations on reaching this point. If you’ve followed all the steps, you already have a beautiful artwork. However, in real life, the teeth are not that white. Besides, to create an illusion of them resting inside the mouth, we need to shade them a bit.
I’ve used an HB pencil to slightly shade over the teeth before blending. Furthermore, I’ve used a kneadable eraser to create subtle highlights on the lower lip.
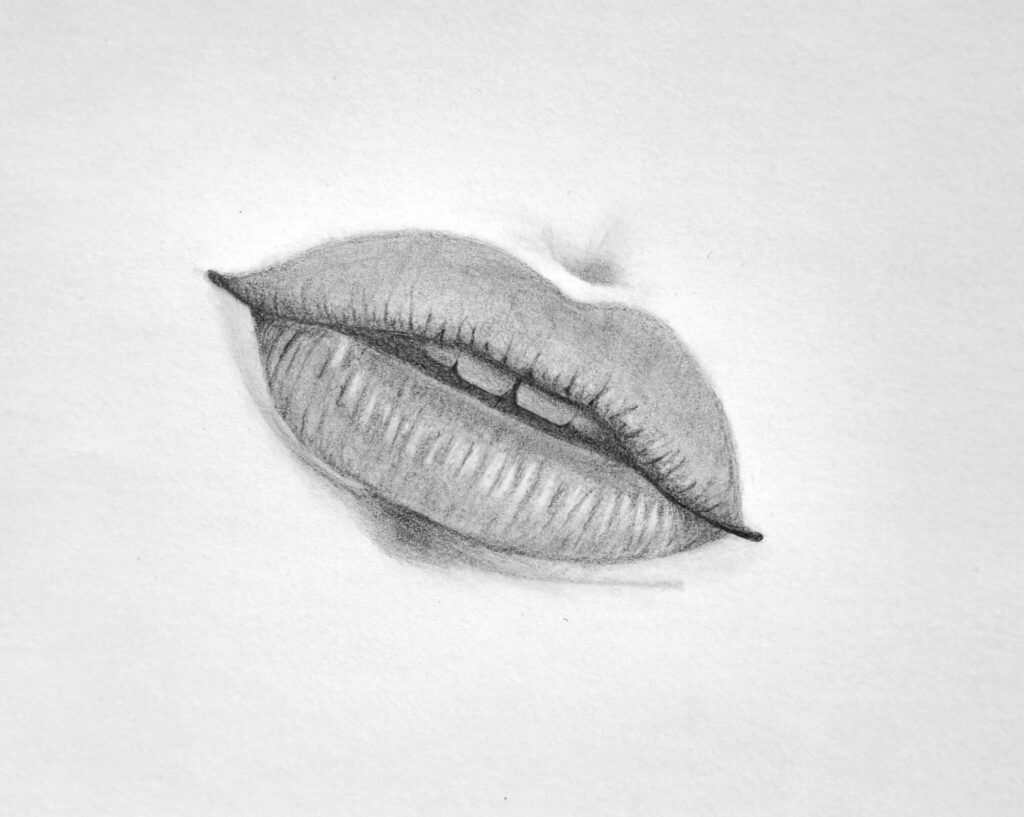
Drawing the Lips Final Step: Refining Highlights and Shadows

The last step involves analyzing your drawing for any obvious errors, for instance smudge. No matter how careful you are, there is always a likelihood of graphite crossing where it shouldn’t.
Such mistakes make the final artwork look blurry. To prevent this, get your kneadable eraser and refine all the highlights to make them pop.
Next, get a sharpened HB pencil and shade over the ridges and around the mouth. Lastly, use a 3B or 4B pencil to ensure the dark values are really black and refined.
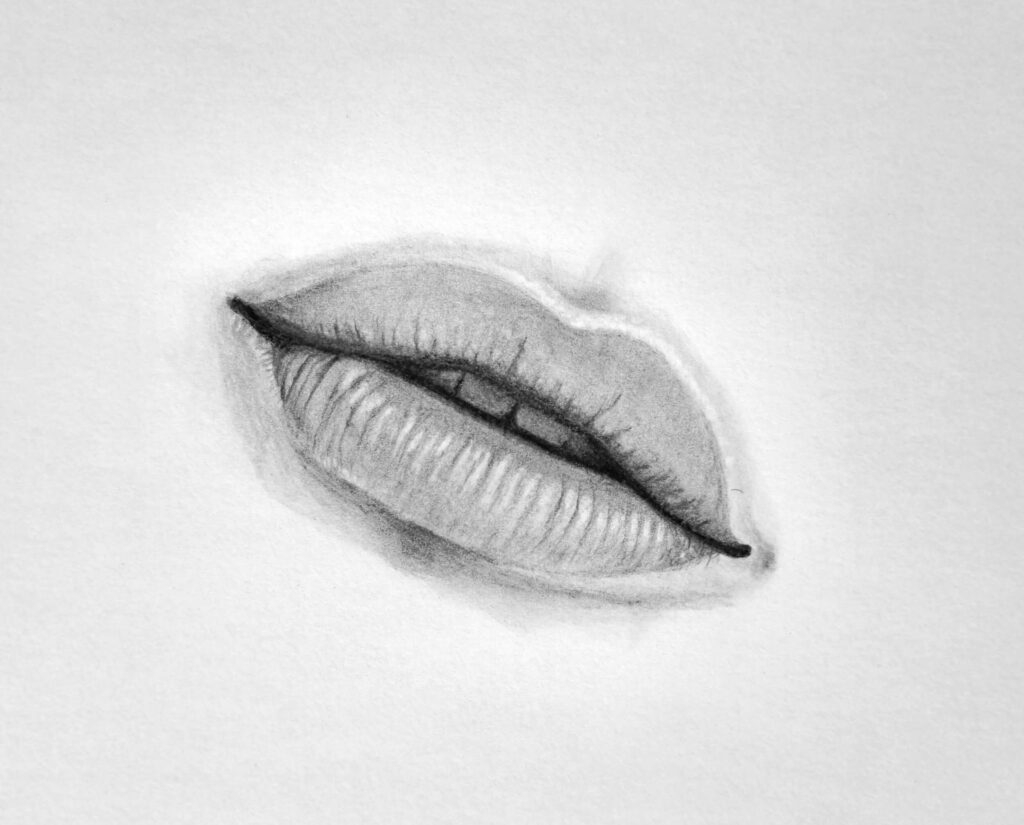
At the end, your lips drawing should look like mine, if not better. I hope it’s the latter.
You may be interested in learning how to draw a realistic smile with teeth.
Conclusion
While it’s easier to draw the lips on a front view, having a proven method guarantees a predictable outcome.
Keep practicing drawing different shapes of the lips, and in no time, you’ll become a master in creating realistic portraits. Don’t forget to share your artwork with me for free constructive criticism.