
I’d be lying if I said there’s an absolute way to draw folds.
In fact, the folds themselves are seldom uniform. Instead, their shape and appearance depend on gravity, movement, and the body shape they’re draped on.
As long as these factors continue to change, the folds will continue to follow along.
Therefore, whether you’re sketching a person in motion, a still-life scene with curtains, or just practicing clothing studies, this guide will walk you through how to draw realistic folds on dresses, shirts, trousers, and drapery.
But before we dive into step-by-step instructions, you might be wondering why bother learning how to draw clothes folds at all?
Honestly, it’s one of those things that makes a huge difference in how real your art feels. Without folds, clothes just look stiff, flat, or like they’re glued on.
Plus, studying folds isn’t just about clothing.
It’s a way to understand form, light, and shadow. Folds teach you how surfaces twist, overlap, and catch light. These are skills that make everything you draw look more three-dimensional.
Besides, they help you tell stories.
For instance, a crumpled jacket, a flowing dress, or a neatly pressed shirt or trousers all give your characters personality and mood.
Let’s Begin.
Easy Tips for Drawing Folds and Drapery
How to Draw a Dress with Folds (Step by Step)
When it comes to dresses, the fabric often flows and gathers around the waist, hips, and hem. That means most folds will radiate outward from those tension points.
Step 1: Sketch the basic form
Start by lightly drawing the figure or mannequin underneath the dress. You don’t need much detail, but this helps you understand how the fabric rests on the body.
Step 2: Identify tension and gravity points
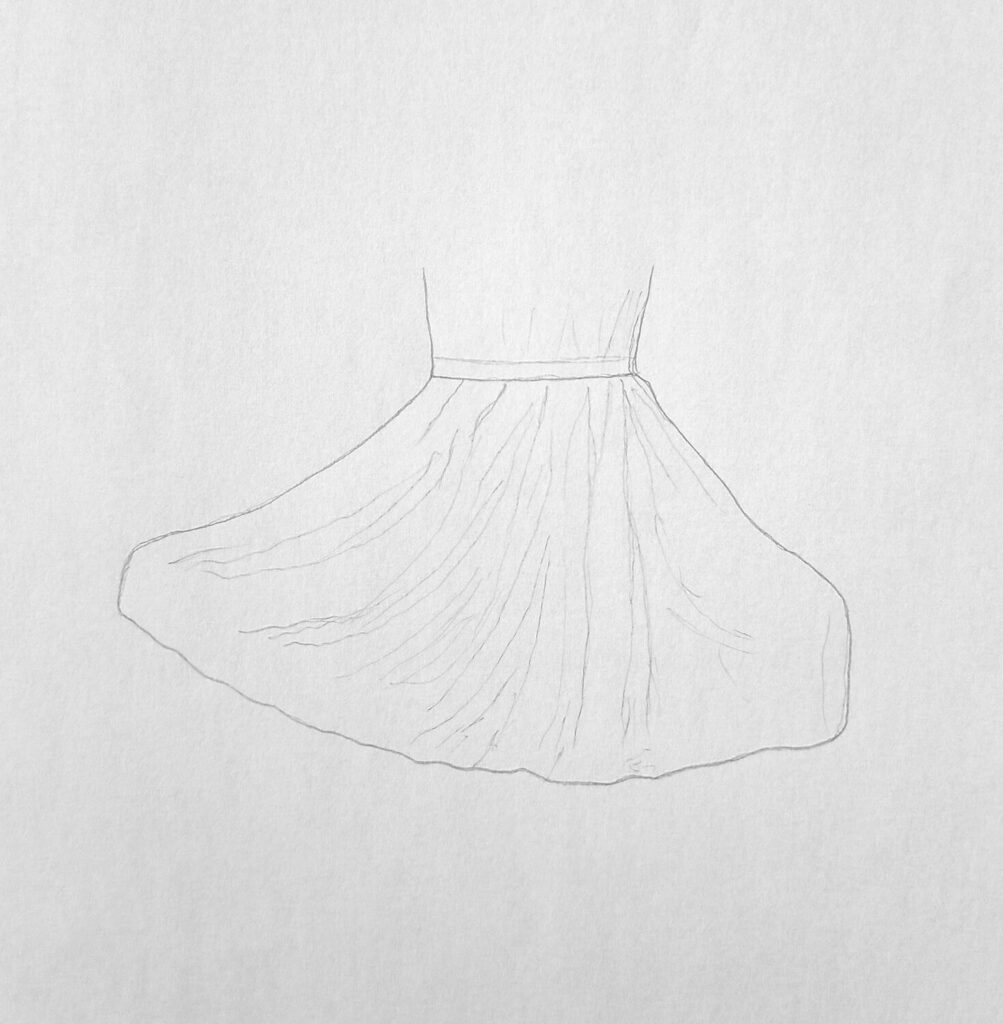
Ask yourself where the fabric is pulled or pressed. Is it cinched at the waist? Held by a belt? Hanging loosely?
Gravity always pulls the fabric downward, while tension points pull in different directions.
In my illustration, the dress is held at the bottom sideways on both ends. I hope you can tell as much.
Step 3: Add fold lines
Use quick, light strokes to show how the fabric bends and overlaps. For a soft, flowing dress, the folds will be long and gentle. For stiffer fabric, make the folds shorter and sharper.
Try to vary the width and spacing so they look natural.
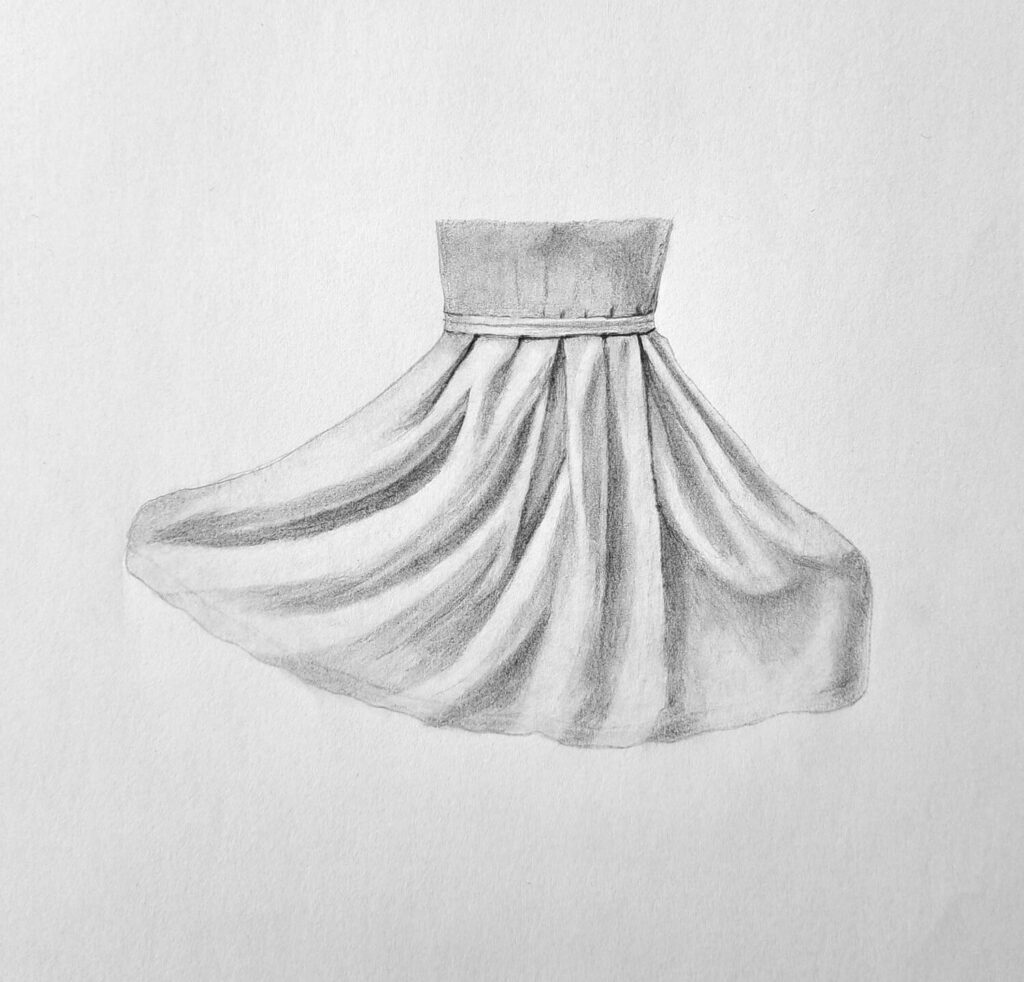
Step 4: Shading
The key to realistic folds is contrast.
The deeper areas (where fabric overlaps or tucks in) should be darker. The parts catching light should stay lighter. Squint at a reference photo to see where the strongest shadows fall, then build them up gradually with your pencil.
Pro tip: Don’t draw every single wrinkle. Suggest them. Your viewer’s brain will fill in the rest.
Drawing Shirts
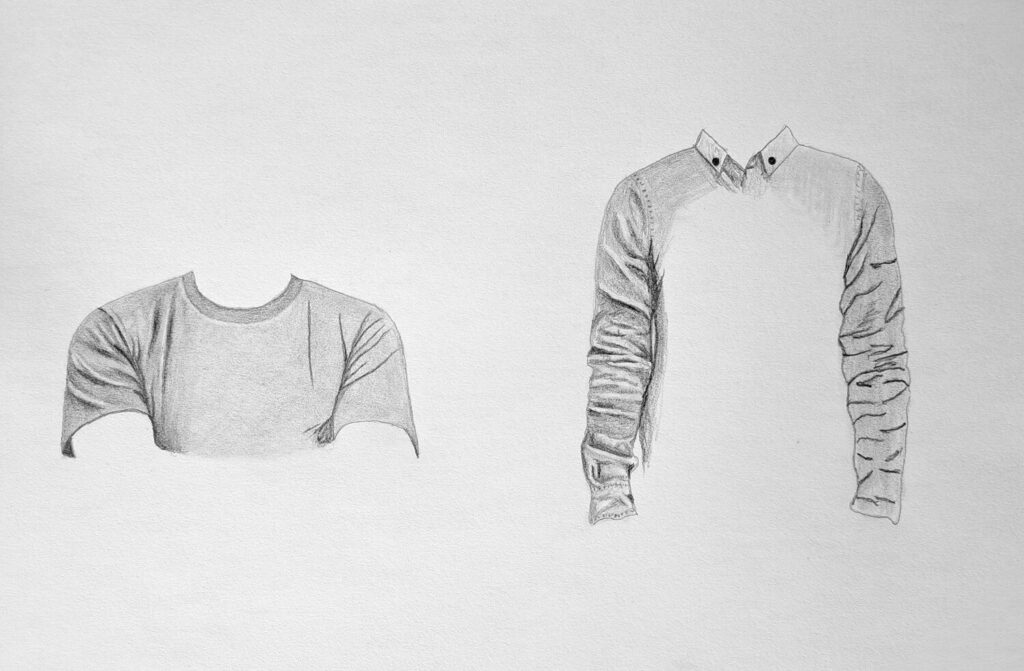
Shirts are all about structure. They’re usually made from cotton or polyester blends that don’t flow like silk or chiffon. So, folds are sharper and more geometric.
You’ll notice from my illustration that the left side looks more realistic than the right on both shirts. That’s because folds are not lines, not unless you’re illustrating comic characters. In such a case, there’s a great guide on that here.
Start with the framework
Draw the torso and arms first, then the shirt outline. You’ll notice tension forms around the shoulders, elbows, and armpits (anywhere the fabric stretches or bends).
Add folds based on movement
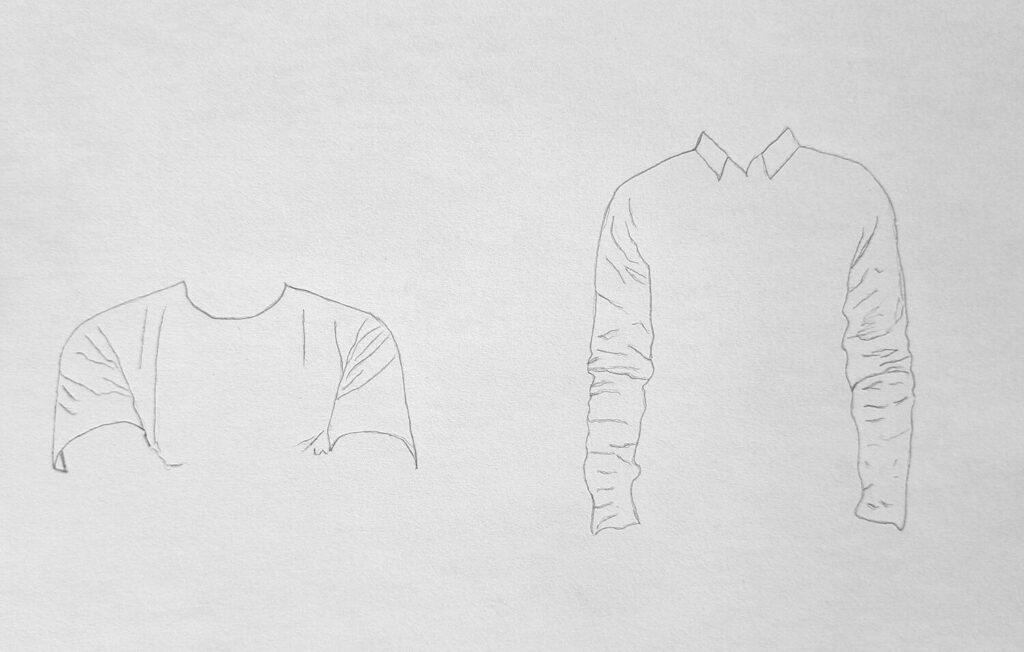
If an arm is raised, the fabric will bunch near the shoulder and stretch across the chest. If the arm is down, folds gather under the armpit. Around the elbows, you’ll often find parallel folds or “accordion” wrinkles.
Use subtle value shifts
For shirts, don’t overdo the shadows. Keep your shading controlled, since most fabrics here have a clean, structured look. Blend lightly and use directional strokes to follow the flow of the fabric.
Drawing a Casual Female Trouser
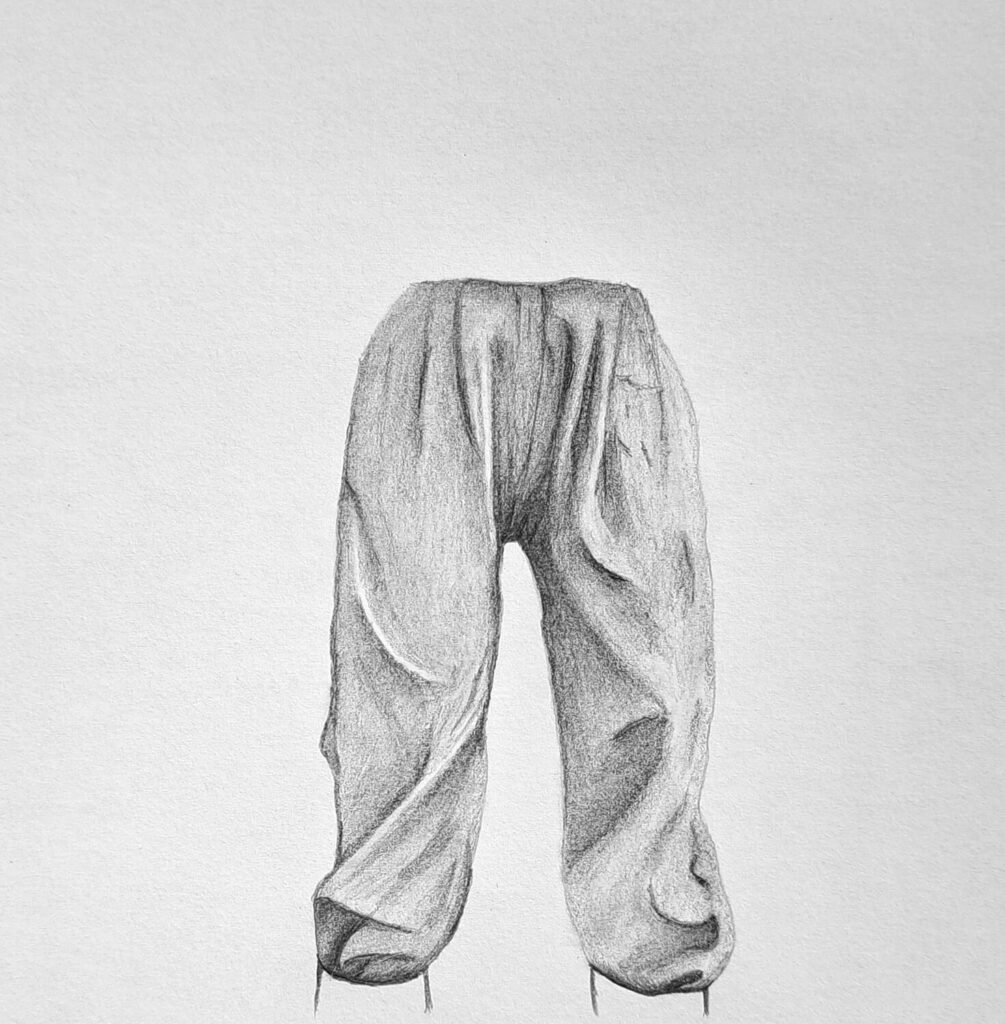
Casual trousers, think jeans or loose cotton pants, have folds that show both structure and comfort. They’re heavier than dresses but softer than formal wear.
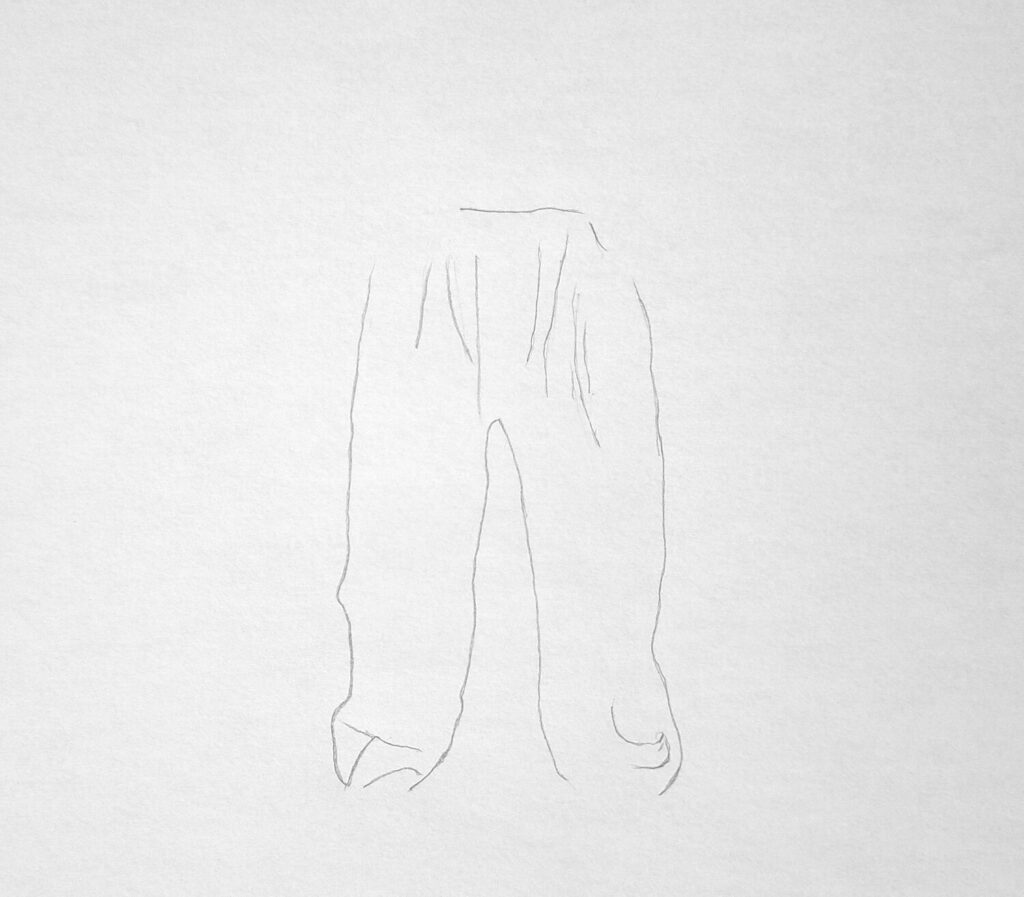
Start with the form
Sketch the basic leg shapes lightly. This helps you place the seams, pockets, and waistband correctly.
Locate stress areas
At the knees, back of the thighs, and around the hips, you’ll find most of the folds. Gravity pulls the fabric down the leg, while the knees and seat create horizontal creases.
Keep folds relaxed
Unlike formal trousers, casual ones don’t have sharp pleats. The wrinkles tend to curve and flow.
Add small creases around the knees and gentle sagging near the ankles for realism. This is especially true if they’re tucked in boots as per my illustration.
Add depth
Shade lightly in layers, focusing on folds that turn away from the light.
Use a kneaded eraser to lift out highlights and create the illusion of soft fabric.
Drawing an Official Male Pair of Trousers
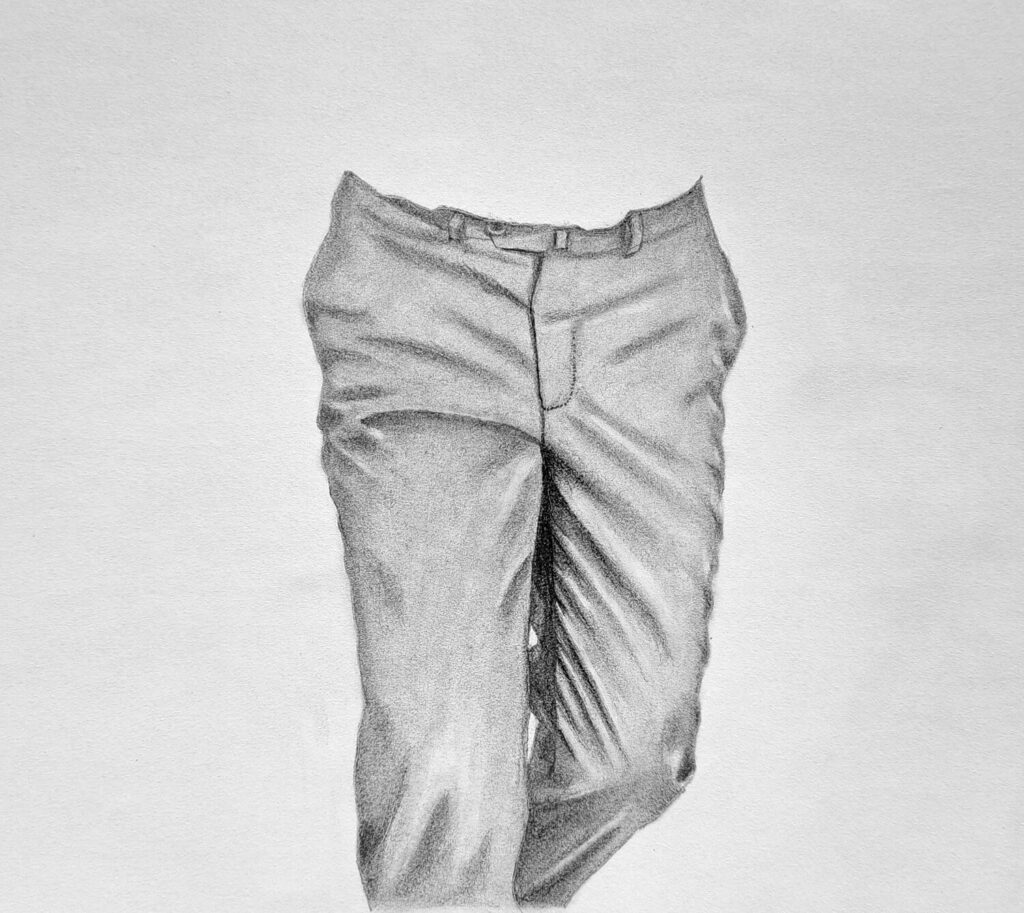
Now, formal trousers are a different beast. They’re usually made of stiffer fabrics like wool or polyester blends that hold shape better. That means fewer, cleaner folds.
Begin with the basic silhouette
Draw the figure and the straight, smooth outline of the trousers. The overall shape is more structured than casual pants.
Mark key fold zones
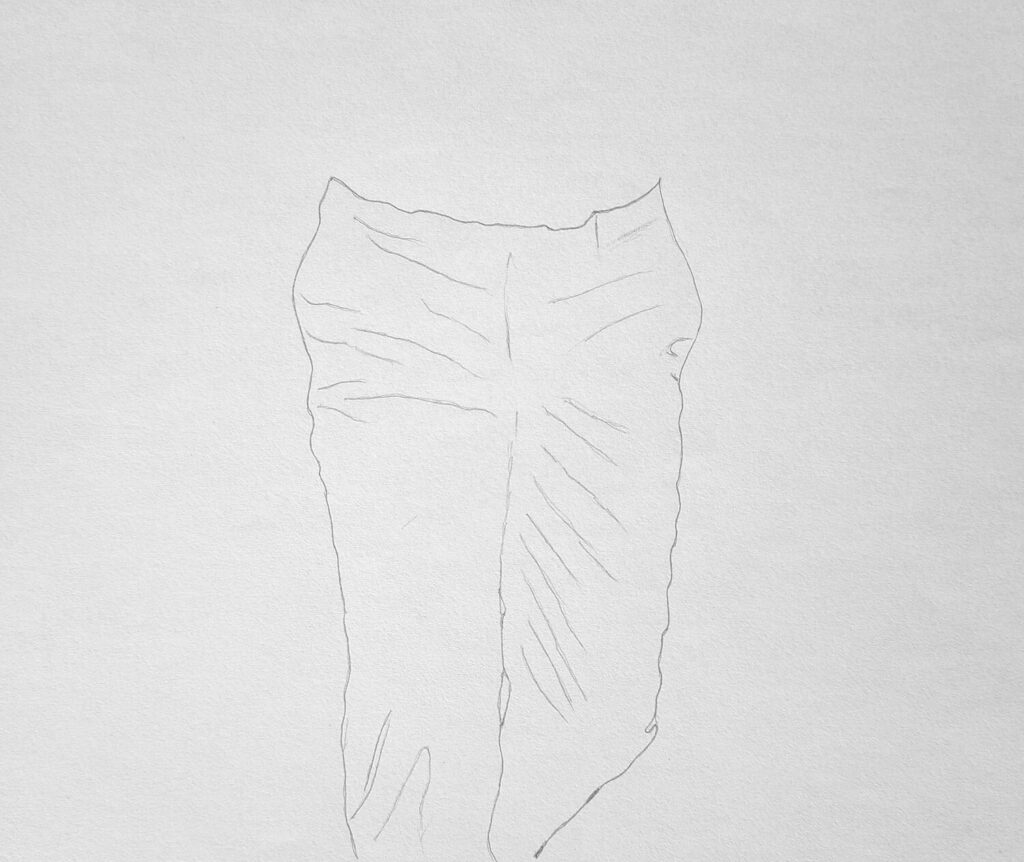
Look for folds near the crotch, back of the knees, and ankles. You’ll also see a sharp crease running down the front of each leg.
That crease is what gives formal pants their polished look, so make it clean and confident.
Keep shading crisp
Since the fabric is stiffer, shadows should be sharper. Avoid too much blending; let there be clear transitions between light and shadow. This gives the impression of smooth, pressed fabric.
Drawing Folds on Curtains

Drapery folds are some of the best exercises for understanding fabric flow. Curtains hang freely, which means gravity is the main force at work.
Start simple
Sketch two vertical lines to mark the curtain’s width. Then, decide how it’s hanging flat, gathered, or pulled to one side.
Add rhythmic folds
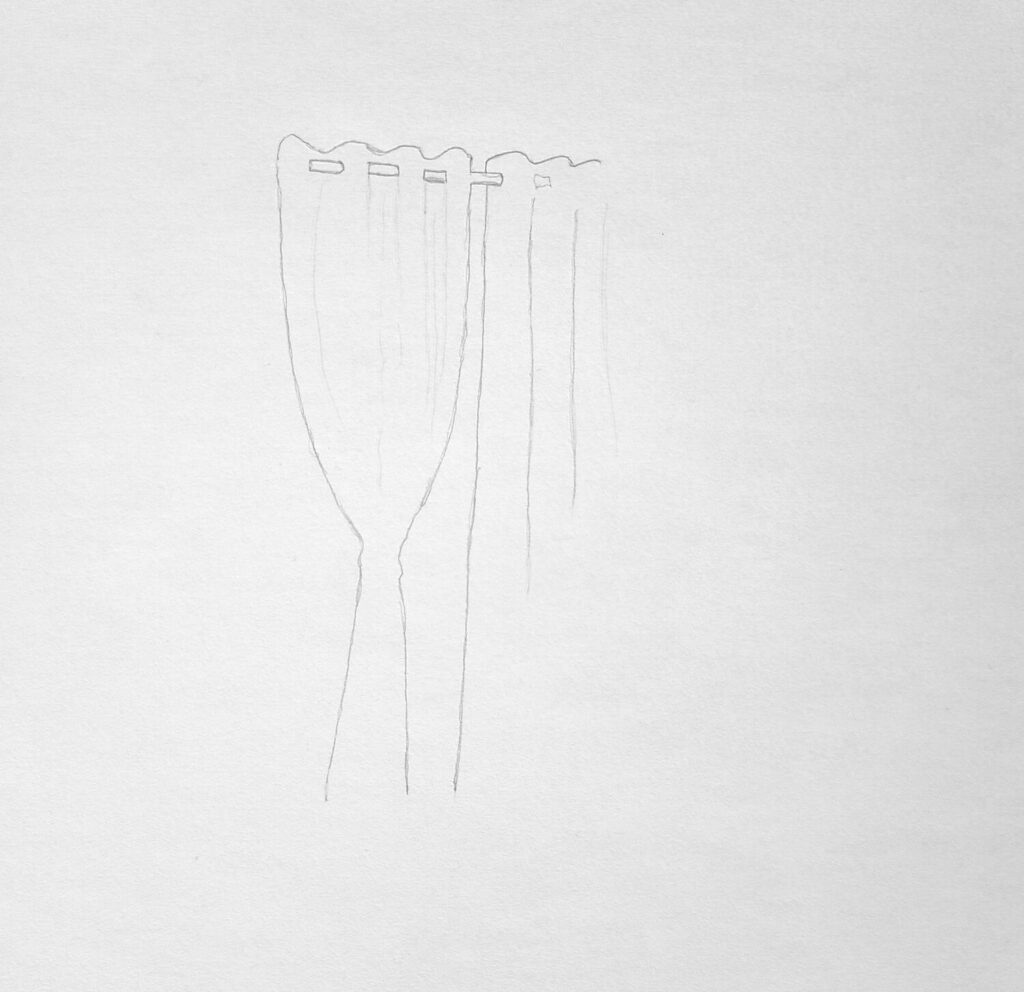
Curtain folds often repeat in a rhythm, like waves. Draw long, vertical lines that curve slightly as they fall.
These folds should taper at the top, where the curtain is hung, and widen at the bottom, where the fabric pools.
Work in layers
Add shadow to the inner parts of folds and highlights along the edges. For thicker curtains, the contrast between light and dark will be more dramatic.
For lighter materials like sheer fabrics, keep your shading soft and airy.
Pro tip: You can crumple a piece of paper or hang a scarf and study how the folds behave. Real-life observation always beats guessing.
Here are other tutorials guaranteed to challenge your shading:
Conclusion
Drawing folds and drapery isn’t about memorizing shapes. Instead, it’s about understanding how fabric behaves. Every wrinkle tells a story about tension, gravity, and movement.
Therefore, next time you want to draw realistic characters, think of portraiture or illustrating comics, you have an idea of how to render those fabrics.
If done right, this rendering will tell visual stories about your characters and artwork.
I hope you’ve enjoyed today’s tutorial. If you did, a repin on Pinterest or a share wouldn’t be too much to ask.