Drawing realistic textures can feel really intimidating.
Whether you’re a beginner or you’ve been sketching for years, it’s one of those things that separates a “nice drawing” from a whoa, that looks real! Kind of moment.
And if you’ve ever tried to draw glass or fur with a graphite pencil, you can agree that it can be quite challenging and satisfying at the same time.
The good news?
You don’t need to be some superhuman art genius to master texture. You just need a bit of patience, a good eye, and a few techniques up your sleeve.
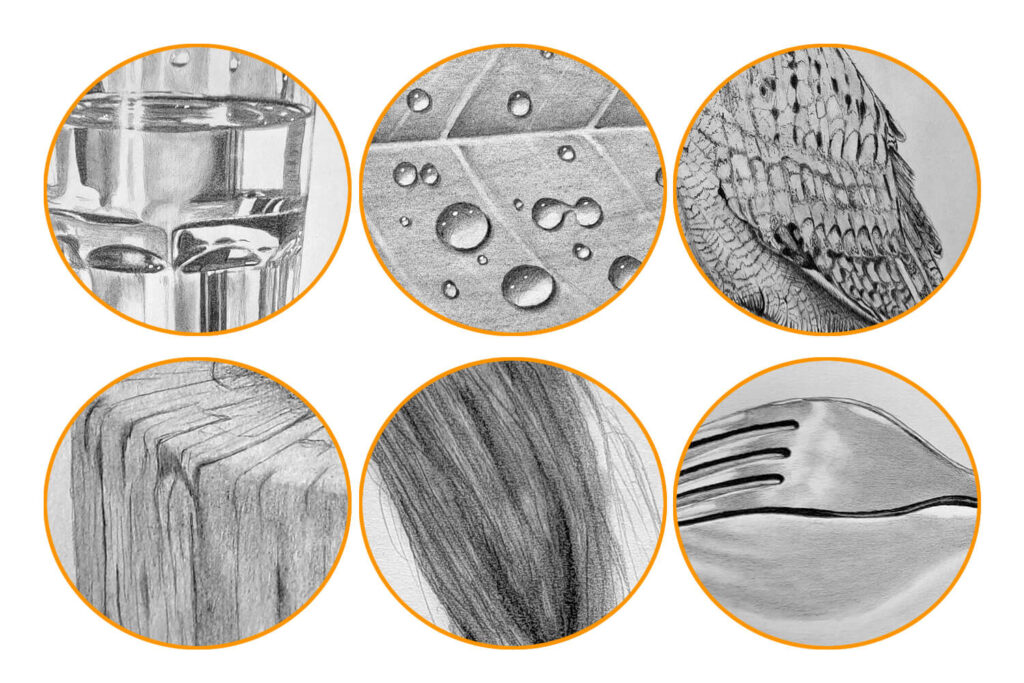
In this post, we’re diving into seven of the most challenging textures to draw and how to actually pull them off. As time goes by, I’ll keep updating with more texture.
Therefore, if you’ve ever struggled with shiny surfaces, soft strands, or reflective details, you’re in the right place.
Why Texture Matters in Realistic Drawing
Texture is what brings a drawing to life. It’s what makes a piece feel real, even when it’s done in graphite pencil and paper. Texture shows viewers what something would feel like if they could reach out and touch it.
For instance, rough bark, soft fur, cool glass, or sleek metal.
Without texture, your drawing might still have the right proportions and shading, but it’ll look flat or unfinished.
That’s why learning how to mimic different surfaces is so important, especially when working with graphite, where you’re relying entirely on value, contrast, and technique to build the illusion.
So, Can You Draw These 7 ‘Impossible’ Textures?
1. Drawing Glass Texture
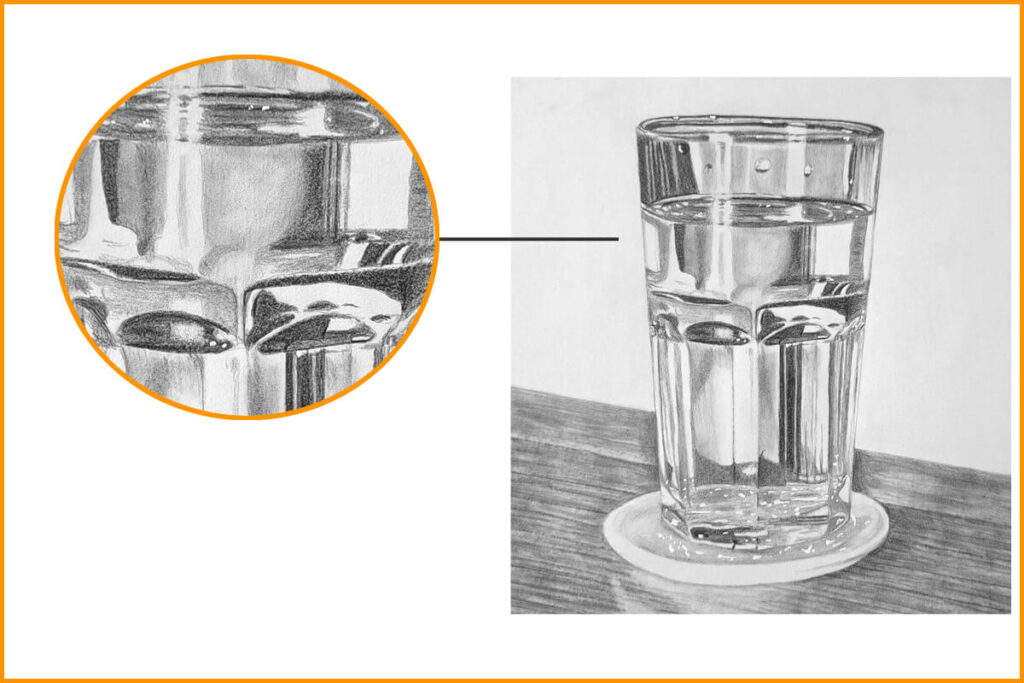
Drawing glass might be the ultimate mind-bender. It’s clear, but not invisible. It reflects, refracts, and distorts light. Sounds impossible? It’s not.
What to focus on
Glass is all about light and contrast.
You’re not actually drawing the glass itself. Instead, you’re drawing what you see through it, plus the way light interacts with its surface.
Start by lightly sketching the shape. Then, carefully observe the highlights, shadows, and any reflected objects. Most of the time, glass has very sharp highlights and very soft shadows.
Pro tip: Use a kneaded eraser to lift out clean highlights, and don’t shade the entire object; leave blank spaces where the light hits directly. For deep darks (like the rim of a drinking glass), layer your graphite and blend smoothly with a blending stump.
I used a similar concept to draw a glass of water. Be sure to check out that tutorial.
2. Drawing Metallic Texture
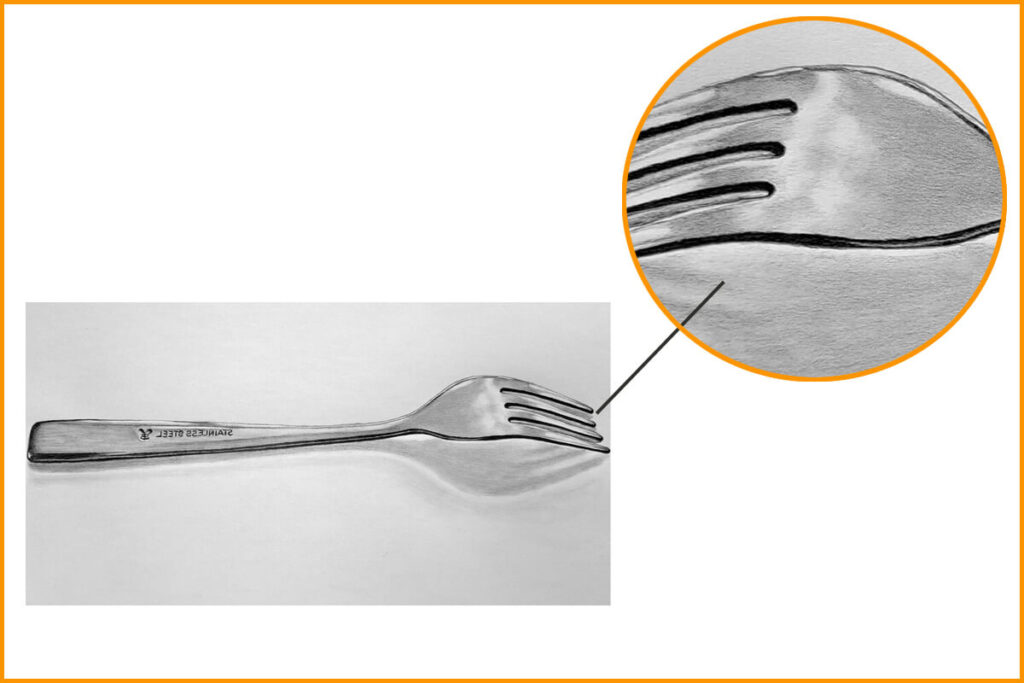
Metal’s another one that can feel impossible at first. It’s hard, reflective, and often full of intricate highlights. But once you get the hang of it, it’s super satisfying.
What to focus on
Look for sharp edges, high contrast, and reflections. Unlike glass, metal often has a more defined light pattern and reflects its surroundings in a warped or curved way. Think of drawing a spoon.
You’ll often see a distorted mini-scene inside it. If you want to practice further, here’s a tutorial on how to draw a fork.
Pro tip: Use an HB to 4B pencil to build up values and keep your darkest areas really crisp. Blending is key, but leave some parts sharp to preserve the “shine.” If you smudge everything too much, it’ll look dull.
3. Drawing Hair: From Stringy to Silky
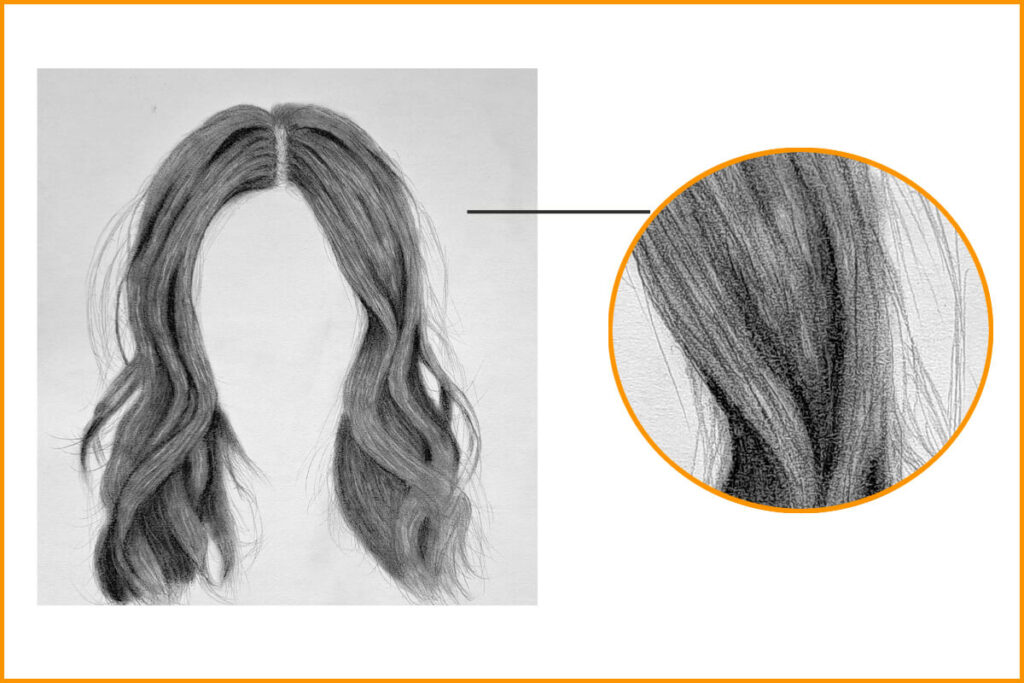
Hair seems simple until you try to draw it, and it turns into a nest of spaghetti. The trick isn’t drawing every strand. It’s about capturing flow and texture without going overboard. Here’s a detailed guide on drawing realistic hair.
What to focus on
Start with the big picture by asking the following questions: How does the hair fall? Where is the light coming from? Then break it into sections and gradually add volume with strokes that follow the direction of the hair.
Pro tip: Use sharp pencils (2B or 4B are great) for details and a blending brush or soft tissue for subtle transitions. Avoid drawing individual strands too early. Instead, think in blocks and build up the detail in layers.
Bonus tip I picked up from another artist: Instead of using a pencil for highlights, use an electric or kneadable eraser to pull out lighter strands. It makes a huge difference.
4. Drawing Wood Texture
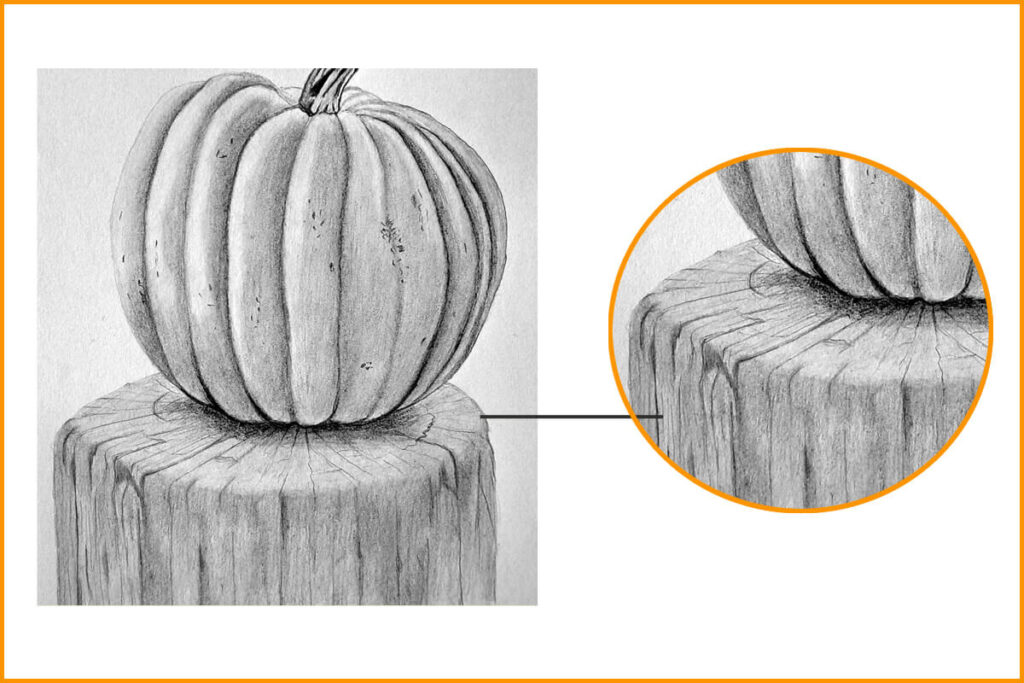
Wood grain is like a natural fingerprint. No two pieces are exactly alike. That’s what makes it beautiful, and also challenging to capture.
What to focus on
Observe the grain direction, knots, cracks, and subtle texture. Try to vary your line pressure to mimic the uneven surface of aged wood.
Pro tip: Use a mechanical pencil for the grain lines and a tortillon to lightly blend areas that need more depth. Don’t overblend, though. That’s because wood has a slightly rough texture, and you want that to show through. You may want to check out this guide.
5. Drawing Fur
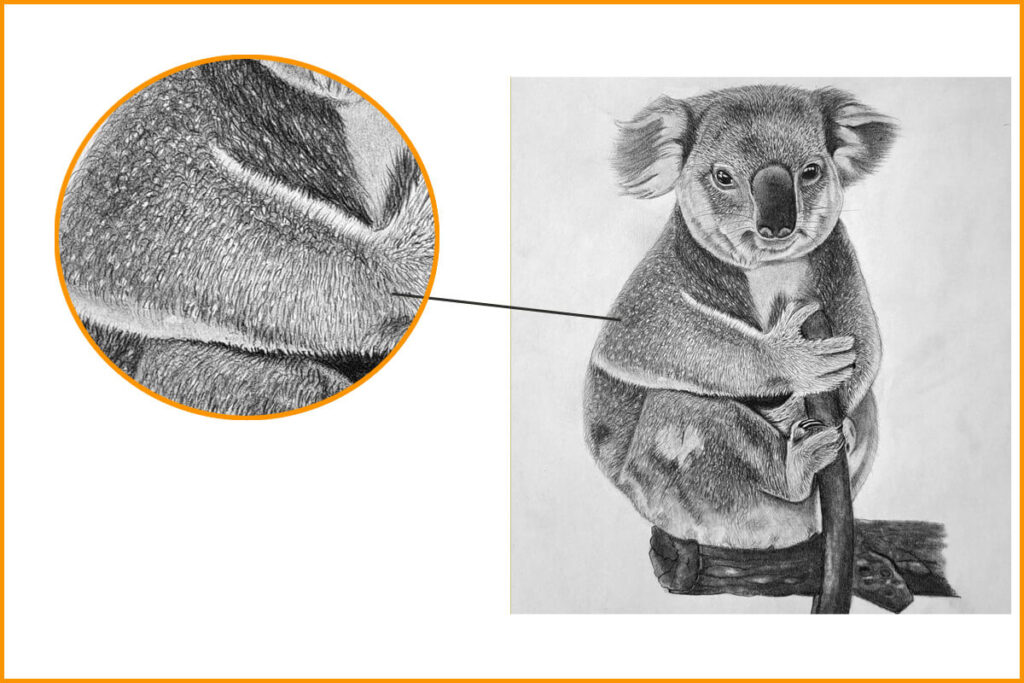
If you want to draw fluffy-looking fur texture, then you’ll have to be patient. This is because fur takes time, but once you understand the direction, clumping, and layering, it gets much easier.
Here’s how I drew a cute koala by patiently shading the fur for extra realism.
What to focus on
Like hair, start with the general shape. Then add fur in small sections, layering strokes that follow the natural flow. Break it up with some overlapping clumps to avoid a uniform look.
Pro tip: Use short, light strokes and vary your pencil pressure to achieve a smooth, even line. The best trick? Work in layers. The first layer sets the tone, the second adds volume, and the third brings in detail. A kneaded eraser is your best friend for highlights on top of shaded areas.
6. Drawing Water Droplets
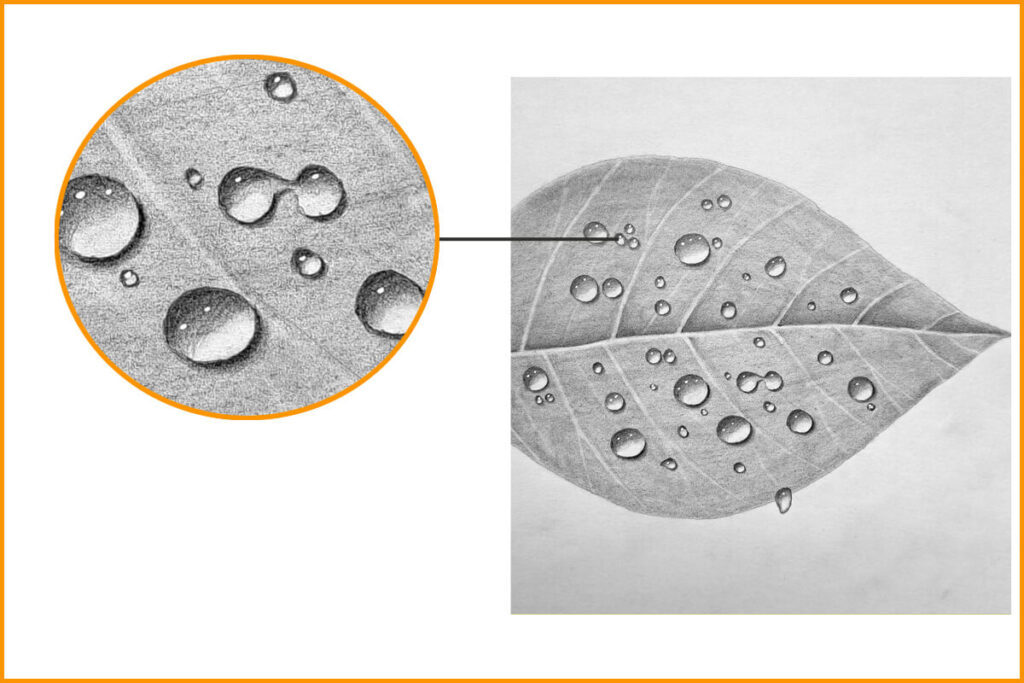
I’ve had a lot of fun drawing and shading water droplets on various surfaces, including the leaves.
What to focus on
A water droplet is basically a tiny lens. It has a highlight, a shadow, and a reflection. The light source should be consistent with the rest of your drawing.
Pro tip: Draw a soft shadow just beneath the droplet and a bright highlight opposite that shadow. This creates the illusion of roundness. Use a sharp pencil for outlining and a precision eraser for highlighting.
7. Drawing Feathers
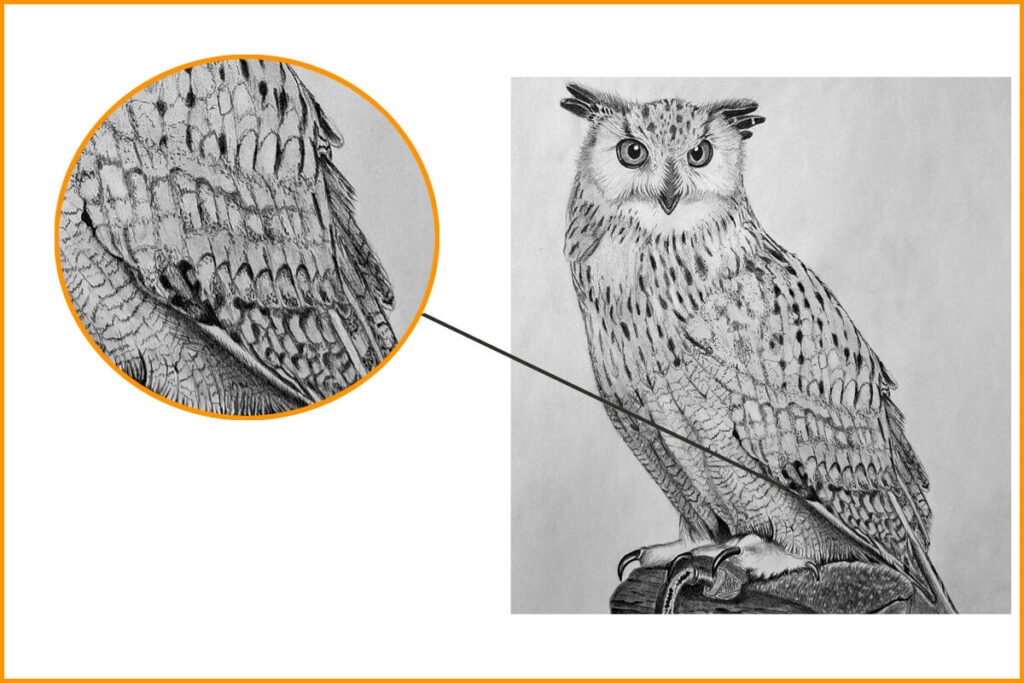
Feathers are deceptively complex. They’re structured, but also soft and flowing. Drawing them is a balancing act between accuracy and lightness.
What to focus on
Start with the central shaft and work outward. Feathers often have a symmetrical structure, but each bar (the fine parts that come off the shaft) has its own flow and spacing.
Here’s an easy tutorial on how to draw a single feather
Pro tip: Use crosshatching or fine, controlled lines to suggest softness without drawing every single strand. Add a touch of shading near the base and edges for volume. Avoid over-blending. Feathers need a sense of airiness. Also, it’s helpful to learn about different types of feathers.
If you want to learn and practice more, consider drawing an owl, eagle, folds on fabrics, or birds in general. Also, check out Winter Texture Drawing Challenge: 11 Cozy Objects to Sketch This Month
Extra Tips That Helped Me Level Up
- Keep your pencils sharp. You’d be surprised how much detail you lose with a dull tip.
- Use references. Always. Even if you think you know what metal or fur looks like, a photo will reveal so much more.
- Work slowly. Texture takes time. Rushing it often means over-blending or flattening everything.
- Experiment with tools. Try things like makeup brushes for soft blending, or a slice tool for ultra-fine highlights (yep, some artists use blades for this!).
Conclusion
Drawing texture with graphite can feel overwhelming, especially when you’re aiming for realism. But like most skills, it gets easier the more you do it.
You don’t have to get it perfect every time. Just showing up, practicing intentionally, and learning from what works (and what doesn’t) is how real progress happens.
Some of these textures, like glass or metal, might take a few tries. Others, like wood or feathers, can be really fun once you get the hang of the patterns.
So, grab your sketchbook and try drawing one of these textures today. Maybe even challenge yourself to do all seven. It’s honestly the best way to build confidence and skill.
I’ll keep updating this post with more ‘impossible’ textures in the days to come. Therefore, I recommend you bookmark or save it on Pinterest so that you won’t miss a thing.