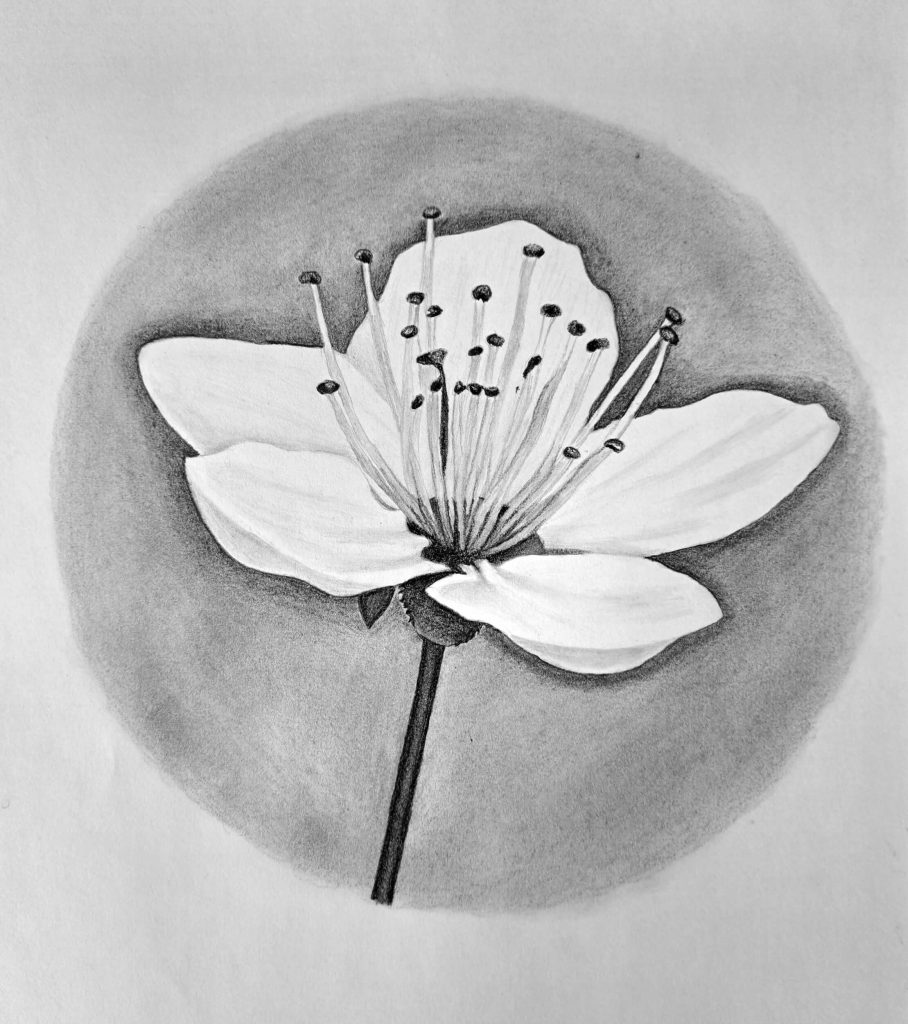
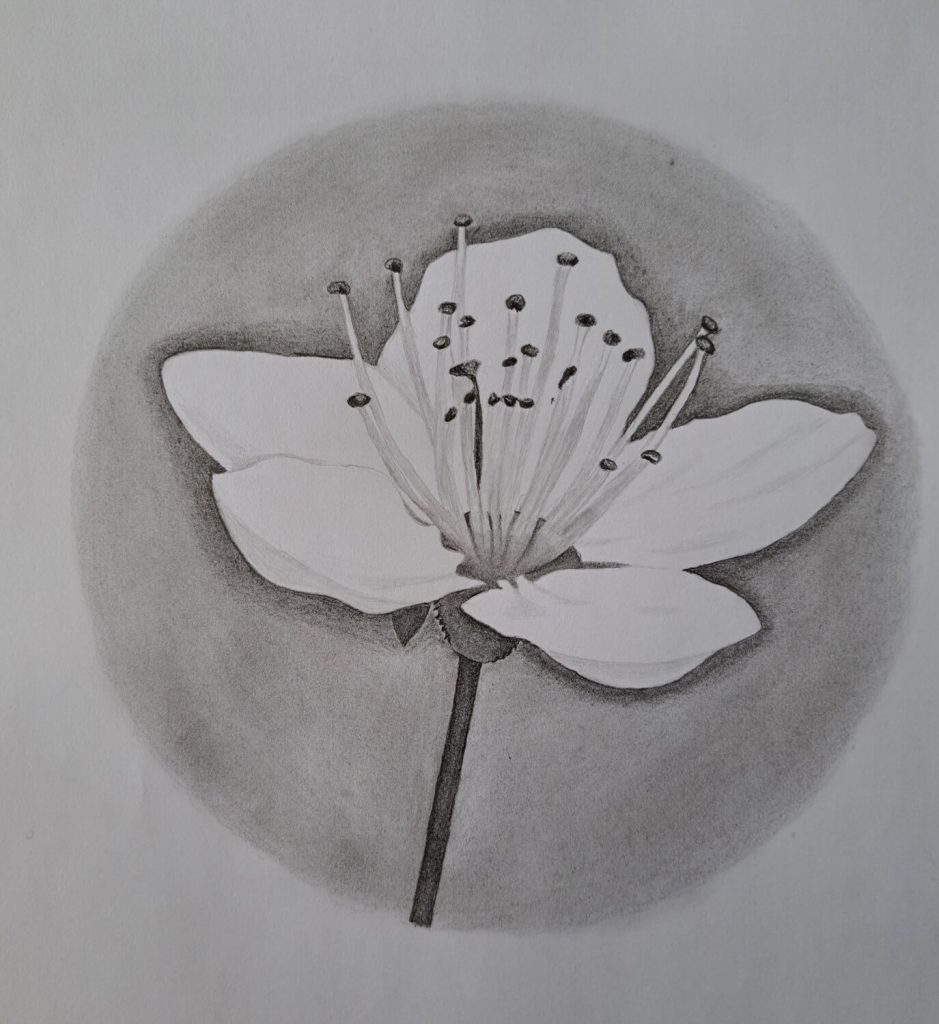
Cherry blossoms, or Sakura, are some of the most gorgeous flowers celebrated for their beauty. These blooms are prized for their delicate, white or pink, short-lived flowers.
Talk of scarcity adding value.
Because they bloom for only a short period of time, they teach us a very important lesson: the fleeting nature of life.
As artists, we need to appreciate the background story behind our subjects. Otherwise, why does it even matter?
Enough said.
Let’s learn how to draw this magnificent flower, which has profound meaning in our lives. No wonder it’s considered one of Japan’s national flowers.
Drawing the rough sketch
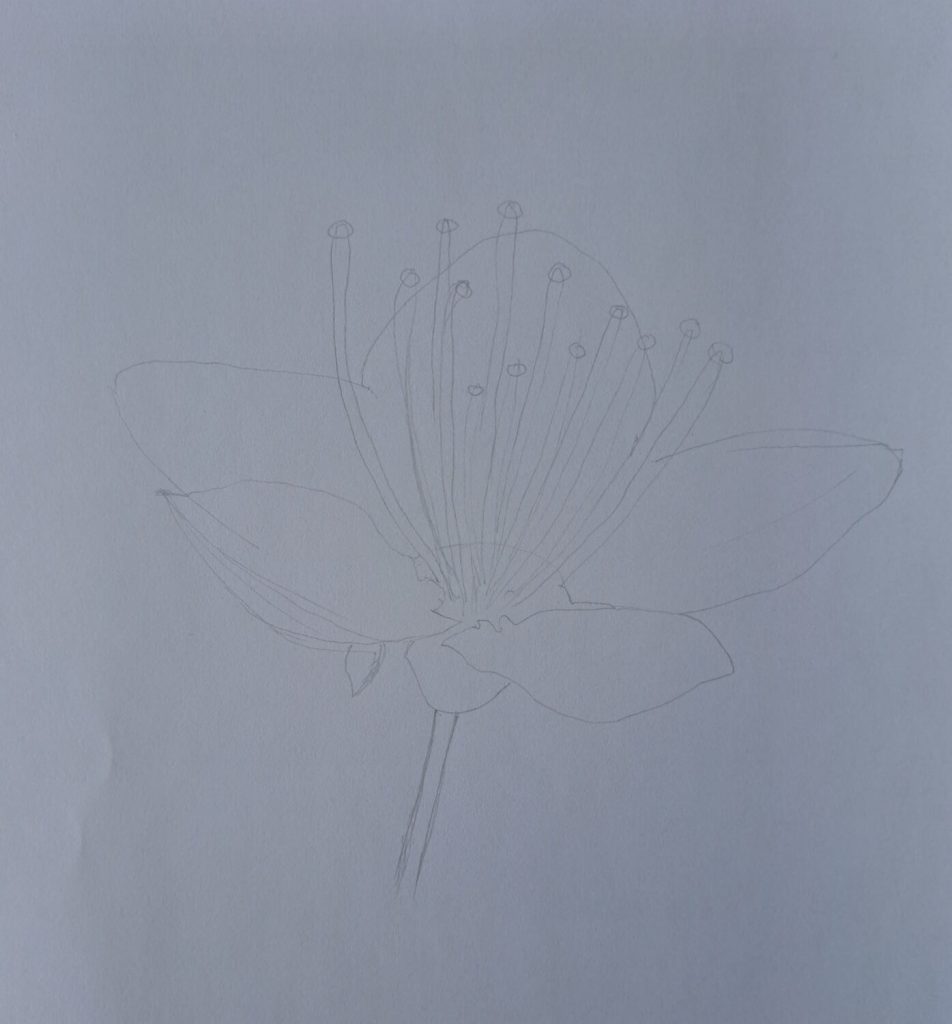
- Use a hard light pencil (4H – H). I prefer to use 2H
- Capture as much detail as possible, including the petals, anthers, and stalk.
- Allow your creativity to flow by not trying to be perfect (just draw what you can observe)
Cleaning up the sketch
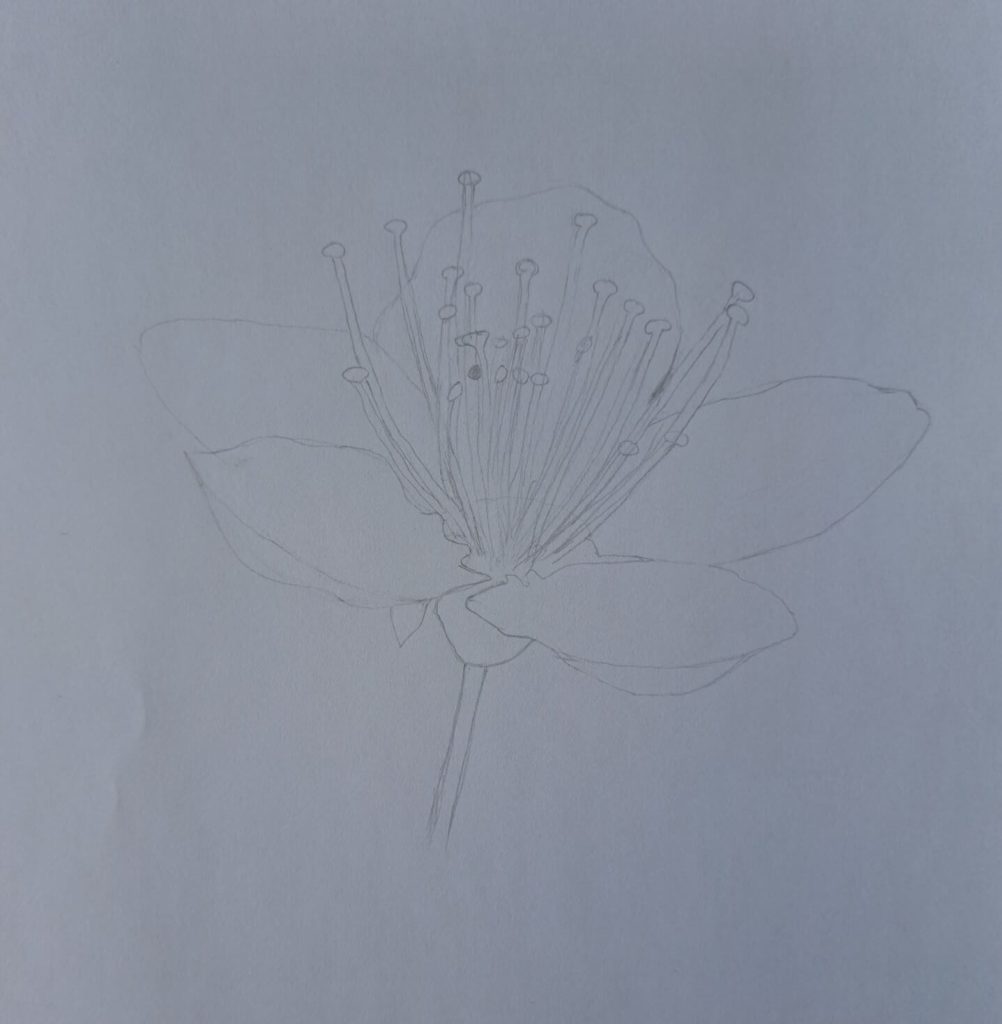
- This is where you should erase any overlaps or drawings outside the subject
- Ensure everything is in its correct position
- Don’t be afraid of erasing anything and re-sketching
First Shading
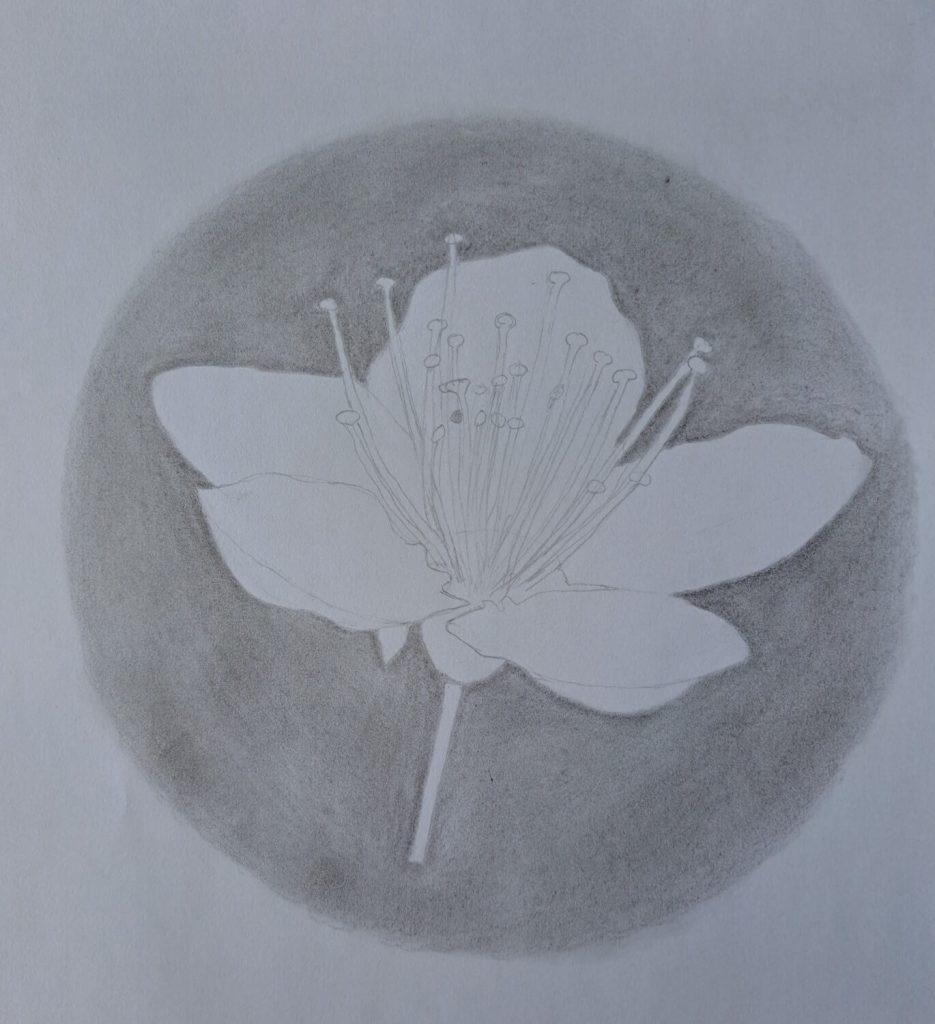
- In most of my previous tutorials, you’ll notice that I advocate for initial shading done on the main sketch.
- This is different in that our first shading is for the background and not the subject.
- The cherry blossom petals are bright pink or white and delicate.
- Shading them earlier will create a different illusion of being dark
- Shade around the subject, and don’t worry about minute details.
- Blend using a Q-tip or a tissue wrapped around your finger – it’s faster that way
Shading the details
- Start with the flower stalks (use a soft dark pencil – 6B), anthers/stigma, sepals
- The stamens (tubes supporting the anthers) are relatively bright – use an HB pencil to shade – Keep in mind they’re brighter towards the tips.
- Don’t bother about the petals just yet.
Increasing the contrast.
- Create a healthy contrast between the background and the flower.
- Use a B or 2B graphite pencil to shade the background around the flower.
- This allows the flower to ‘pop’ from the background. The petals appear more delicate and brighter.
- Remember to blend the background once more to have a smooth transition.
Shading the cherry blossom’s petals

- Always do this separately
- To avoid the petals looking flat, we need to shade them.
- Use an H pencil to shade any visible folds and creases to create an illusion of 3D.
- Using a light pencil and a contrasting dark background will guarantee that petals remain bright and tender.
Conclusion
Drawing flowers—not just cherry blossoms — is one of those things I find exciting. So, if you find yourself running out of drawing ideas, you should probably start there.
If it helps, here are some other exciting tutorials in the series of flower drawings.
Let us know if there’s any flower you’d like us to cover. Lastly, don’t forget to share your results with me and if you found this tutorial helpful, please feel free to share.