
If you’ve ever sat down with a pencil, ready to draw a realistic face, and then ended up with something that looks creepy… you’re not alone.
Drawing realistic faces is one of those things that seems impossible until suddenly it clicks. But I promise it’s not magic.
It’s just practice, patience, and a few helpful tricks along the way.
So, let’s talk about drawing a realistic female face from the front view. I’m not an art school grad or a hyperrealism pro, but I’ve picked up some solid steps that make a big difference.
This isn’t about drawing a perfect face; it’s about learning how to see better and build up your skills in a way that actually feels doable.
First Things First: Choosing a Good Reference Photo
- Go for Clear Lighting:
Pick a photo with strong lighting, ideally, one main light source. This gives you good contrast between highlights and shadows, which makes shading so much easier (and more dramatic). - Avoid Filters or Heavy Editing:
Instagram-style filters tend to flatten or blow out the details you need for realistic drawing. Natural lighting is your best friend. Pexels and Pixabay are all great sources to find royalty-free references. - Look for Subtle Expressions:
A relaxed face works well when you’re just learning. Big smiles or dramatic angles can be tricky at first (but fun to try once you’re more comfortable!). - Print It Out or Use a Screen?
Either works, but if you use your phone or tablet, ensure it’s locked so the brightness doesn’t keep changing; it’ll mess with your values while shading.
What Pencils Should You Use?

You don’t need an entire art store’s worth of pencils. Just a few basic grades will do:
- 2H or H: For light grid lines and initial sketching. These are harder pencils and leave faint marks.
- HB or B: Good for general shading and mid-tones. A nice in-between.
- 2B–4B: These are softer and darker, perfect for deeper shadows, dark hair, or bold eyebrows.
- 6B or 8B: Use sparingly for the darkest accents (like pupils or the darkest hair curls). They can get smudgy if you’re not careful.
Also helpful:
- Blending stump or tortillon: For smooth shading (especially skin).
- Kneaded eraser: Great for lifting highlights or cleaning up gently.
- Regular eraser: For sharper edges or clean corrections.
Drawing a Realistic Female Face Step by Step (Front View)
Start With the Grid Method
You’ve probably heard of the grid method before, and maybe even ignored it because it sounds tedious. But trust me, this thing is a total lifesaver. I’ve used it to draw some of my popular tutorials found here and here.
All you do is lightly draw a grid over your reference photo and the same grid on your paper. Then you focus on copying one little square at a time.
It breaks everything down into bite-sized chunks.
No more trying to “eyeball” where the nose goes and ending up with a face that looks like it melted. The grid keeps things in proportion, especially the tricky stuff like spacing the eyes evenly or getting the lips to line up with the nose.
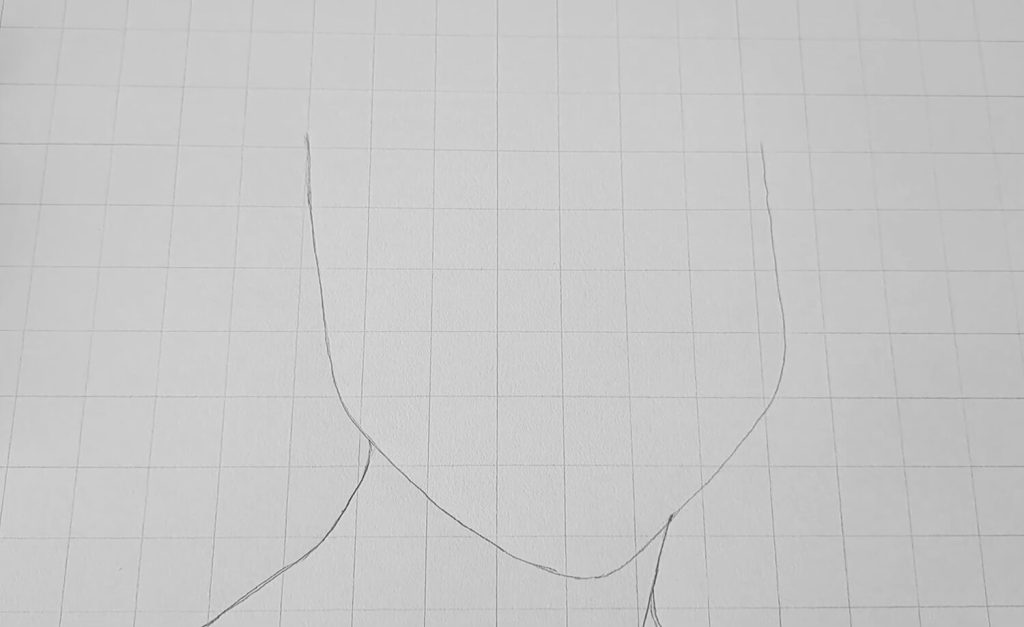
Sketch the Outline Lightly

Once your grid is down, it’s time to start sketching the outline. Keep your pencil pressure super light, like barely-there light. That way, you can erase and adjust things without creating a smudgy mess.
Focus on the big shapes first.
The head’s overall shape (usually a soft oval), the jawline, placement of the eyes, nose, lips, and ears. Don’t get caught up in eyelashes or eyebrows yet.
You’re just blocking things out for now.
If something looks a little off, don’t stress. That’s normal. I’ve redrawn lips six times before getting them to look right. Sometimes more. That’s part of the process.
In case you don’t want to be like me, here’s an easy guide on drawing lips so that you get it right the first time.
Erase the grid once you are satisfied with the outcome.
Shading Is Where the Magic Happens
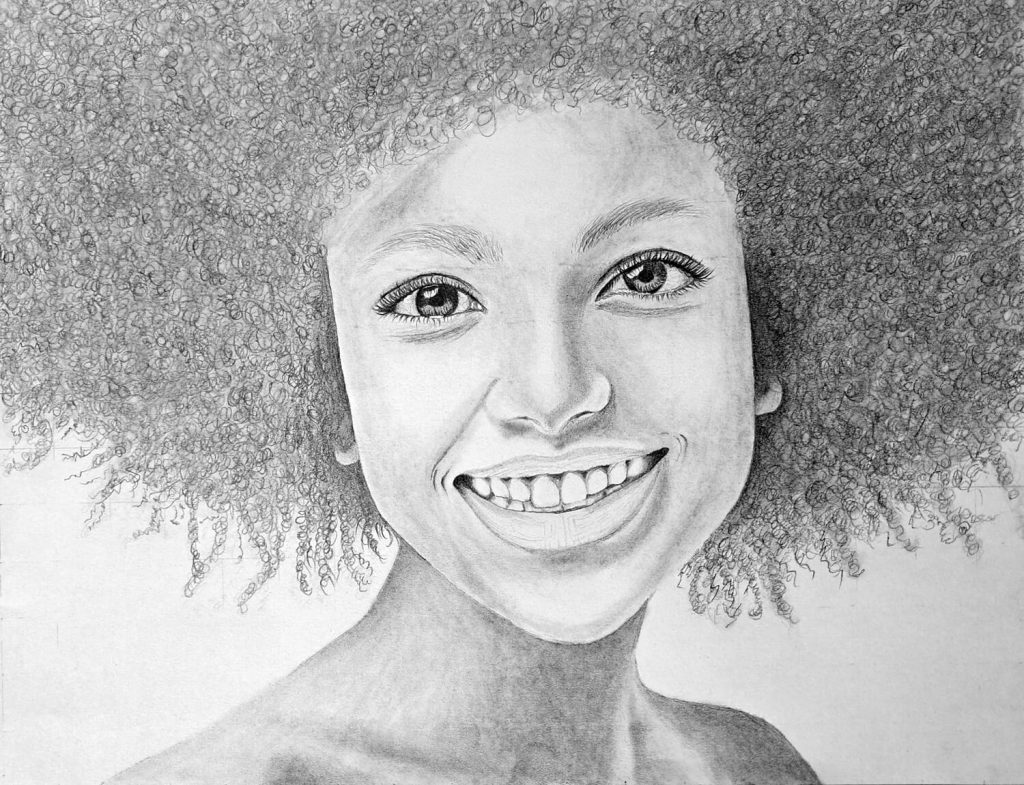
Here’s the thing: outlines are great, but shading is where your drawing really starts to come alive. It’s what makes the face look real, not flat.
I always start with the eyes, mostly because they’re fun and give your drawing a focal point right away. In fact, here’s an excellent tutorial about drawing realistic female eyes.
Then I work my way out—nose, lips, cheeks, and so on.
Build up the shading slowly with light layers, blending as you go. Use a blending stump or even a tissue for soft areas like the cheeks. Avoid using your fingers if you can (they’ll leave oil behind and smudge weirdly).
Pay attention to the direction of light in your reference.
Where’s the light hitting the face? Where are the shadows falling?
Don’t be afraid to go darker than you think, especially in the areas under the nose, lips, and chin. Real faces have contrast.
Let’s Talk About Curly Hair
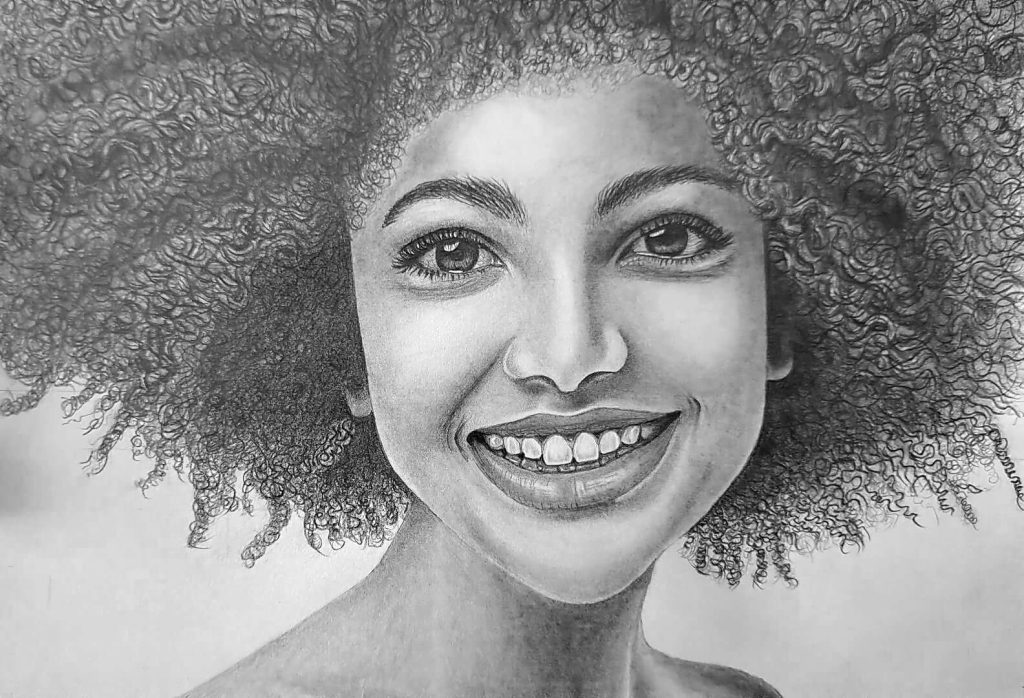
Drawing hair is one thing. Drawing curly hair? That’s a whole different beast.
At first, I used to draw each curl like it were a perfect spiral. Spoiler alert: it looked fake. If you pay attention to my drawing above, you’ll realize that I’m still struggling.
Be as it may, the key is to think of curly hair as masses of texture and movement rather than individual curls. Start with a basic outline of the hair shape, then build volume using long, flowing pencil strokes that follow the direction the hair grows.
Add shadows where the curls overlap or bunch together. You can even squint at your reference to simplify the dark vs. light areas. Don’t try to draw every single hair; that way lies madness.
Suggest texture, don’t obsess over it.
Also, expect your hand to cramp. That’s just part of the curly hair experience.
Take Breaks and Don’t Overwork It
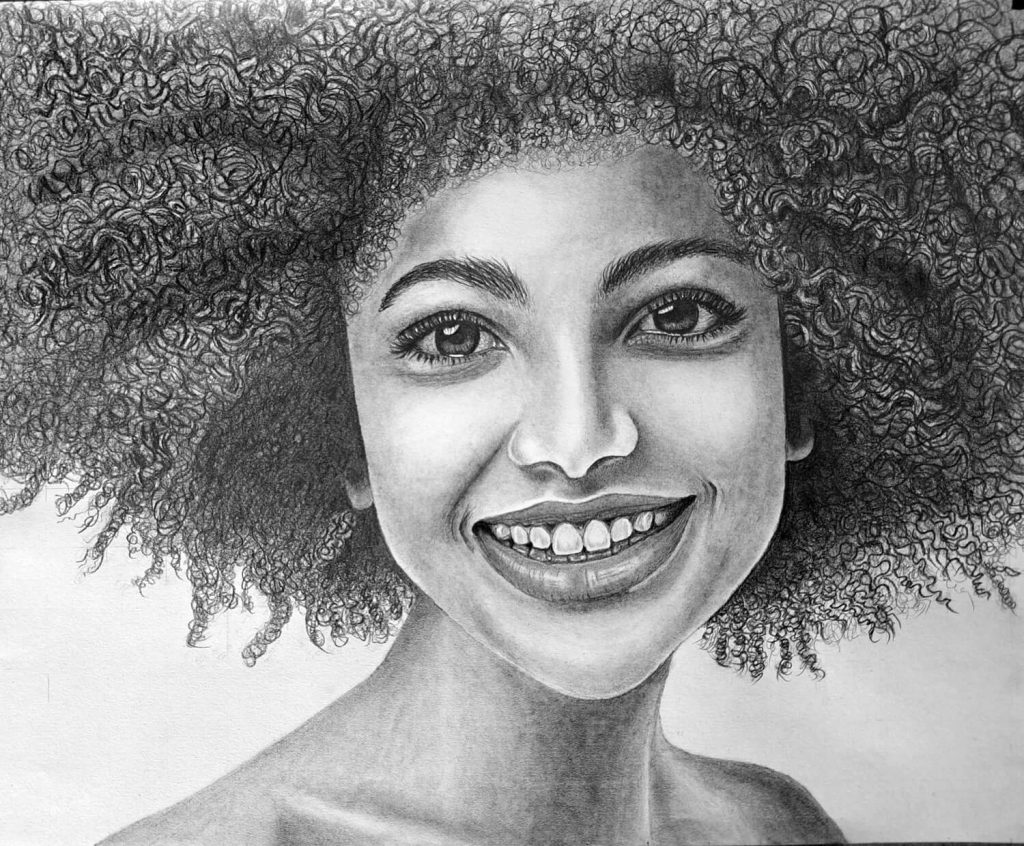
When you’ve been staring at your drawing for too long, everything starts looking wrong. That’s your sign to take a break.
Step away, stretch, drink some water, maybe scroll through your camera roll for photos of your dog. Then come back with fresh eyes.
Sometimes a drawing just needs a few final tweaks. Other times, it’s best to call it done and move on to the next one.
Conclusion
Learning to draw a realistic female face from the front view isn’t about being naturally gifted.
It’s about slowing down, observing, and practicing smarter, not harder. Use that grid. Shade like you mean it. Respect the curls.
And remember: every artist, even the ones with crazy talent, had to start somewhere. Probably with a lopsided face and a lot of eraser dust.
You’ve got this.