Dogs are a man’s best friend. They are loyal, loving, and always happy to see their owner. In this tutorial, you will learn how to draw a dog head (Weimaraner to be precise) as realistically as possible with a front view.
Also known as Grey Ghost, the Weimaraners are sleek, short, or long-coated. They’re known for courage, speed, and intelligence.
Besides, they’re remarkable pointer and hunting dogs. It is said that when hunting, this dog’s instinctive hunting method is to attack the prey’s genitals to bring it down – an instinct shared with hyenas.
All said and done this dog breed is adorable. That’s why I’m excited to draw this versatile dog while teaching you how to do the same.
Let’s get started!
Reference Photos
Let’s start with acquiring a well-lit reference photo. As a reminder, use photos that you own, royalty-free, or get permission from the original owner to avoid infringing on other creators’ copyrighted work.
I’m not a lawyer but I know as much – if you need more information on copyright law consult a qualified attorney.
However, for today’s tutorial, you can download my reference photo, and let’s get to work. Here’s the image as well as the link:

Link: https://bit.ly/3AKC8Zg
1. Sketching the Dog’s Head, Ears, and Neck Area
If you want to draw to scale and have a realistic drawing, start by using the grids to guide you. Once you become proficient with time, you can draw freely without those gridlines.
But for now, that’s our best bet.
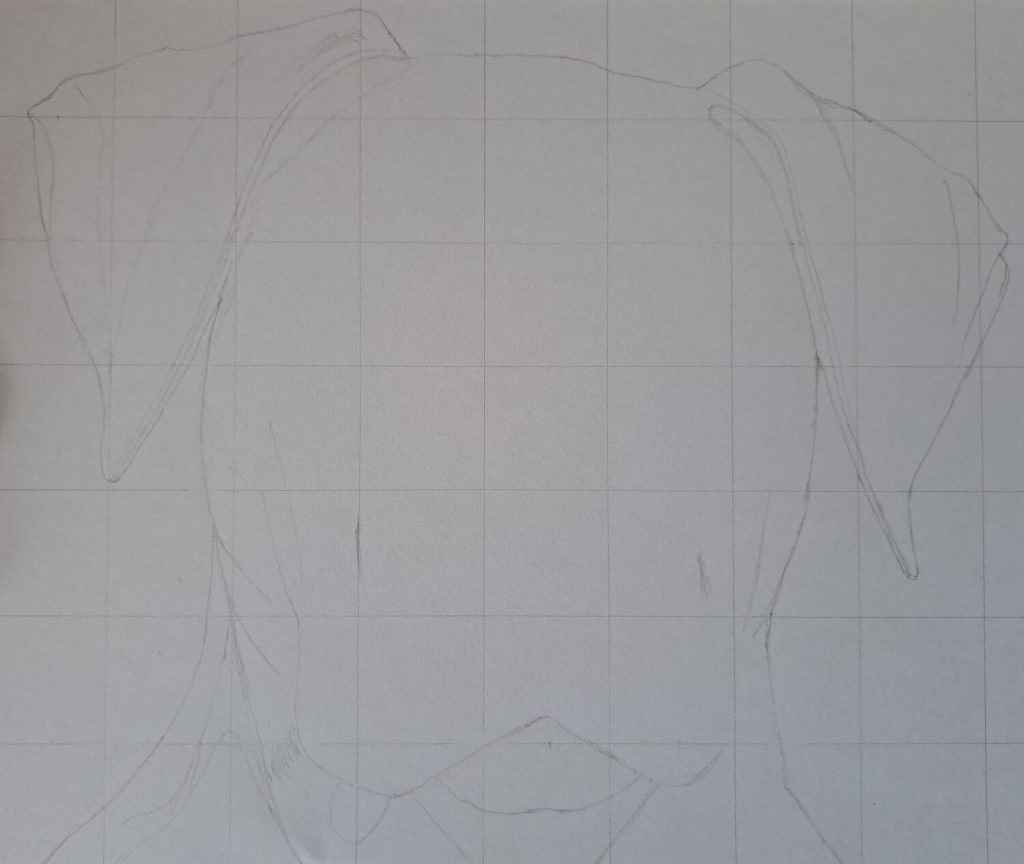
When sketching the dog’s head, start with the general outline. To do this focus on one box of the grid at a time so that you don’t get overwhelmed. Sketch all the important areas including the ear flaps, the muzzle, the neck muscles, and any wrinkles or folds.
By the end of it, you should have the following outline:
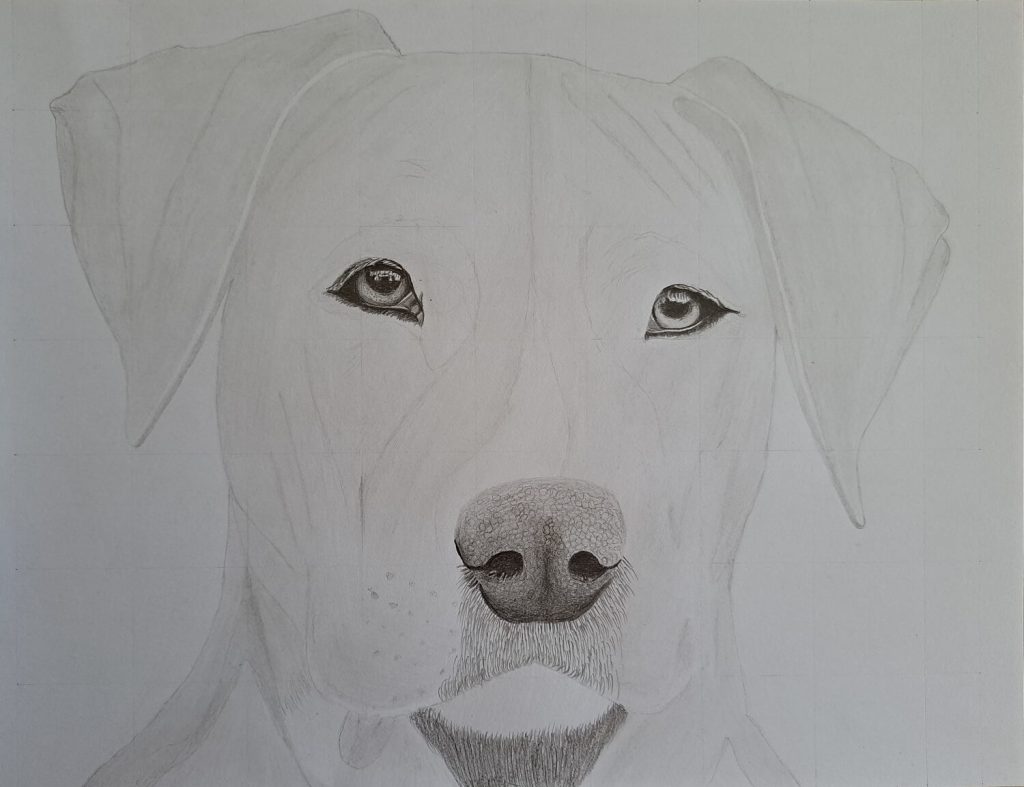
2. Drawing the Dog’s Nose or Nares
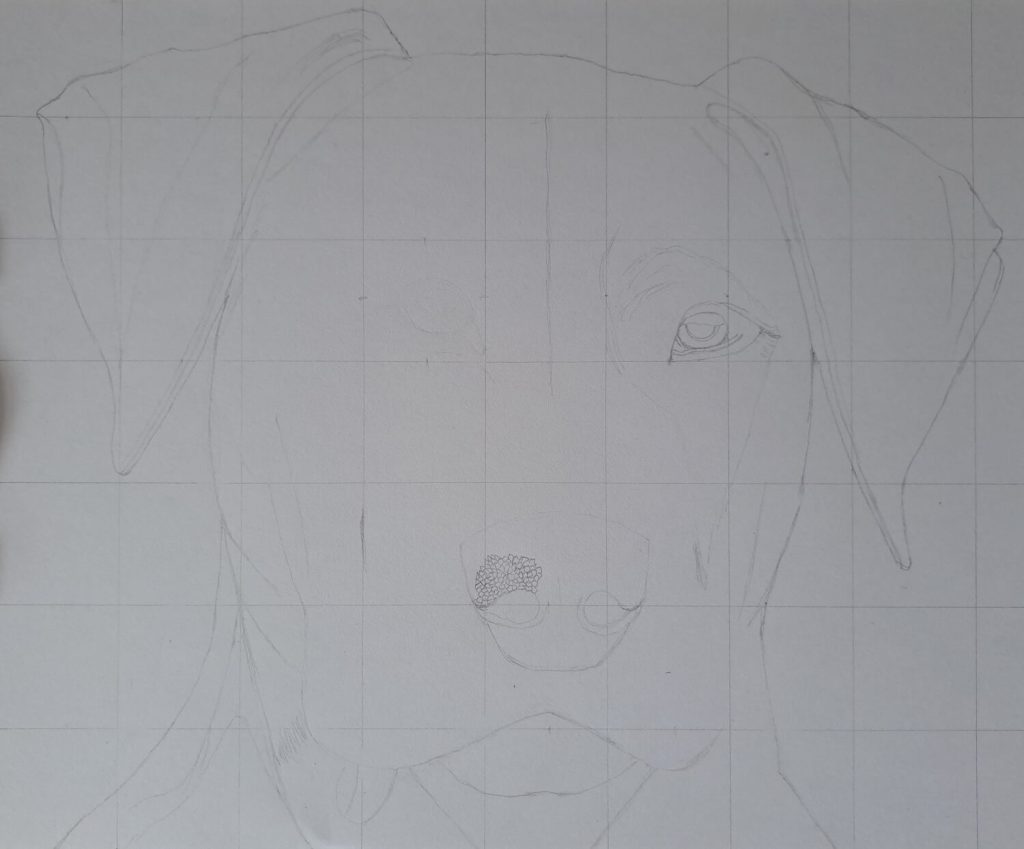
Next, we need to start by accurately outlining our Weimaraner’s nose. A dog’s nose is deceptively simple but there’s more than meets the eye.
Pay attention to details and you’ll realize that it’s not just shadows but an elaborate ecosystem of small bits and pieces. The nasal cavity is divided into two separate chambers and opens into two nostrils or nares.
The surface is covered with spore-like structures which are often wet. Therefore, make sure to capture every bit of detail beforehand if you can.
3. Drawing the Eyes and Other Facial Features
Don’t forget we’re not going into details just yet but rather noting where everything should be.
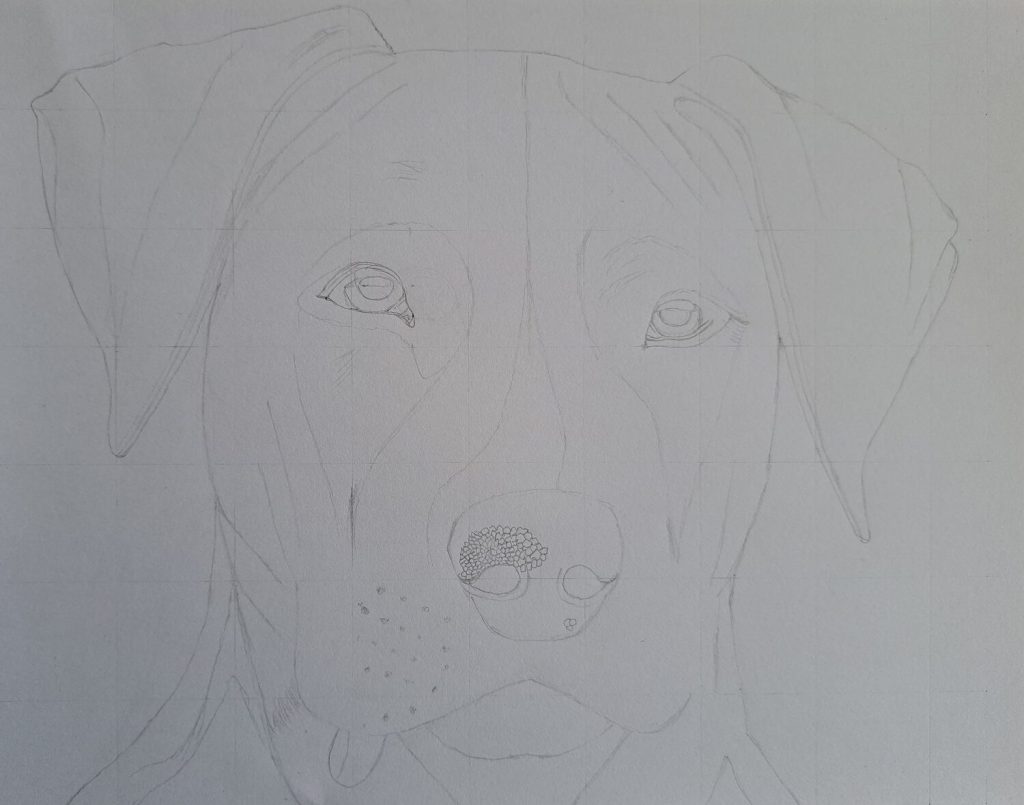
For the same reasons, the eyes are without a doubt the most important part of our drawing. If well executed, they’ll give your drawing character and subtle emotions.
Pay extra attention to the pupils, the reflected light, the shadows, the watery pockets, and any other details around the eyes. Draw those as accurately as you can.
Don’t shade just yet but rather sketch where everything should be.
4. Initial Shading and Blending
This step is rather quite easy. All you need are two things – a 2H or H graphite pencil and a soft cotton earbud.
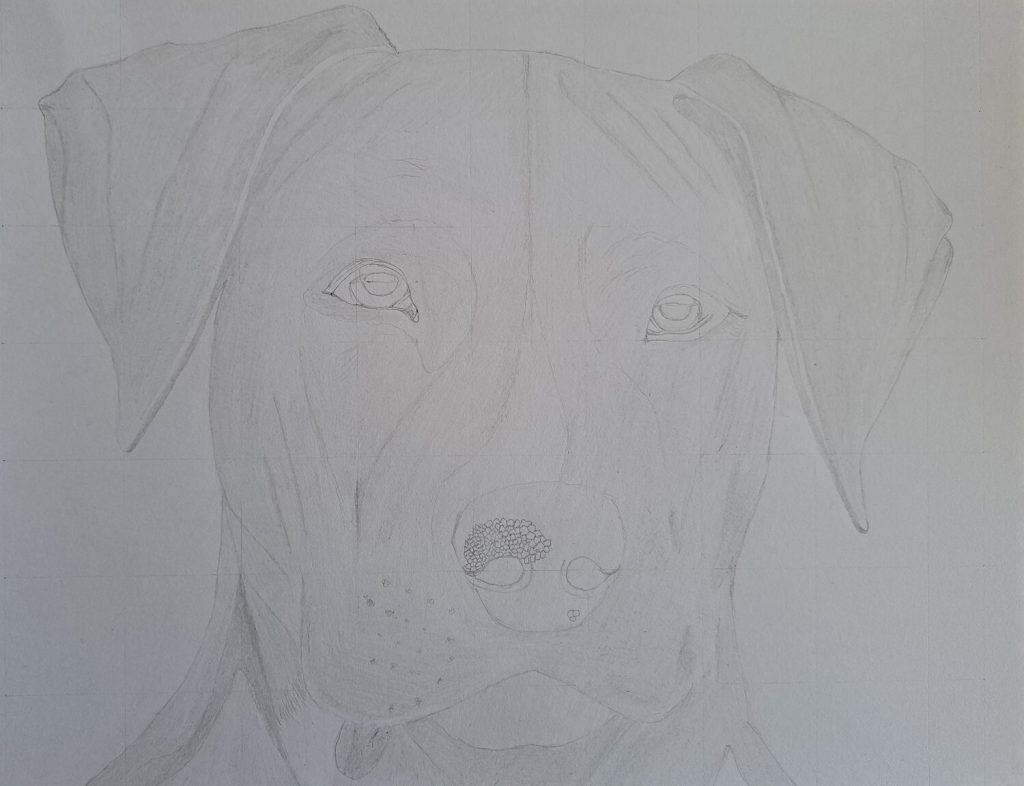
Use your favorite shading technique to uniformly shade the entire sketch to give it some form. I prefer to use the hatching shading technique which works quite well with my style of drawing.
After you’re satisfied with your shading, use the cotton earbud to blend in the graphite so that you have as smooth a shade as possible. Make sure not to shade the eyes, nose, or any important detail you had sketched earlier.
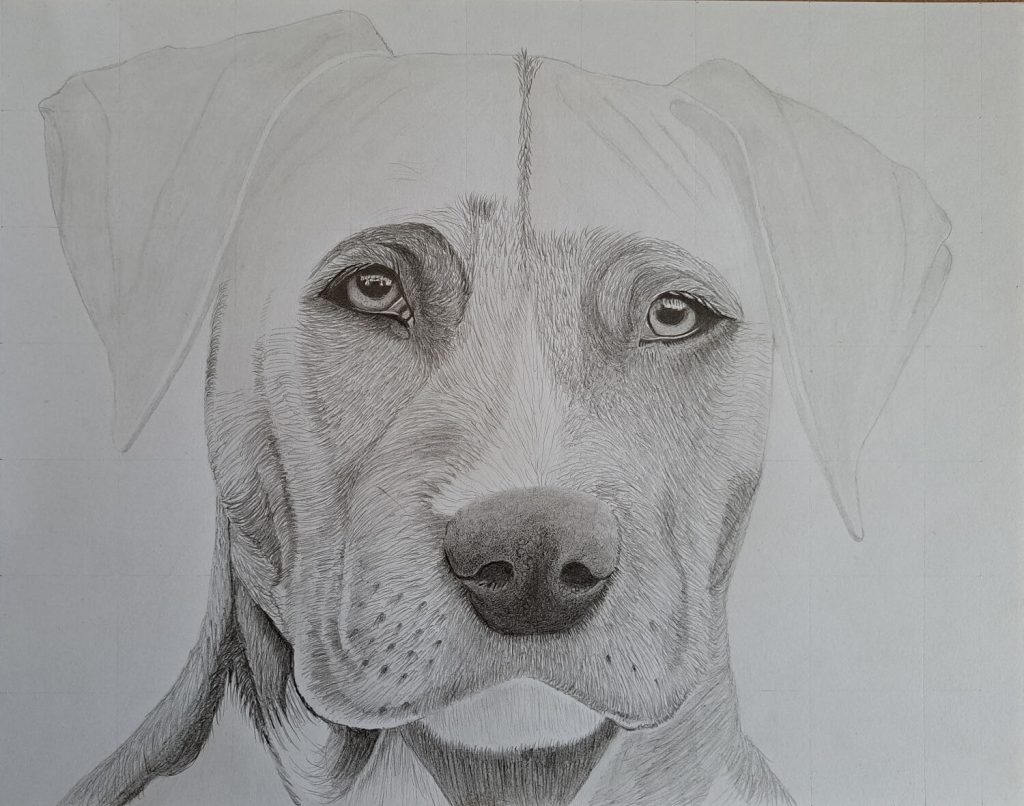
5. Adding Details to the Eyes and Nose (for a realistic look)
Here’s where the magic begins.
Remember, you had done all the hard work of determining where every important detail should go. Now it’s time to bring them to life by precise shading. Start with the eyes and make sure you nail them as realistically as humanly possible.
For the dark pupils and shadow, I’ve used 8B graphite pencil, followed by 4B, and HB depending on the degree of lightness or darkness on the values scale. Make sure to blend for a uniform shade.
I’ve done the same for the dog’s nostrils – pay attention to the small circles and the deep middle of the nose surface and shade accordingly.
6. Drawing the Dog’s Fur around the Eyes
Dogs come in different types and breeds which determine their physical characteristics. For instance, some have long fur while others like the one we’re working on (Weimeraner Dog) are characterized by short fur.
Unlike our previous drawing of the cat which required sketching long fur around some areas.
So, pay attention to your subject for those minor but important details.
Start by making short consistent strokes around the eyes with a preferably darker pencil to indicate the shadowy fur around the eyes. I’ve used a mechanical pencil 0.5mm and a 6B graphite pencil.
7. Drawing Fur on Top of the Head
Keep adding fur to the rest of the drawing, particularly on top of the dog’s head. [Image]
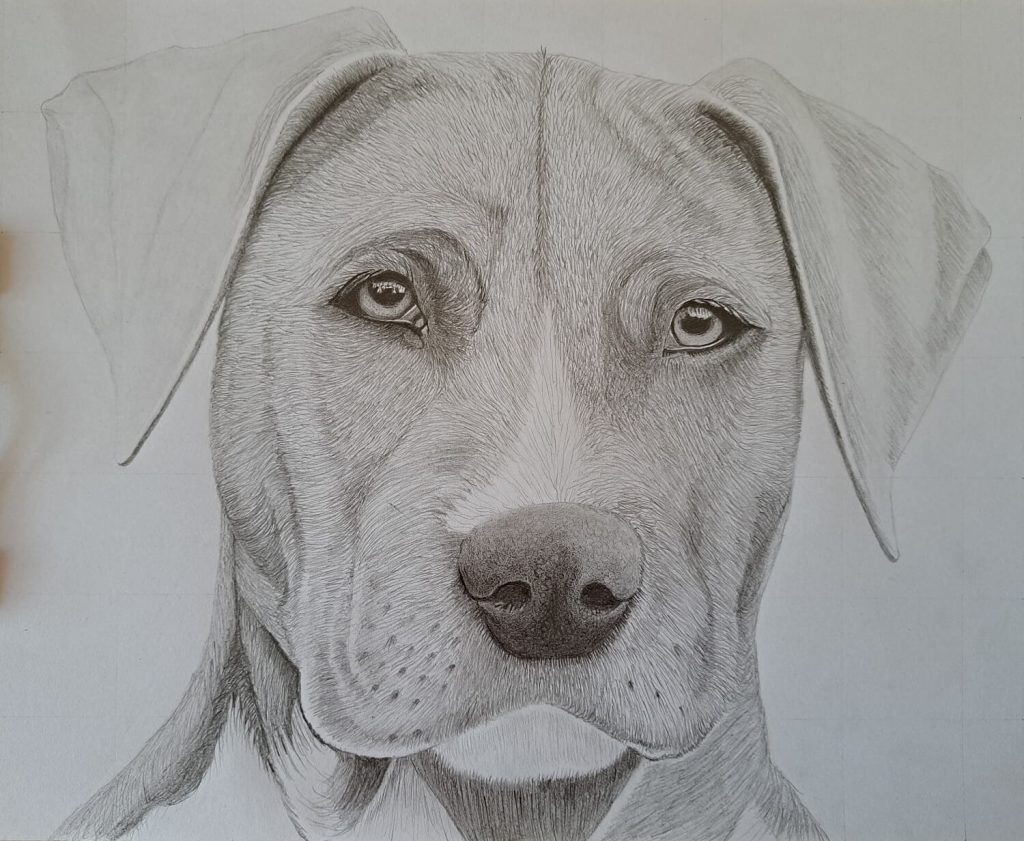
8. Adding Details to the Ears
On the ear flaps, draw short fur while paying attention to shadow and light areas that indicate folds. Along the edges of the ears is relatively lighter because of light reflection.
9. More Fur Please!
Great job!
You have a cute drawing of this awesome hunting dog. But we’re not yet done – if you look closely, you’ll realize that the pencil strokes look like, yes – pencil strokes!
We need to create an illusion of a dog’s fur. And we do that by adding more pencil strokes close together. So, keep going…
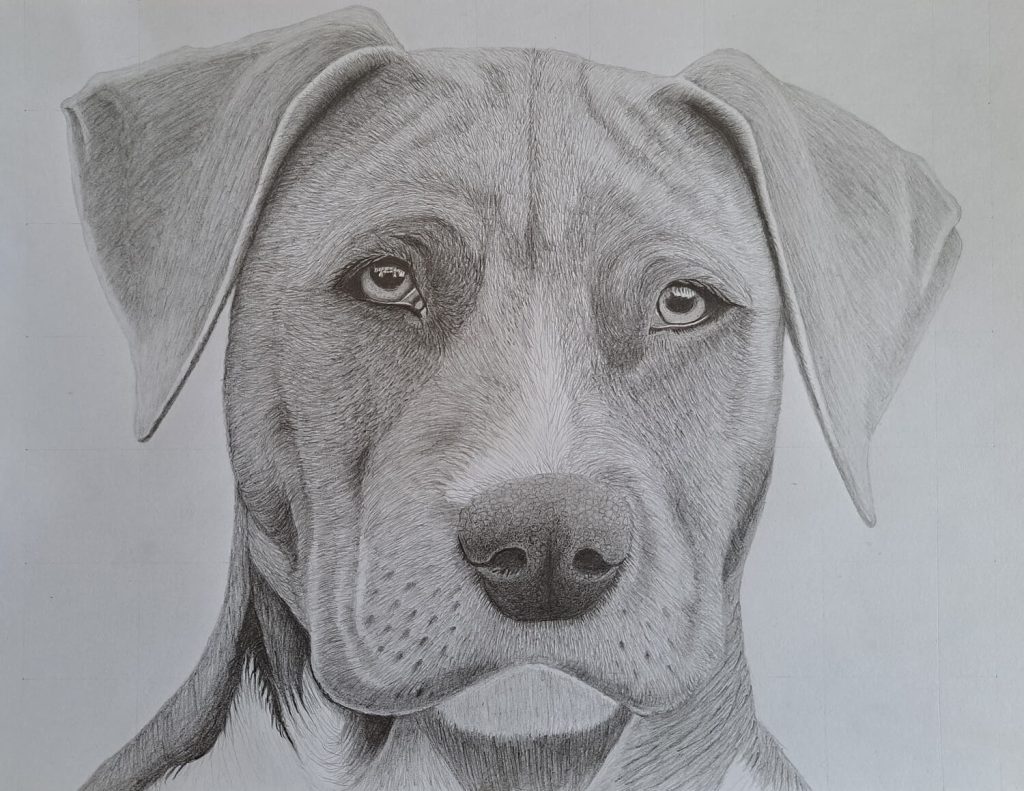
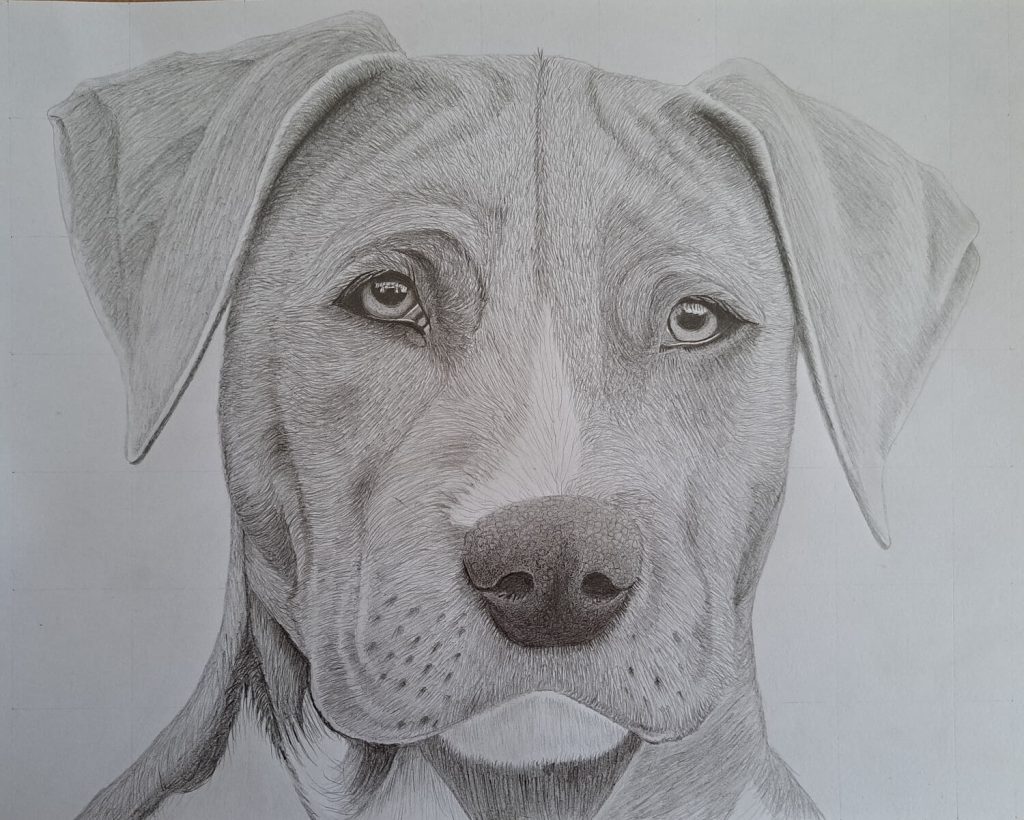
10. Polishing Up – Finalizing the Drawing
And here we are!
We now need to do some polishing up. Make darker areas darker by using the softest pencil in your arsenal for a few more strokes of fur.
To make the lighter areas lighter, I’ve used a kneadable eraser to pick some of the extra graphite and lighten up those sections of the drawing.
And just like that, we have our creation.
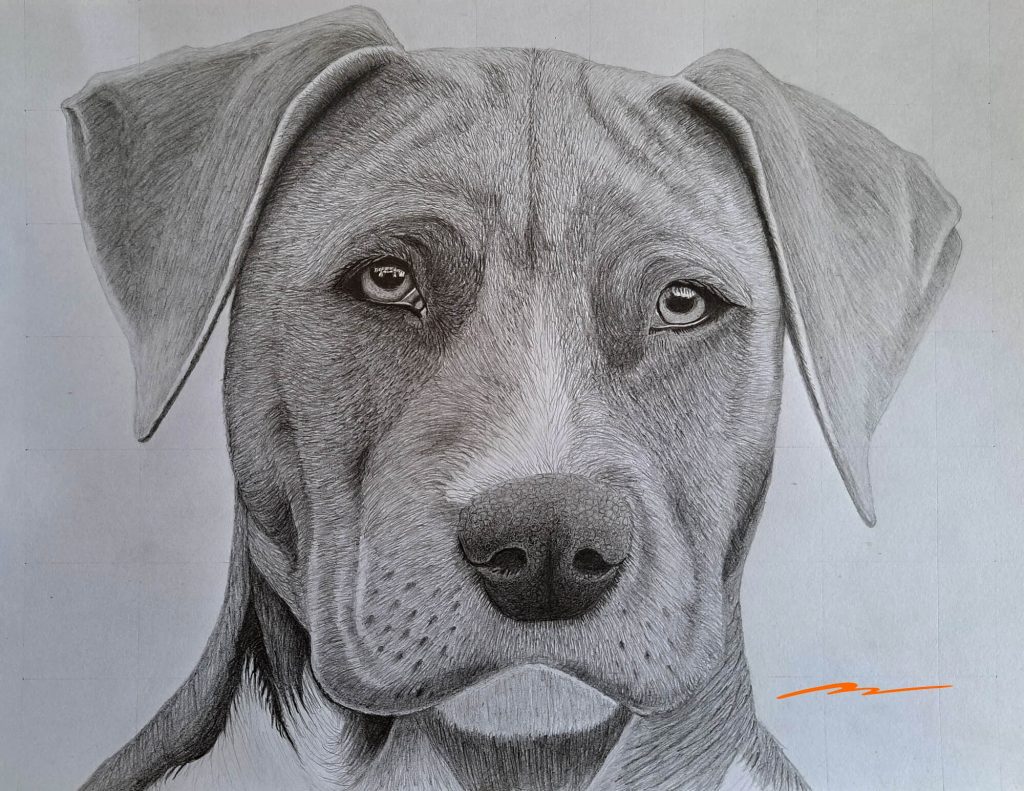
Conclusion
There you have it, my friend!
You’ve just learned how to draw a dog head as realistically as humanly possible. In the future, I’ll post another post on a side-view drawing of a dog’s head. Until then, I hope you enjoyed this one as much as I have.
Be sure to practice these steps often, and before long you’ll be able to create amazing drawings of your furry friends.
As always, I’d love to see your creations, just post them on your favorite social media platform and tag them #muusartdog so that I can be notified to check them out.