
This is an easy guide on how to draw mushrooms. So, if you want to hone your drawing skills, Drawing Mushroom offers you an excellent opportunity to practice.
There’s much to learn, from sketching different shapes to adding depth to your drawing through shading.
If this is something you’d want to give a go, then let’s begin:
What you need
- Pencils 4H, H, and HB
- A 0.5mm Mechanical Pencil
- Kneadable Eraser
- Eraser
- White Gelly Roll 10 (Optional)
- Piece of Paper on a Clip Board or Sketch Book
Draw curvy vertical lines.
Using a 4H pencil, start by sketching curvy vertical lines varying in length. You can as well draw them straight, but most mushrooms are seldom straight.
These lines are going to represent the ‘stems’ or mushroom stipes. Therefore, the number will depend on how many mushrooms you want to draw. In my case, I’m drawing four at different stages of growth.
Draw the ovals
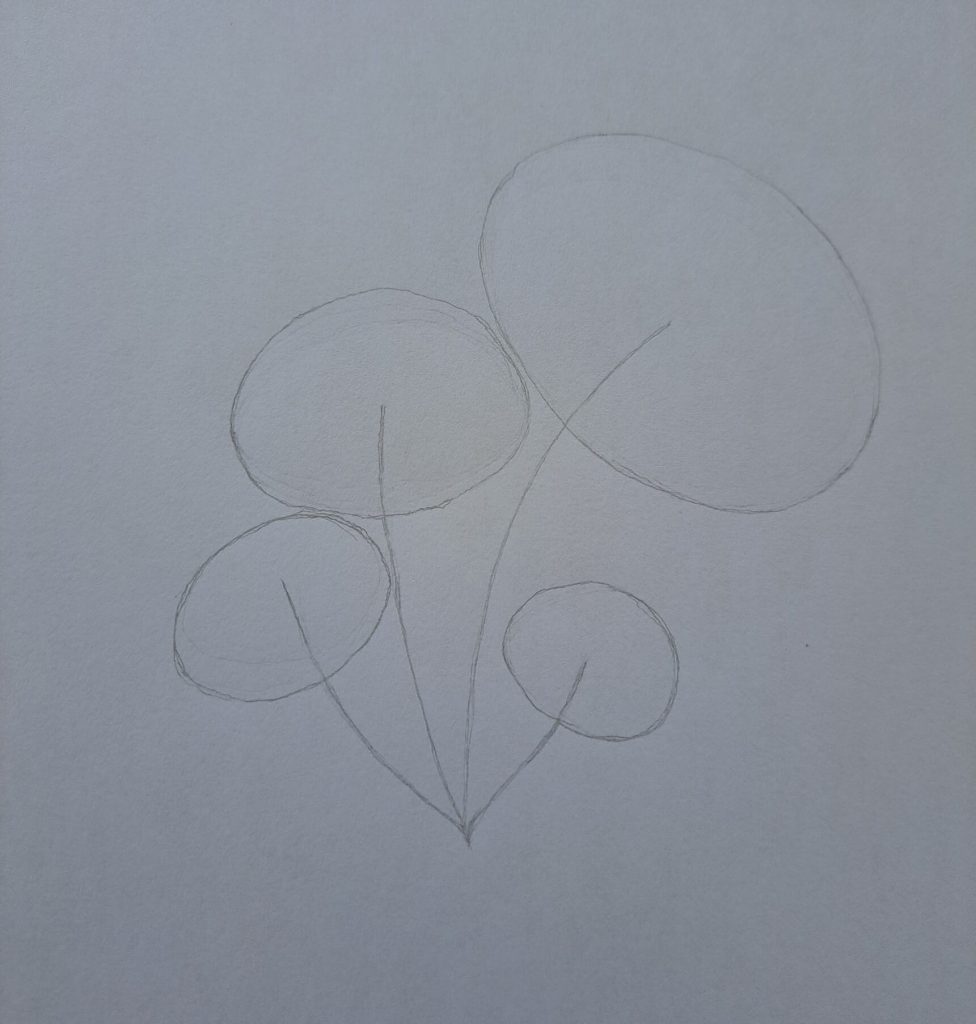
At the tip end of your lines, draw varying oval shapes. Where your lines end should be the center of your ovals. Again, these shapes should vary in size as follows: the topmost oval should be relatively bigger, and the size should be reduced as you move beneath.
Besides, the shapes will get rounder as you sketch the smaller immature mushrooms – referred to as the button – instead of the traditional mature umbrella-shaped mushroom.
Pro Tip: Don’t be afraid to make mistakes and erase as much as necessary. It would be unrealistic to expect to draw anything perfect the first time. That’s why I always advocate using a light pencil in the range of 2H – 4H.
Here are more tutorials
Sketch the surface – a tree log.
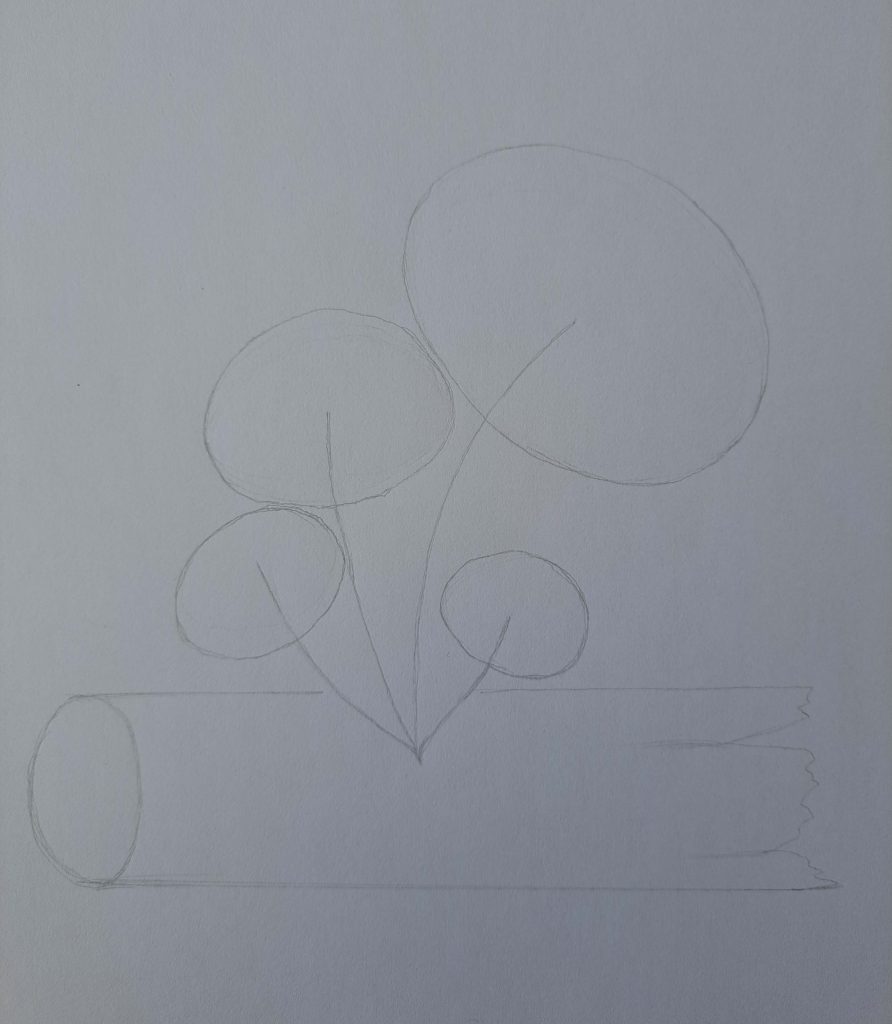
We’ve sketched the cap and stipe positions, and now we sketch the surface. This step is optional, but it’ll make a big difference in our final drawing.
Mushrooms grow in different mediums, ranging from the soil under forest surfaces, at the base of trees, or on tree logs.
In this tutorial, we’ll draw an old tree log, as shown below.
Divide the ovals
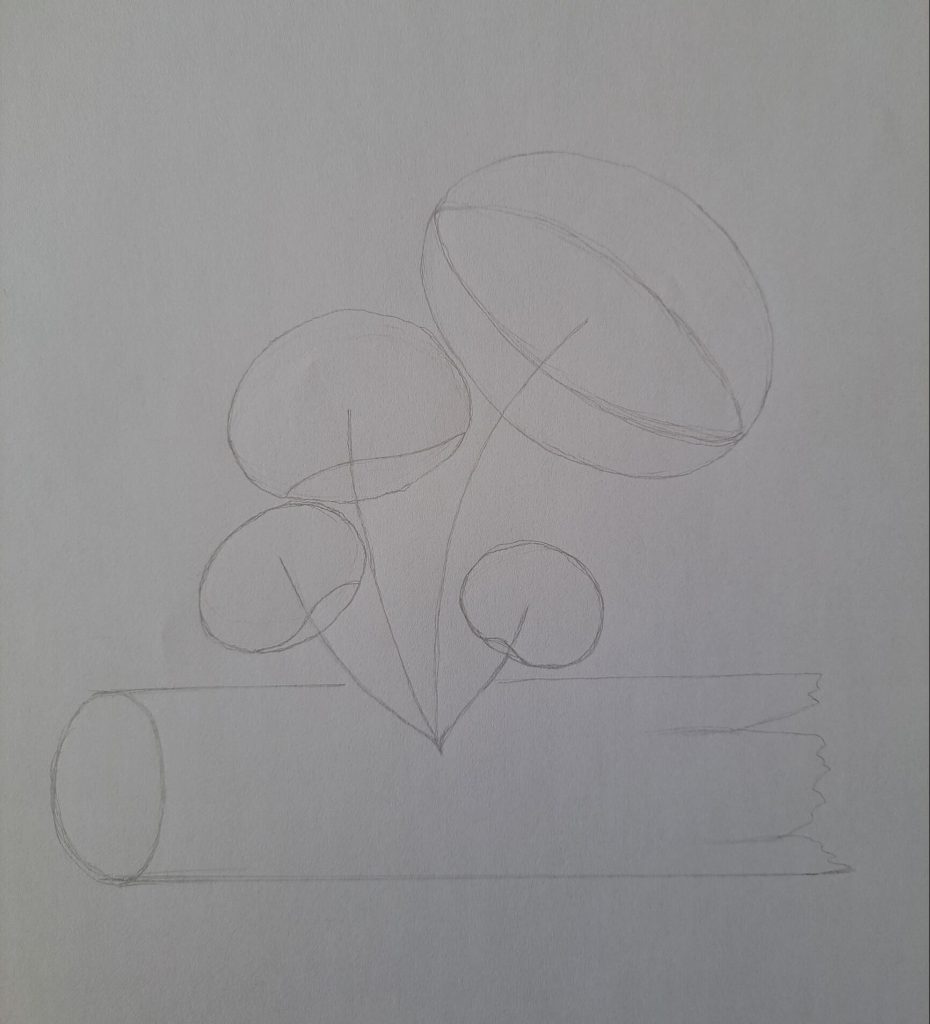
At this point, we have the basic skeleton of our drawing. We need to start fleshing up the sketch by diving the ovals.
Let’s start with the mature topmost oval.
Draw another oval inside, dividing the original one into three parts. The parts should not necessarily be identical. Next, move to the others and divide them as shown in the drawing below.
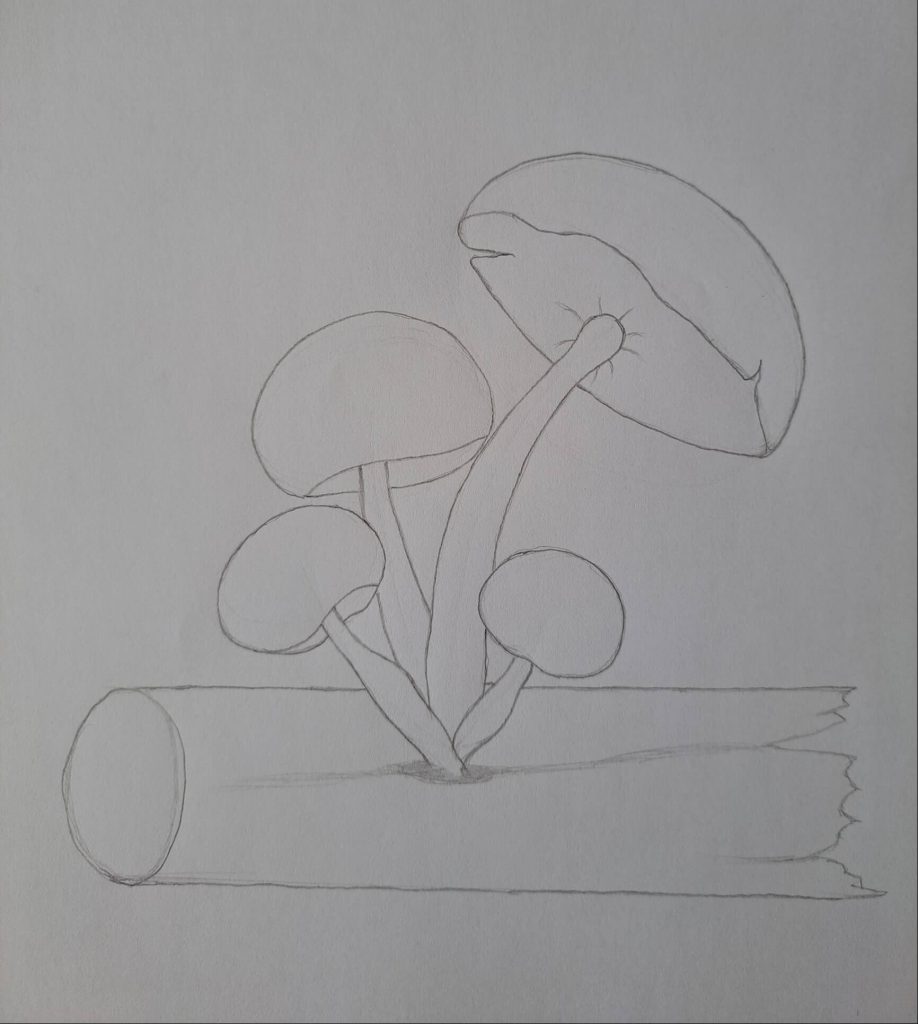
Draw the mature mushroom cap.

To complete the first shape of the mushroom cap, erase the lower shape. Remember, we had three shapes in one. What remains are two shapes that resemble an umbrella.
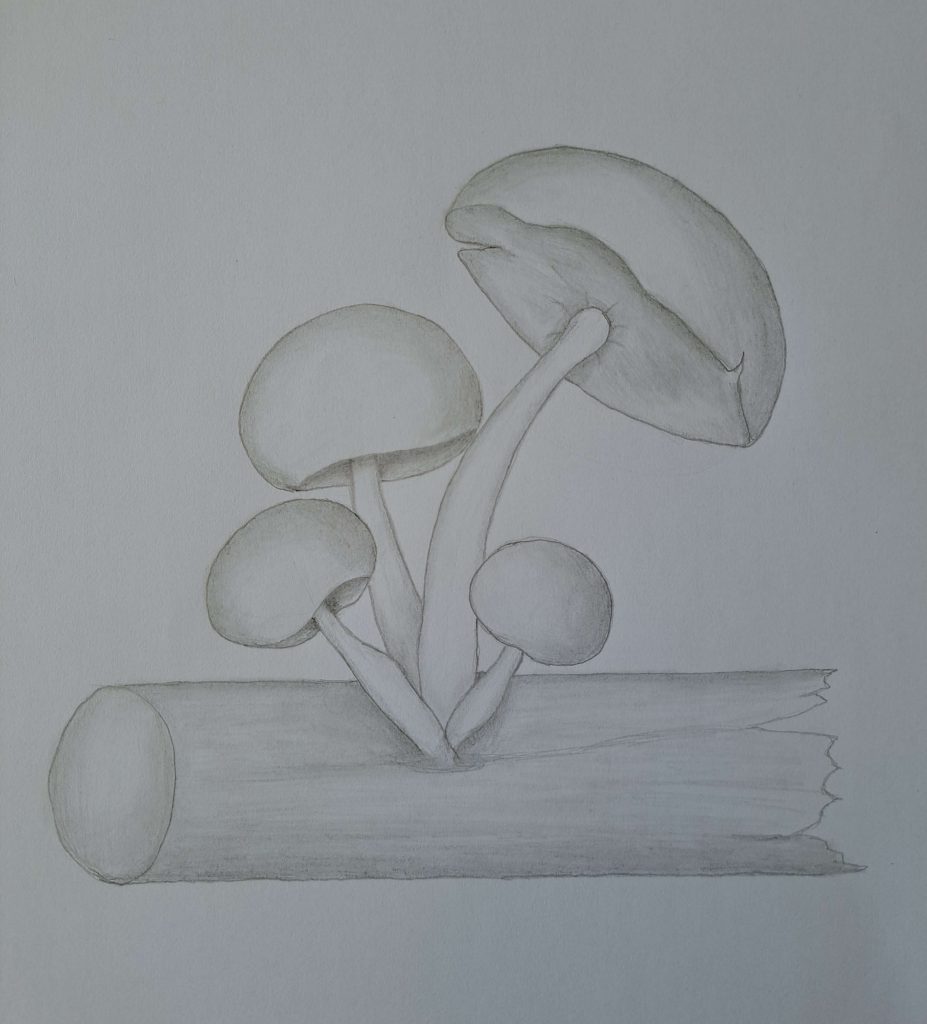
Sketch the ‘stem’ and mushroom cap.
By the end of this step, we should have a complete sketch of our four mushrooms at different growth stages.
Let’s start by drawing the stipe or stalk using the curvy lines as our guide. Note that the mushroom stipe is slender at the top and gets fleshy as it moves down.
Once satisfied with your ‘stems,’ erase the guidelines. As for the mushroom cap and buttons, try to sketch them with irregular and curvy lines for extra realism.
Lastly, erase any unnecessary lines. Your drawing should look like the following:
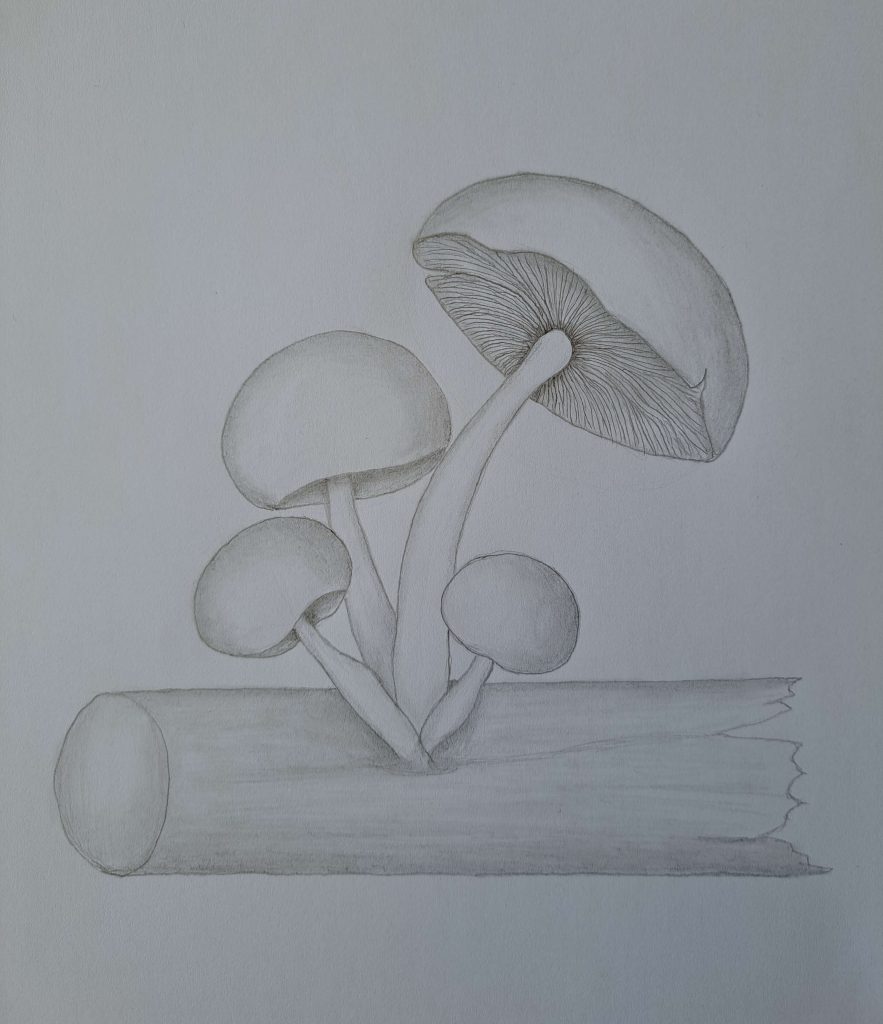
Light shading
We’ve only been using one pencil, and that’s 4H. We won’t be erasing much; hence, we can go bolder and darker.
Grab your H pencil and start shading light and uniform. The most important aspect is deciding your light source, possible shadows, and shade accordingly.
Don’t bother about the stalks just yet. You can also shade the tree log while at it.
Once satisfied, get a Q-tip and blend the graphite to achieve a smoother and 3-dimensional shade. Your mushroom drawing should look like the one below at this point.
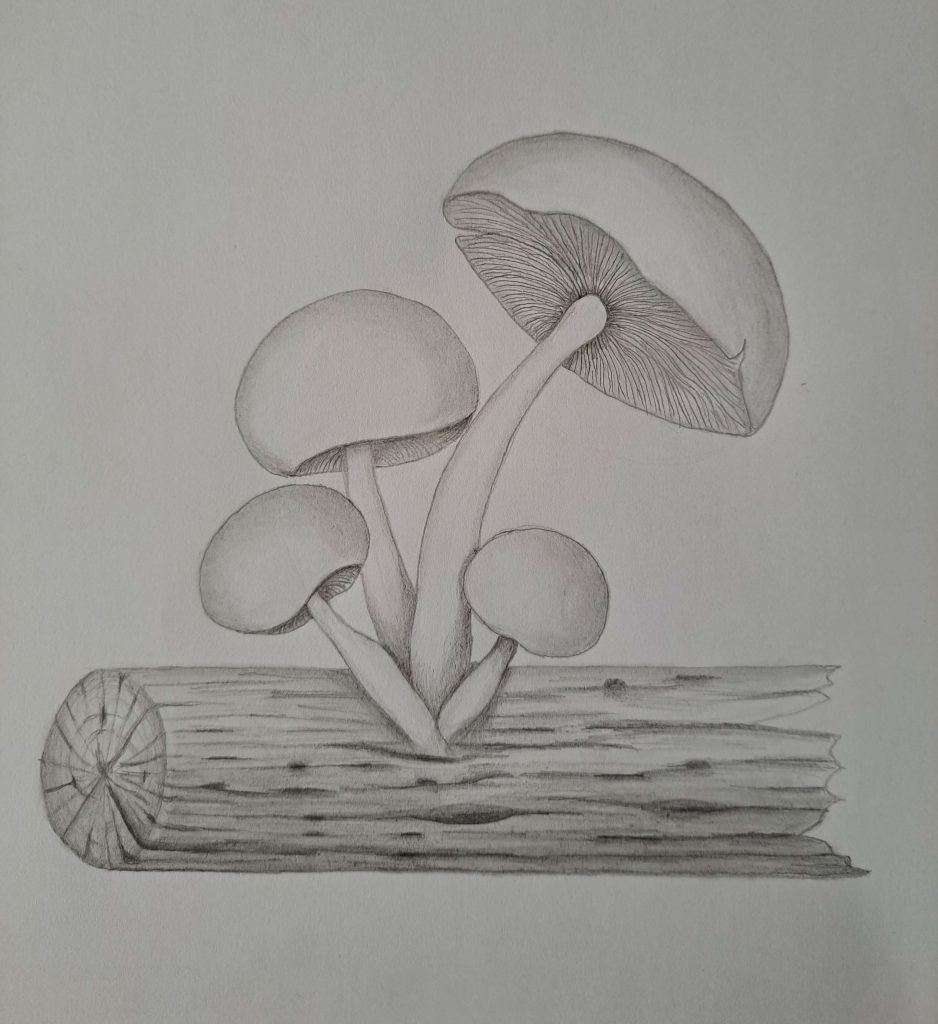
Shading the details
Congratulations on getting up to this step. Most people would be satisfied with the drawing already. But why stop now?
We will keep shading at different value scales until we have a realistic image of the mushrooms. Start by drawing thin lines under the mature mushroom cap. These are the gills. I’ve used a 0.5 mm mechanical pencil to draw them.
If you don’t have one, use an HB pencil, but sharpen it properly.
Next, take an HB pencil and make the shadows a bit darker to increase the contrast of the drawing. Once done, begin shading and detailing the log the mushroom is growing on.
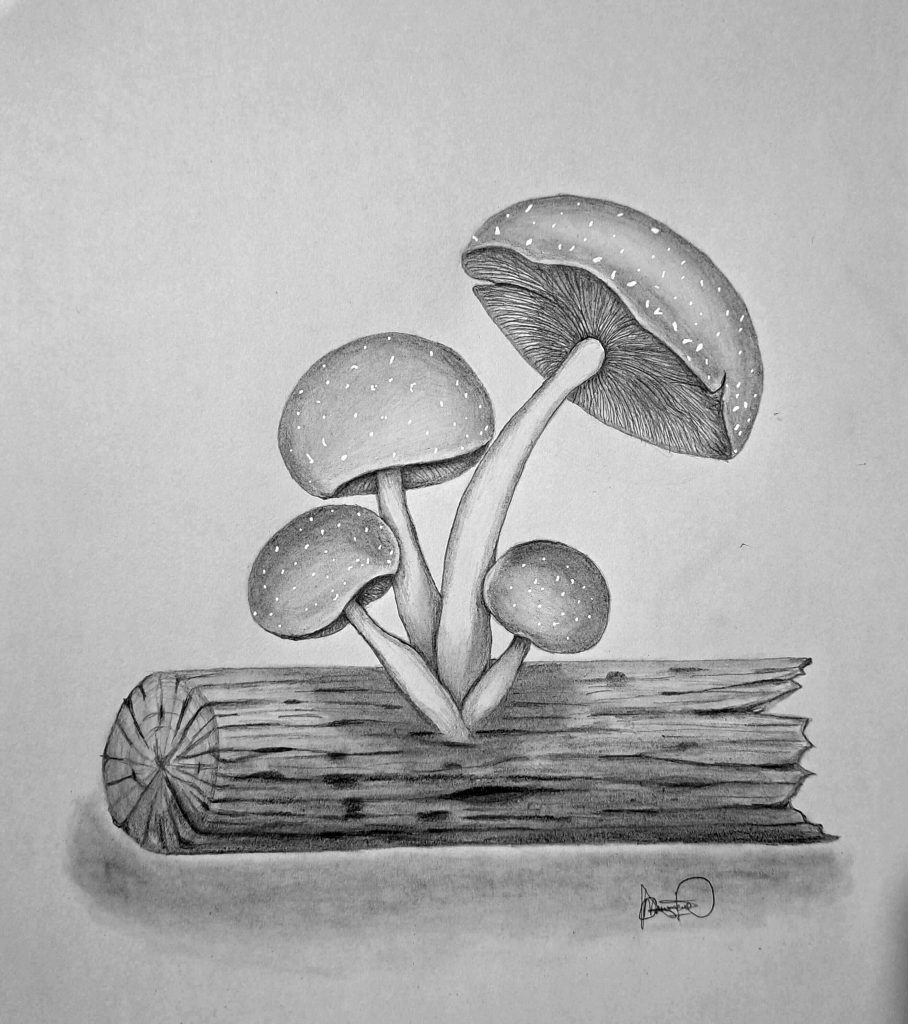
By now, you should be proud of what you’ve been able to achieve thus far. However, realistic drawing is all about contrast. Of course, you’ve shaded light to create an illusion of light bouncing off the mushroom and the shadows.
Next, we need to add whitish speckles on the surface of the mushroom caps. You can achieve this by erasing some graphite using a precisely kneaded eraser.
Alternatively, use a White Gelly Roll 10, like I did, and that’s it!
Final Thoughts
You’ve just read and gone through a step-by-step guide on how to draw mushrooms. I hope you’re proud of your result as you should.
As always, it would be my pleasure to see your drawing – please feel free to share. You can tag me or post under the tag #muusartmushroom.
Keep creating!