
Today, I’m excited to teach you how to draw a wolf head, including the eyes, ears, mouth, nose (also known as the snout), and sketching the fur for extra realism.
As a beginner, all these must sound a bit complicated. I know it did when studying realistic wolf drawings from other experienced artists.
But it becomes a walk in the park once you know exactly what to do and at what time. That’s what I intend to teach you in today’s post.
What Shapes Can You Observe?
First and foremost, before getting to a point where you can draw from memory or even observe the real animal, it’s always easier to get a well-lit reference photo and copy it.
That’s what I did with this exercise [Cropped mine].
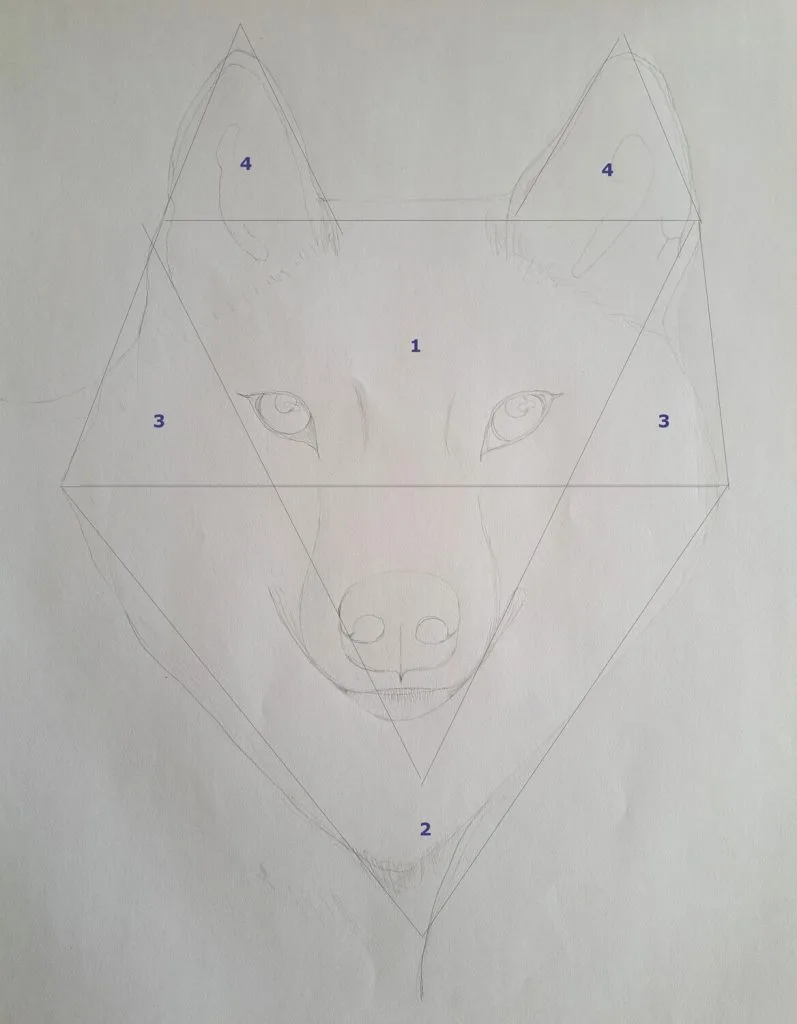
Once you have a desired reference, try to observe it holistically, identifying any common shapes on the wolf’s face.
From my diagram below you can see, I’ve drawn all the triangles that I can see. While at it, don’t try to chase perfection. Instead, we’re using these shapes as a guide to help us understand what goes where. Otherwise, your final sketch won’t be as realistic.
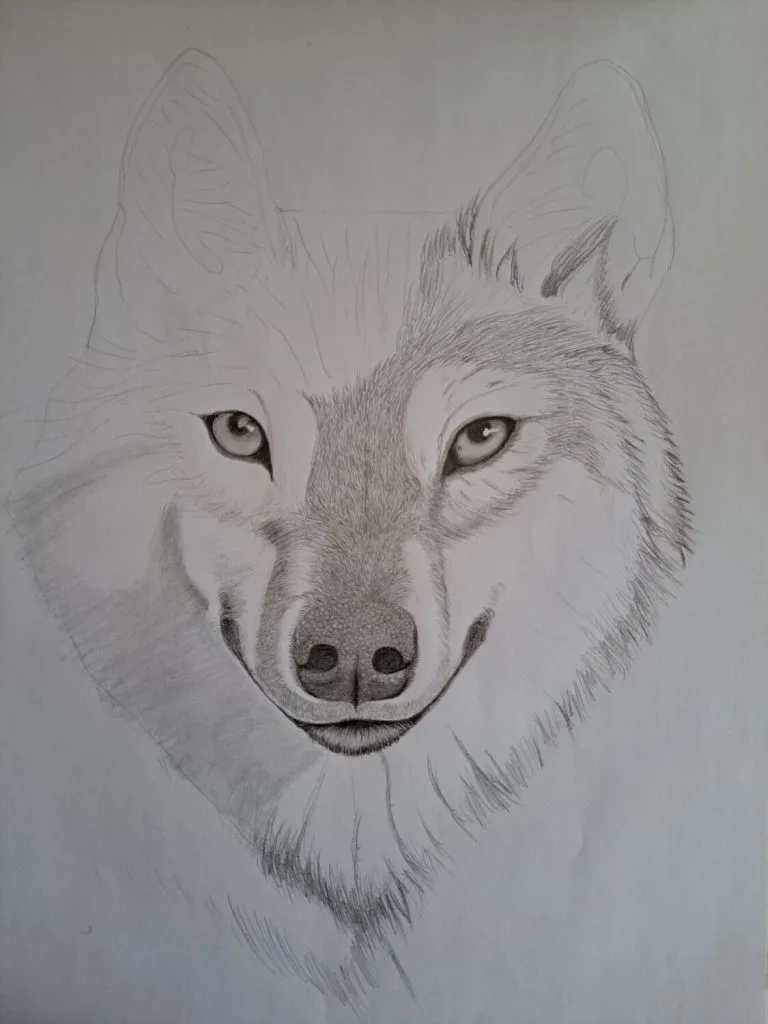
Time to sketch
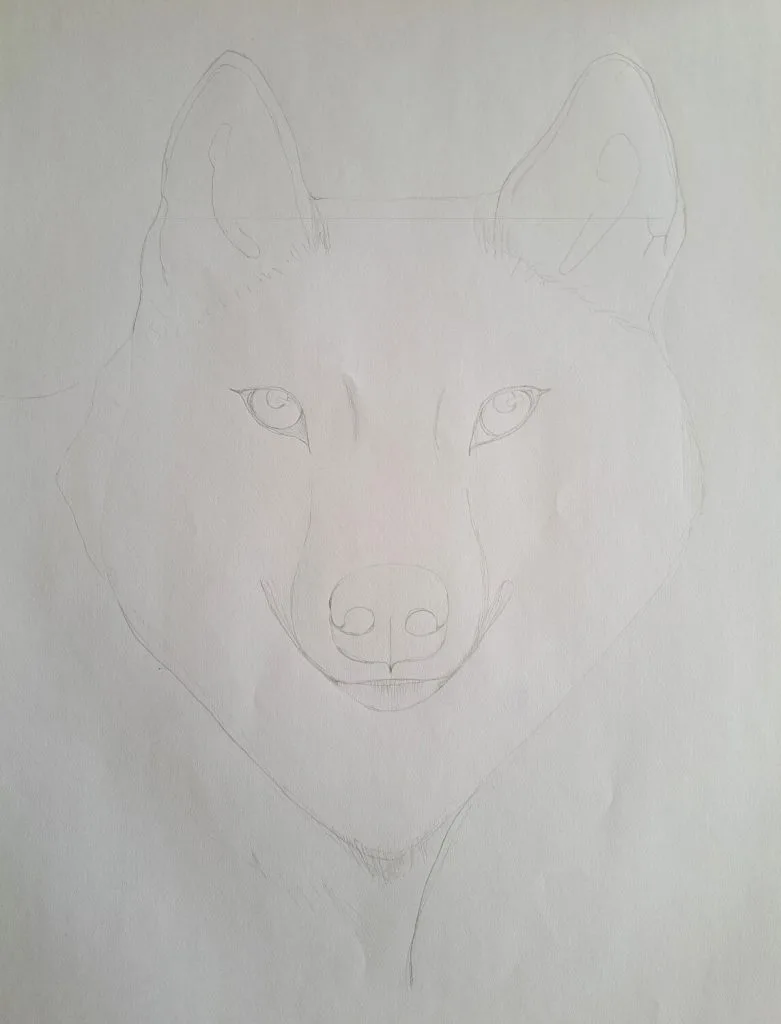
Draw out your sketch in relation to each feature on the face. I always like to start with the eyes – ensuring I sketch all the details, including the pupils, light reflection, and visible shadows.
Next, sketch the nose, mouth, and finally the ears.
Feel free to check out some of our other popular tutorials:
- How to draw a cat
- How to draw a Weimaraner dog
- How to draw a realistic lion
- How to draw a koala
- How to draw a tiger
- Drawing a realistic deer
- How to draw a dog
Add Depth and Texture
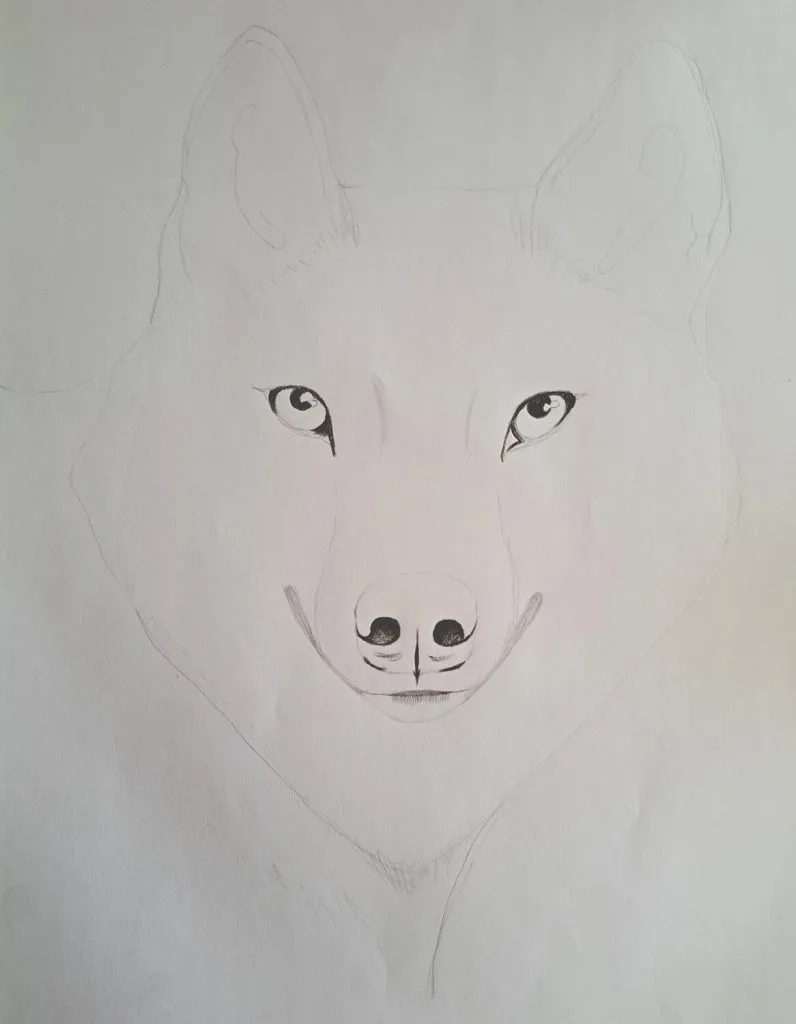
We aim to go in a little deeper by shading out the darkest area around the eyes, nose, and mouth. This helps build depth earlier so that we’re sure of the proportionality and make any corrections.
Depending on how dark you want your drawing to be, use a soft pencil like 6B or 8B.
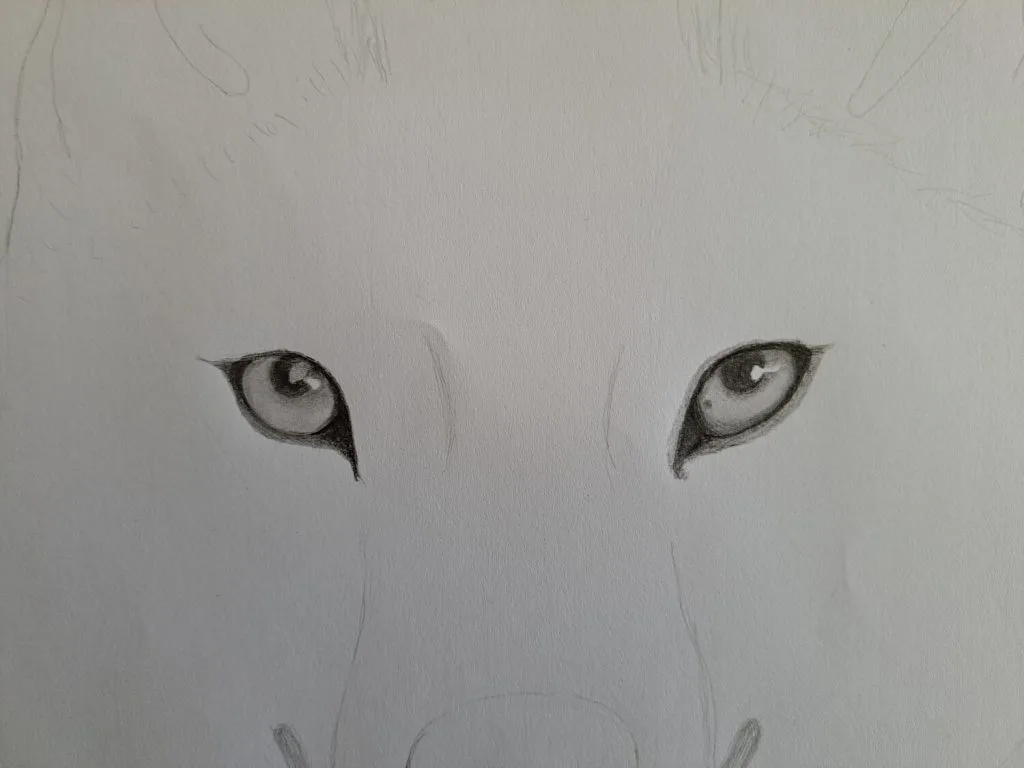
Shading the Wolf’s Eyes
Remember, we had already shaded the darkest parts of the eyes. Now, it’s time to shade the light value scales while blending to avoid harsh lines.
Use a light pencil like H to HB to shade the iris, which isn’t purely white. Remember to leave out the light reflection completely to create an illusion of a glass-like appearance.
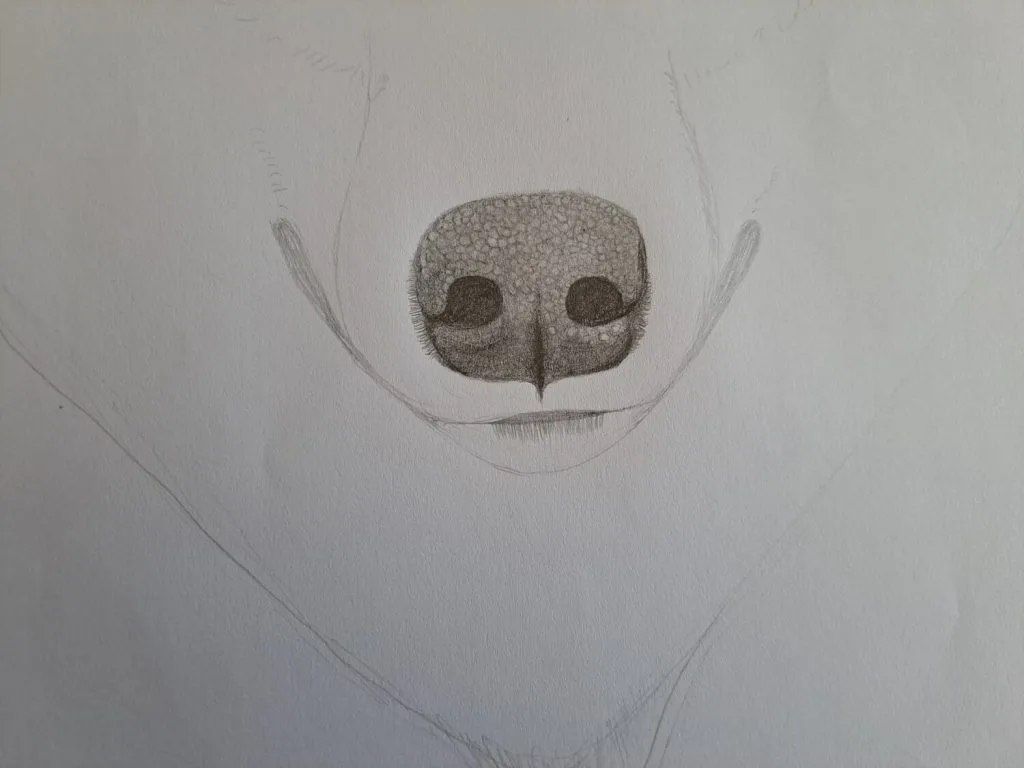
Shading the nose (snout)
If you observe the wolf’s nose, you’ll realize it isn’t necessarily smooth. Instead, it has a unique pattern of ridges and creases for heightened sensory.
When drawing realism, it is mandatory to try to replicate that appearance as much as possible. To achieve this, draw small, irregular circles alternating darker and lighter values.
To increase the contrast, use a pointy kneadable eraser to pick out excess graphite. Shade the nostrils and any other visible shadows with an 8B pencil.
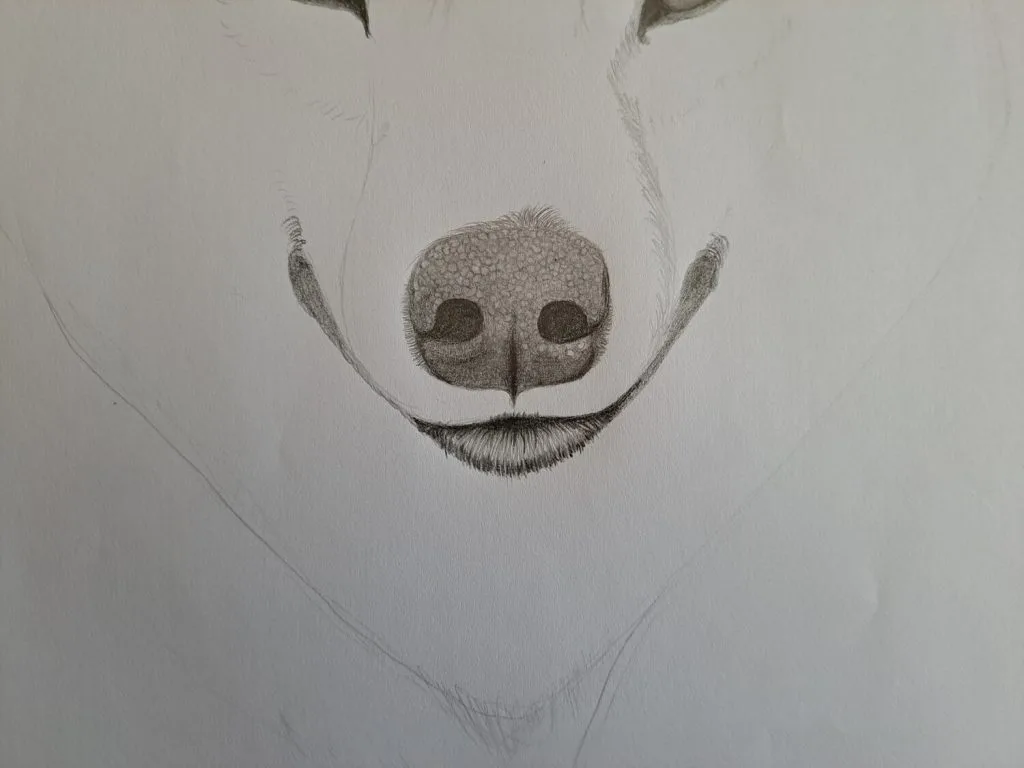
Shading the mouth
There’s not so much to do here.
However, we need to draw the fur around the mouth at the center and sideways. Ideally, we can’t really see the wolf’s mouth at the angle of our reference photo.
Make the fur darker using a 6B or 8B pencil.
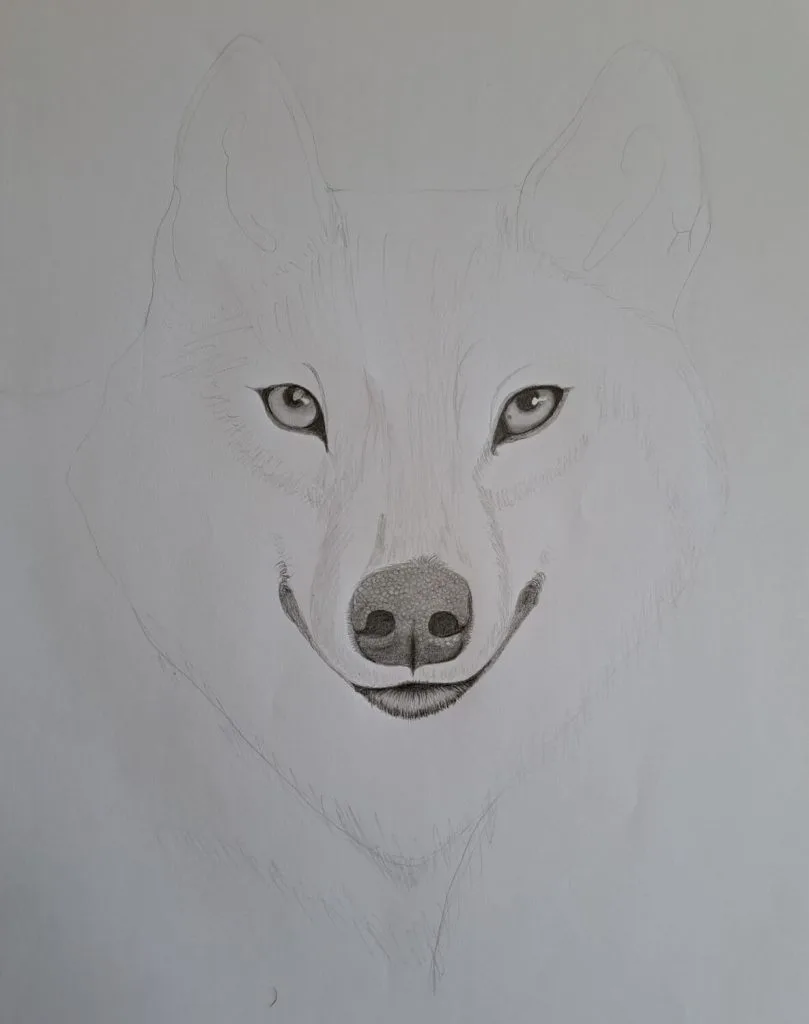
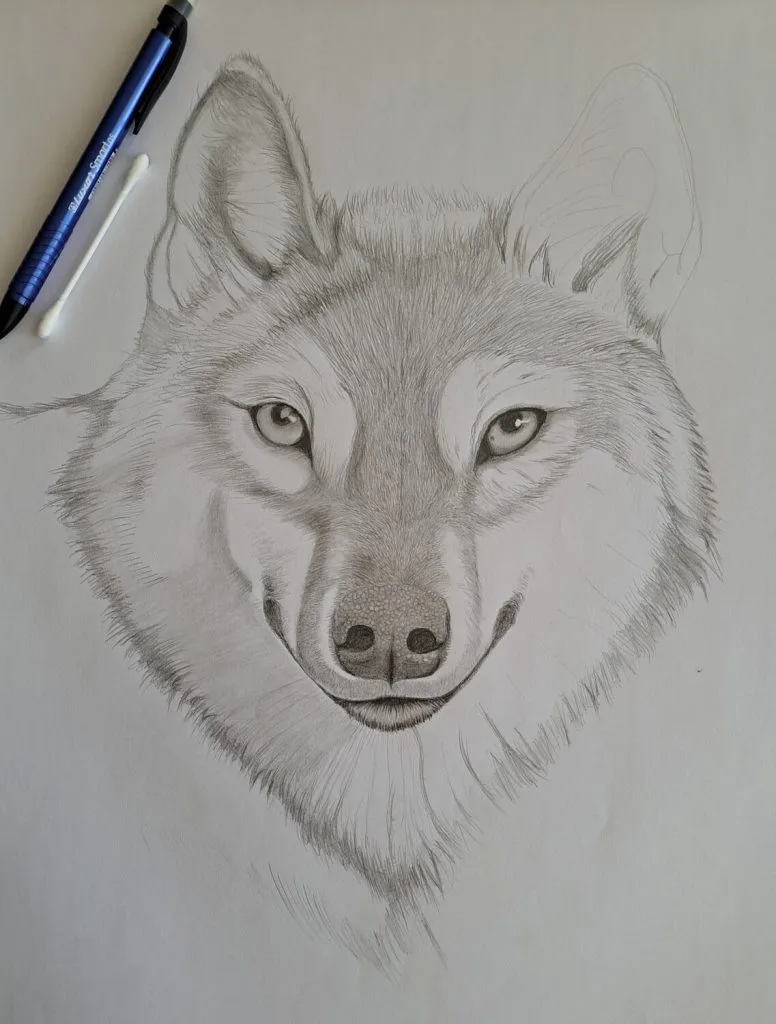
Completing the Face
At this point, you should have a sketch similar to the one below. To complete the face sketch, draw the boundary lines indicating the nose area and how everything will fit together.
While at it, sketch the general direction of the fur around the wolf’s face.
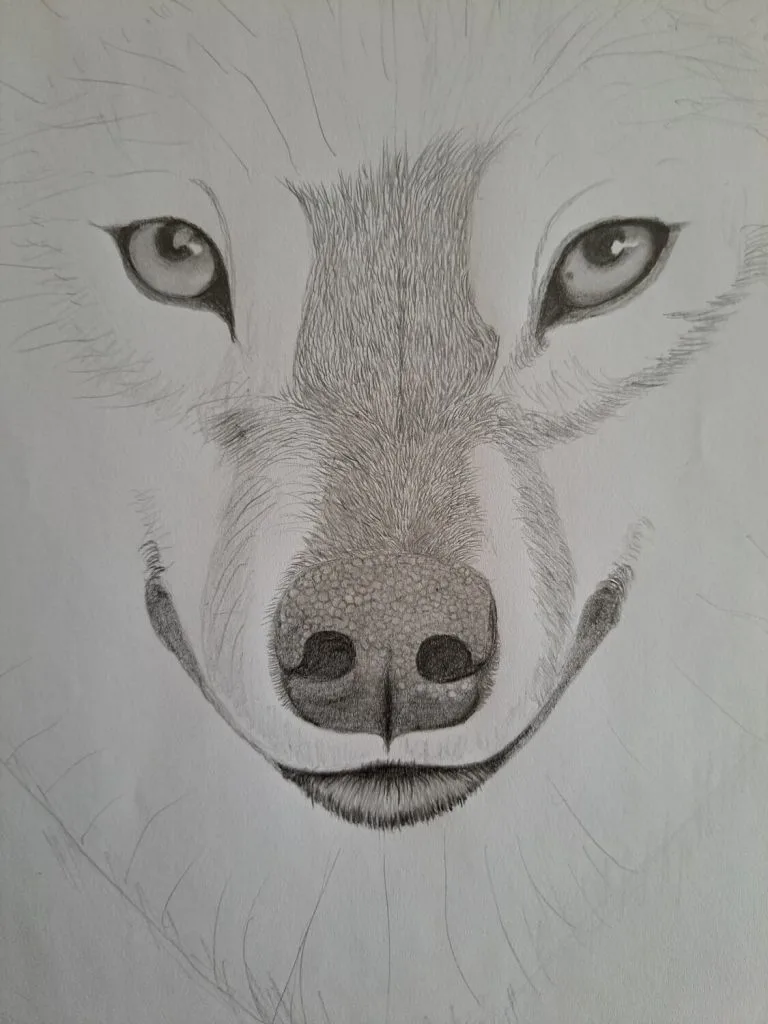
Building up the fur around the face
We’ve already completed the mundane task of sketching while ensuring that everything is proportional. And now, onto the fun stuff: shading realistic fur around the face.
The difference between the fur around the face and other areas is simple: it is short and compact, as opposed to long and spread apart.
Therefore, use a sharp and soft pencil to create short strokes close together, starting at the top of the nose. I prefer a 0.5mm lead mechanical pencil for this exercise.
Direction of the fur’s growth
After shading the face to your satisfaction, take a general look at your sketch and mark out the direction of the fur on the whole drawing.
This step will save you too much trouble later on.
Besides, observe the shadows and draw those as well.
Shading the ears and adding fur
You know the drill at this point.
Keep adding fur, especially on the head and around the ears. Remember to use a soft and dark pencil to shade the middle of the ear to create the illusion of an earhole.
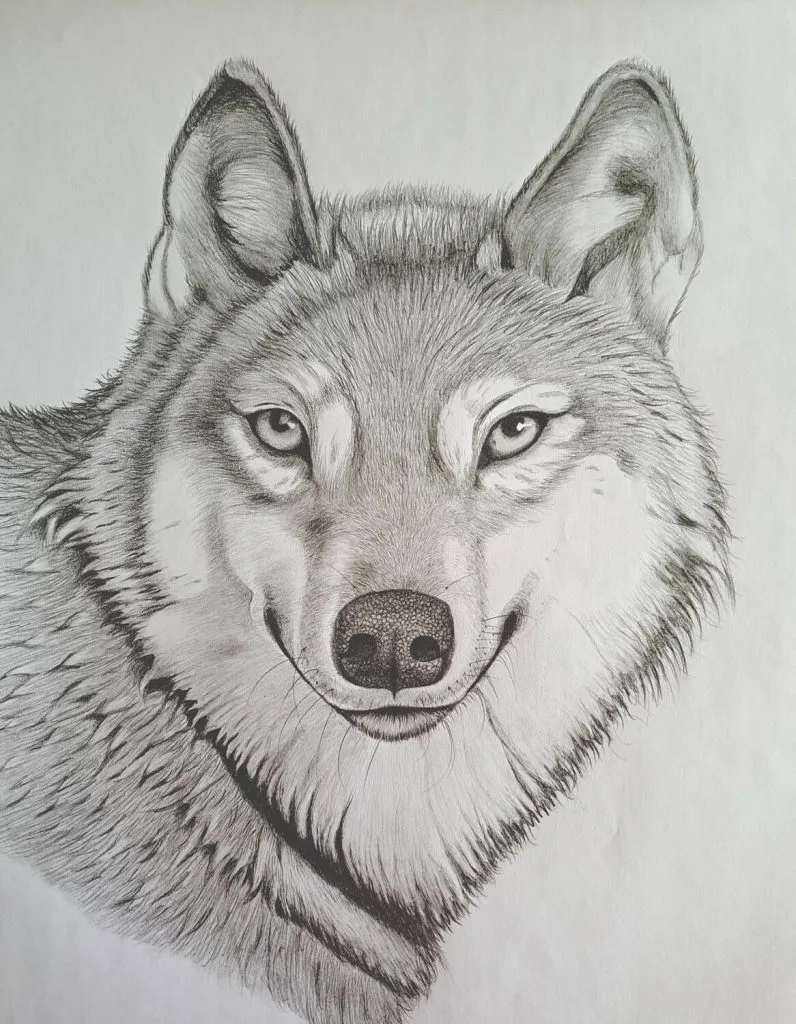
Shading the edges and building more fur for a realistic look
Continue adding varying strokes of fur to build volume.
Additionally, the fur should be shade darker around the edges and where it overlaps. This is because the fur tends to cast shadows and block light from the fur below.
Final touches
This involves building up sufficient contrast for the ultimate realistic illusion. Get a blending stump or Q-tip and lightly blend the entire drawing.
This blurs the image a bit while eliminating the hard pencil strokes.
Therefore, you need to get 4B, 5B, and 6B pencils and darken shadows while leaving the mid-tones untouched. As soon as you’re done with the facial fur, proceed shading the body segment as you’ve been doing.
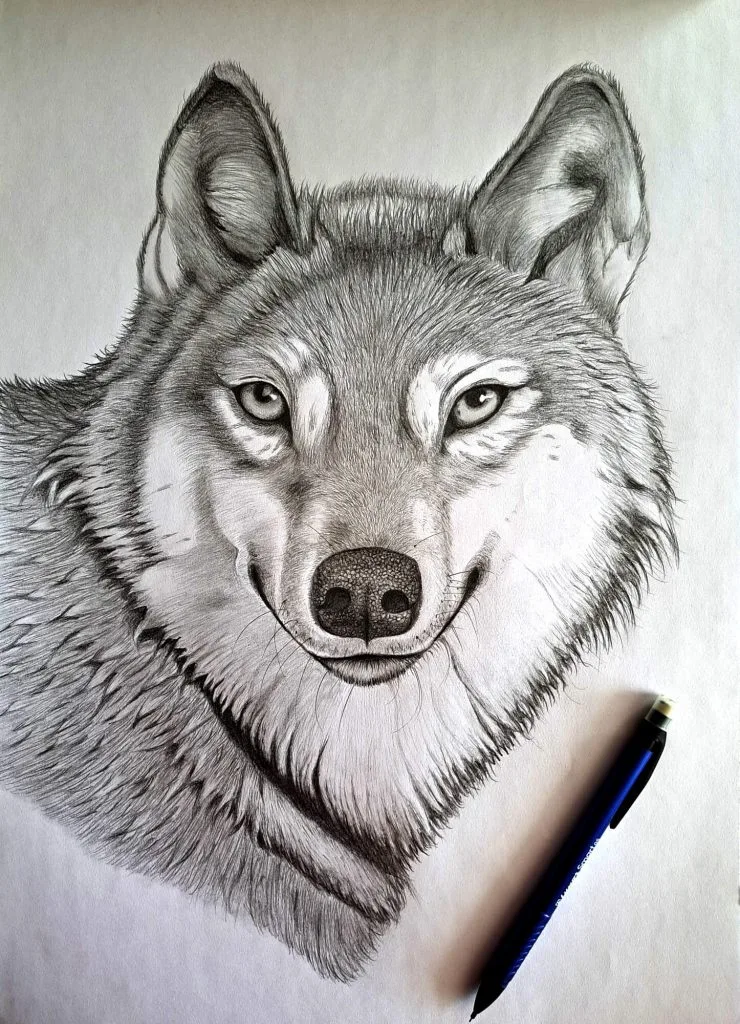
By the end of this step, you should have a realistic wolf drawing that you can be proud of.
Note: I’ve adjusted the brightness and levels of my final piece so that it renders as well on screen as it is on paper.
Final Words
I hope you’ve enjoyed this tutorial as much as I enjoyed writing and drawing the illustrations. If you have, consider sharing it with your friends who might equally benefit.
And as always, I’d love to see what you create by tagging #muusartwolf.
It’ll mean the world.