
There’s nothing as daunting as drawing hands when sketching the human figure. It’s just as challenging for advanced artists as it is for beginners.
However, understanding their structure and shape will go a long way in guaranteeing an outcome you can be proud of.
In this tutorial, I’m covering everything you need to know so that you can move from beginner to advanced before you close this browser tab. Even if you won’t, you’ll be pretty close, depending on your dedication.
Let’s begin:
Facts about the human hand
The length of the palm will vary from one individual to the next. But as a general rule, the length of your hand is equal to that of the face.
If we break that further down, you’ll establish the following:
- The distance between the wrist and the knuckles is similar to the distance between the tip of the middle finger and the knuckles (extend your fingers and check for yourself).
- The length of the ring finger is equal to that of the index finger – at least for most people
- The tip of the pinky finger lines up with the final joint of the index finger.
With these critical dimensions in mind, let’s move ahead and start drawing. We’ll go through a series of exercises that suits beginners, intermediate, and advanced artists.
You may also be interested in learning;
Drawing an open hand (beginner)
This is probably the easiest place to begin.
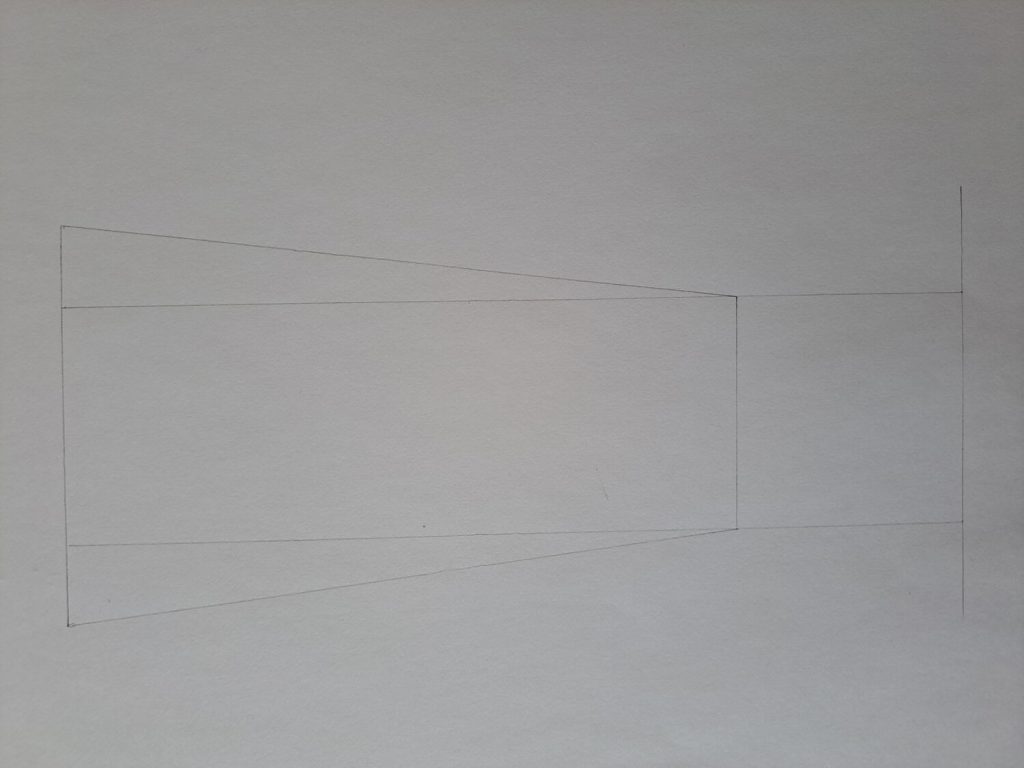
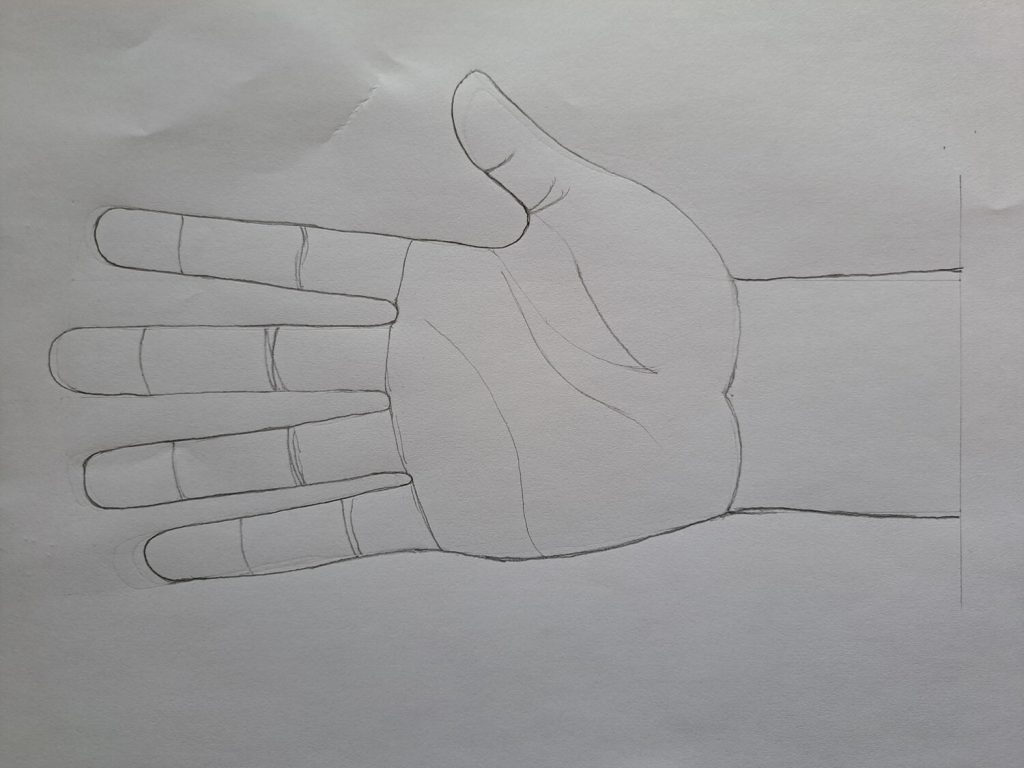
Start by drawing a square on the right of your paper. Then, draw a trapezoid shape extending to the left. A trapezoid is simply a rectangle with two equal triangles on the side, as shown below:
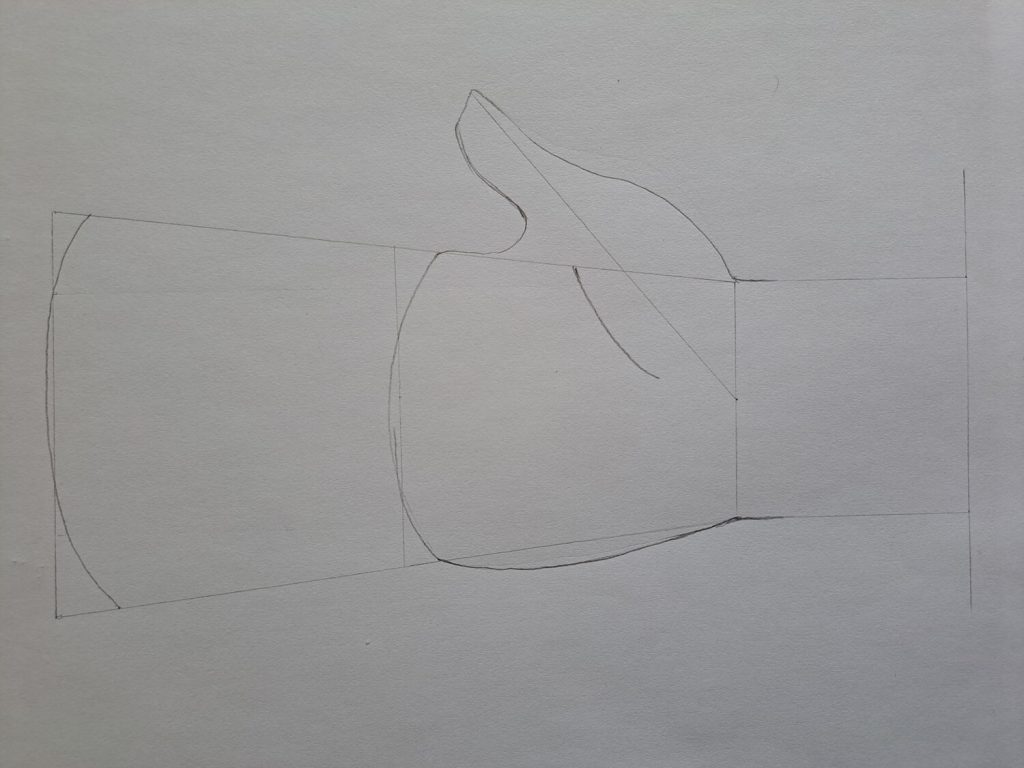
Divide the trapezoid into two equal parts, and draw a diagonal line from the middle of the left of the square. Draw two curves and sketch the thumb as shown:
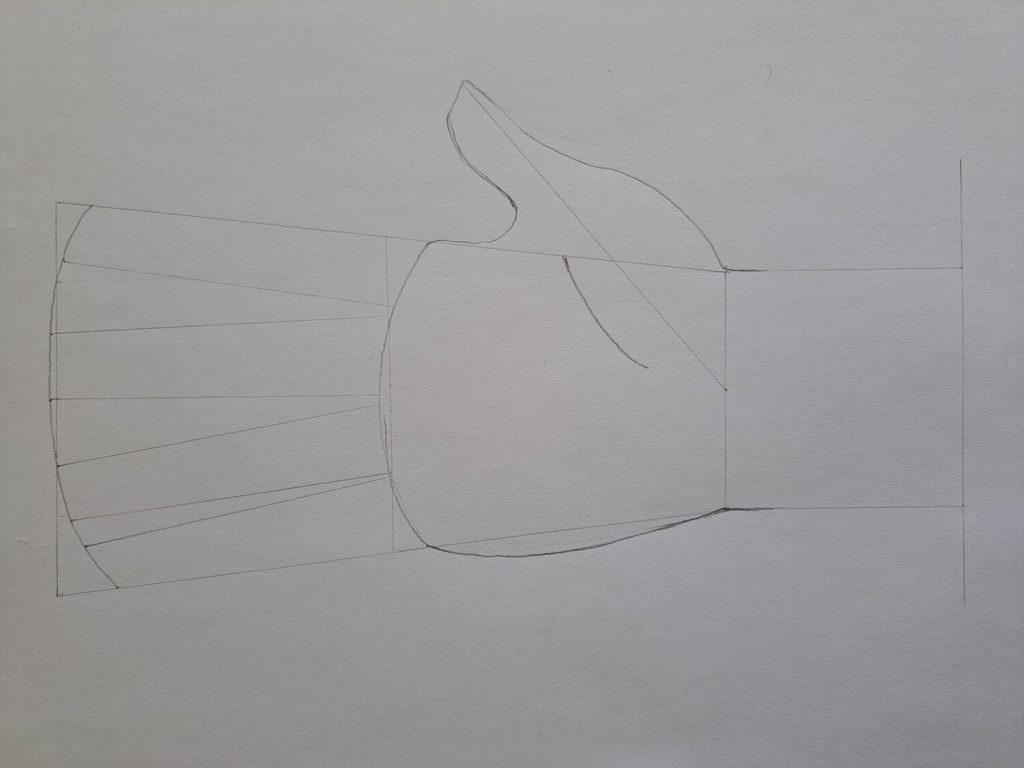
Sketch the position of the four fingers using a light pencil (H), considering their lengths in relation to each other.
Get your HB pencil and sketch out the complete hand. Once satisfied with your results, erase all the guiding lines – we no longer need them.
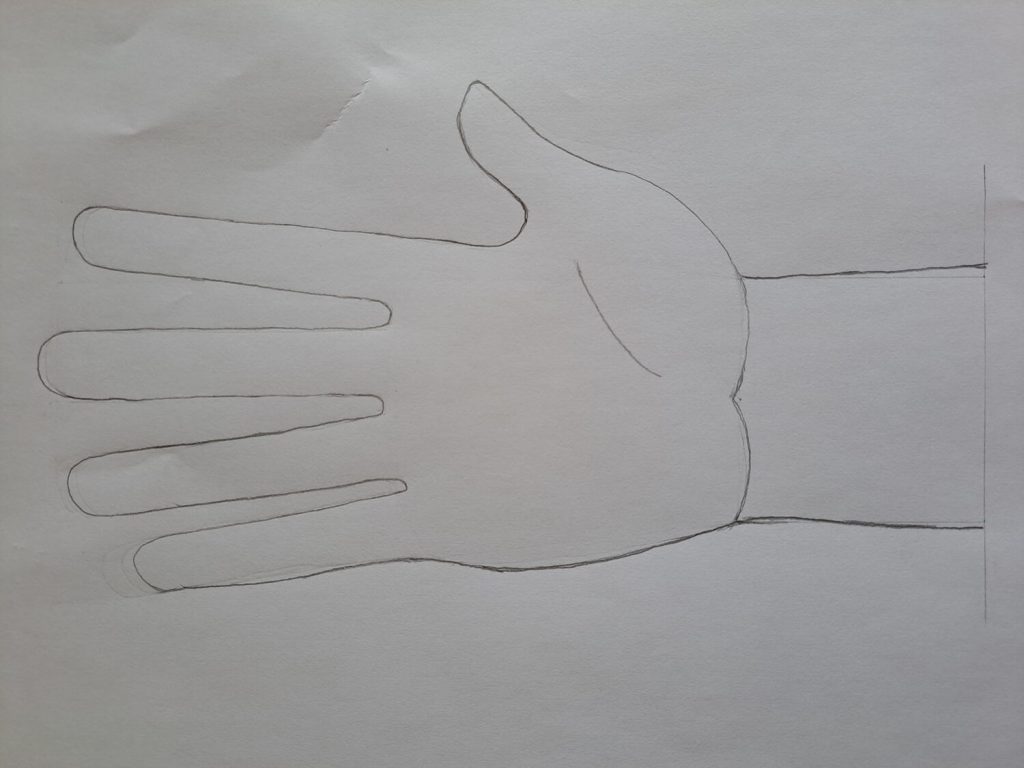
At this point, you can sketch any details, including the finger joints and visible lines.
Shading and Blending
If you want to transform your drawing from a two-dimensional to a three-dimensional realistic image, you need to master the art of shading and understand value scales.
First and foremost, get a lighter pencil, preferably an H graphite pencil, and uniformly shade your sketch. Then, use a blending stump, or wrap a tissue or serviette around your index finger, and smudge the shaded graphite to achieve a smoother finish.
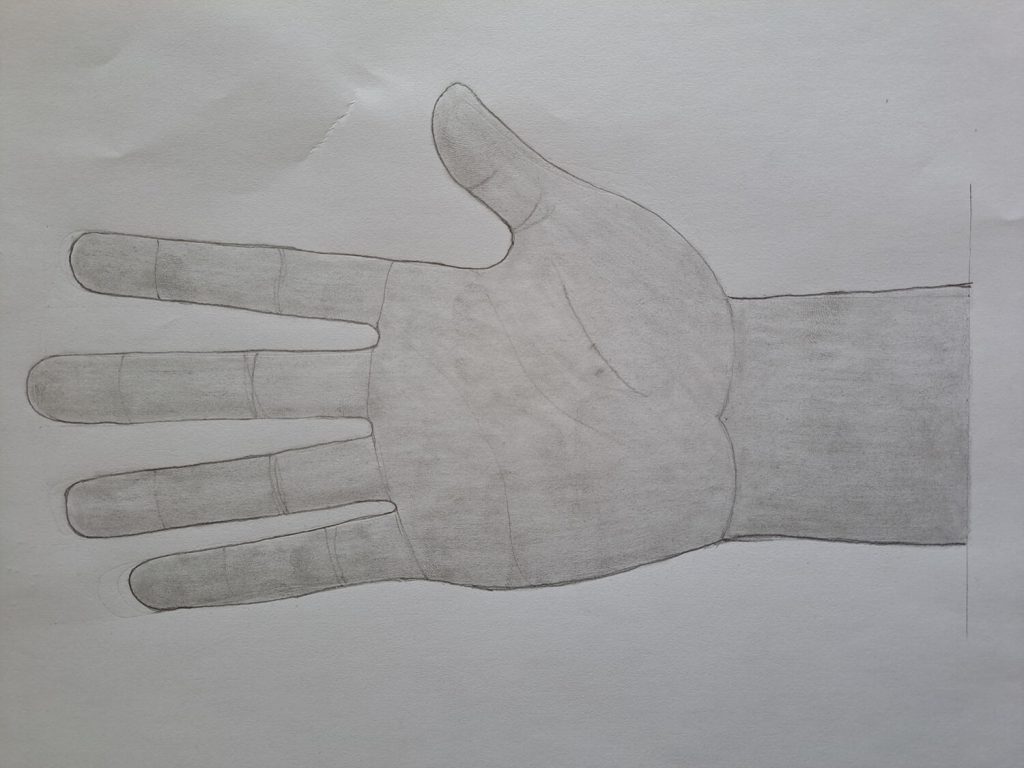
You realize that the above step will interfere with our initial details.
Therefore, get an HB pencil and begin shading those lost details as we slowly build in the contrast. If you’ve followed everything as explained, you should have the following hand drawing:
Drawing a female hand pose (Intermediate)
As you continue and improve, you can try drawing hands portraying certain emotions and poses. In this tutorial, we will draw a graceful pose of a female hand.
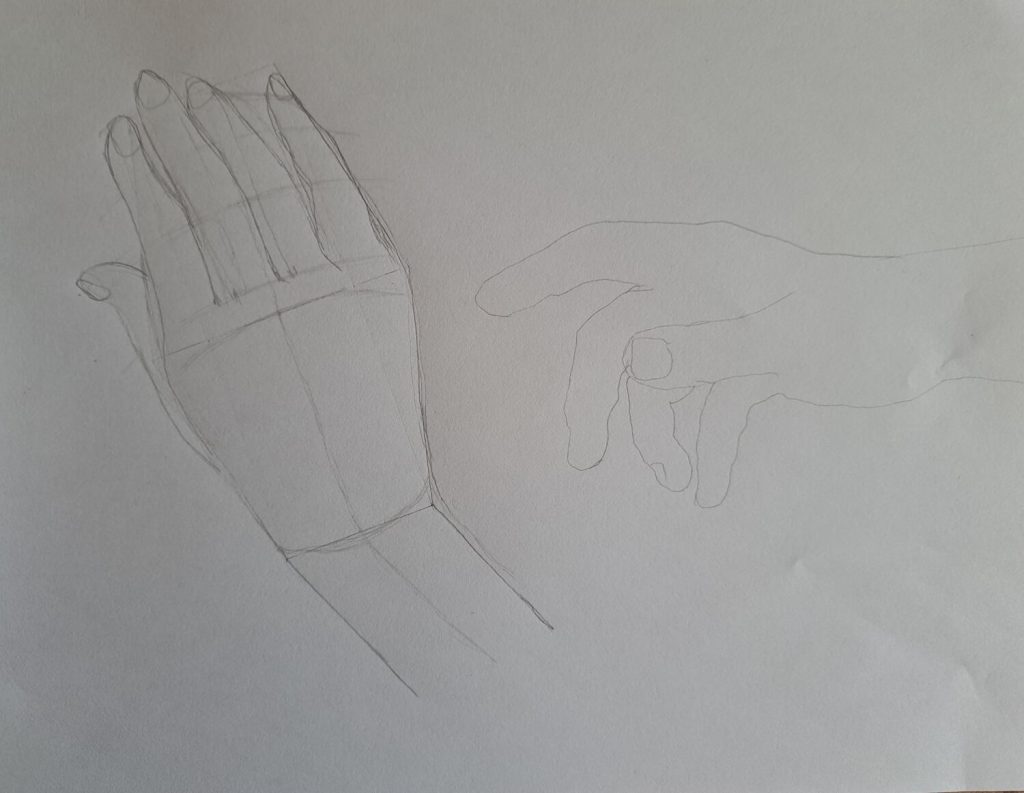
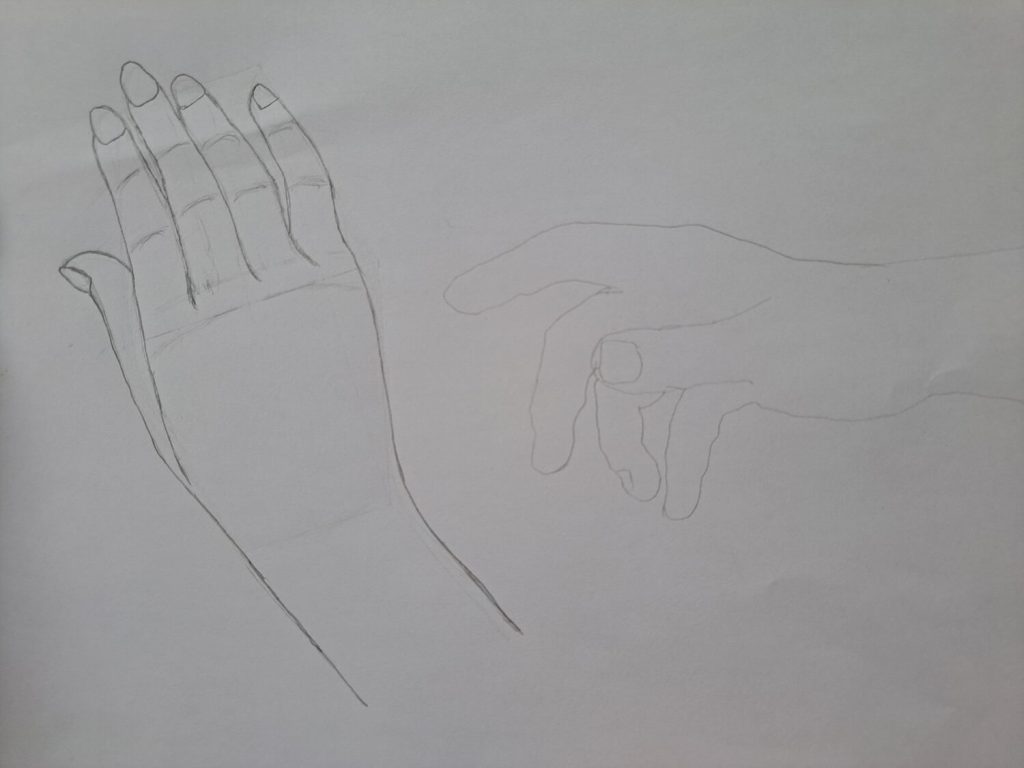
For starters, draw a rectangle and two trapezoids that look inverted. Unlike in the first practice, don’t draw them along a straight line, as shown below. While at it, can you ignore the hand pose on the right for now?
Great!
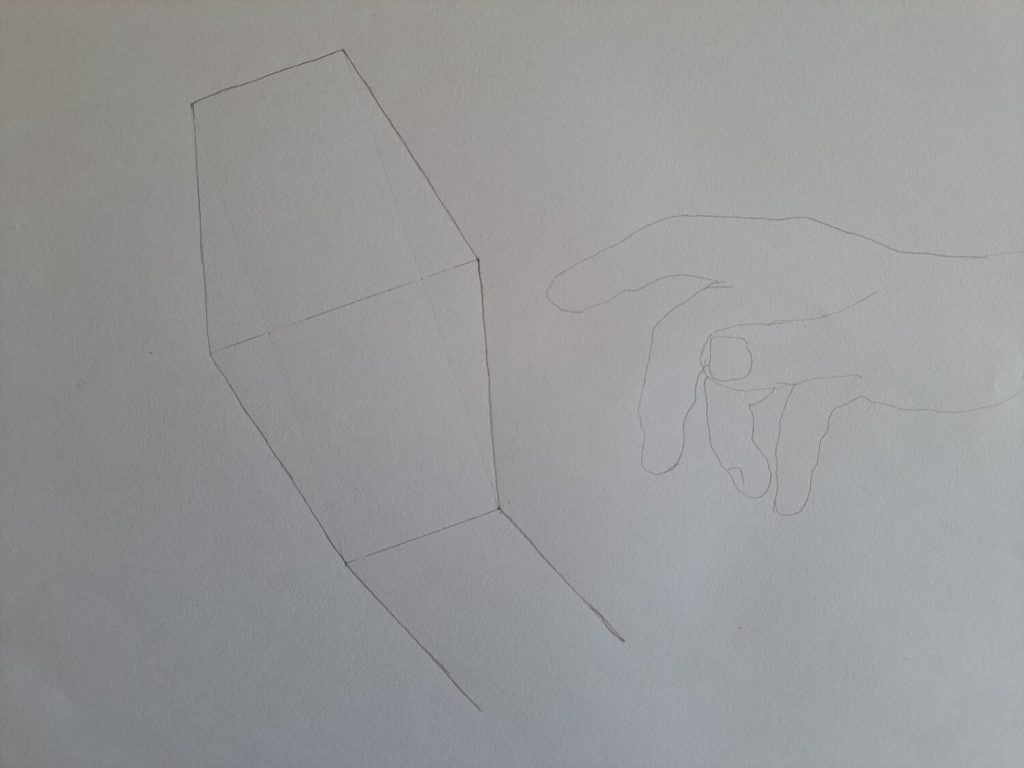
Sketch the thumb and fingers, ensuring they fit in your guiding structure. But you shouldn’t obsess too much with the details. Besides, don’t be afraid of erasing stuff until your sketch looks right.
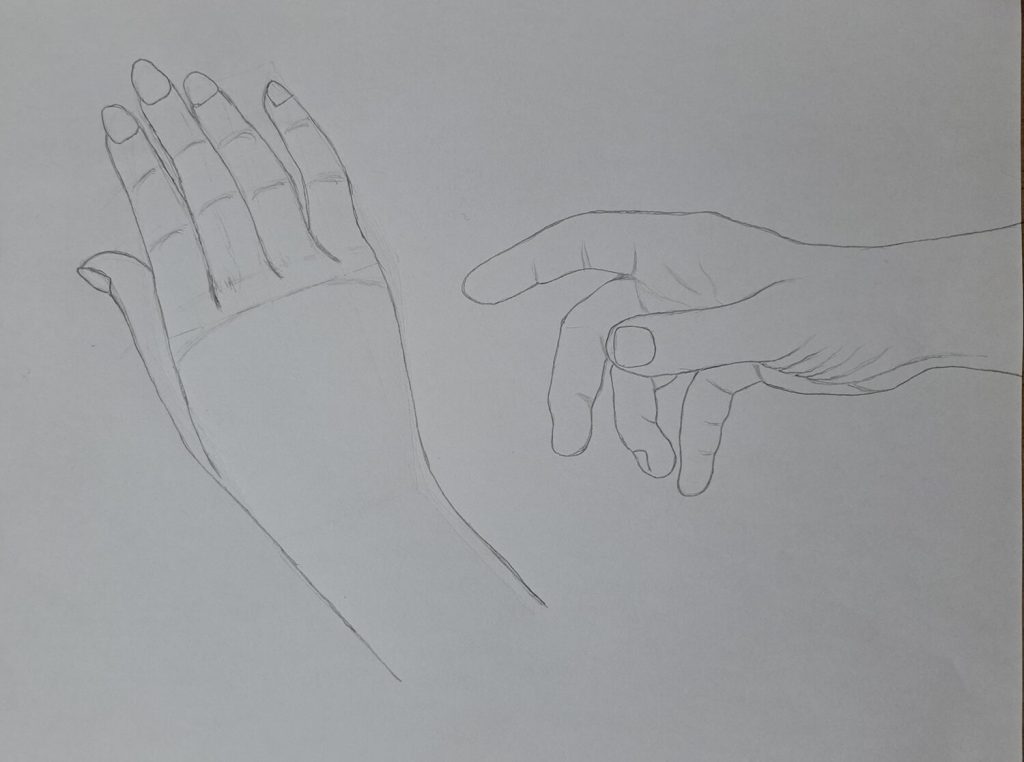
Once satisfied with your sketch, erase all the guiding lines except around the knuckles. Take note that the joints in the fingers are laid out in the form of a curve.
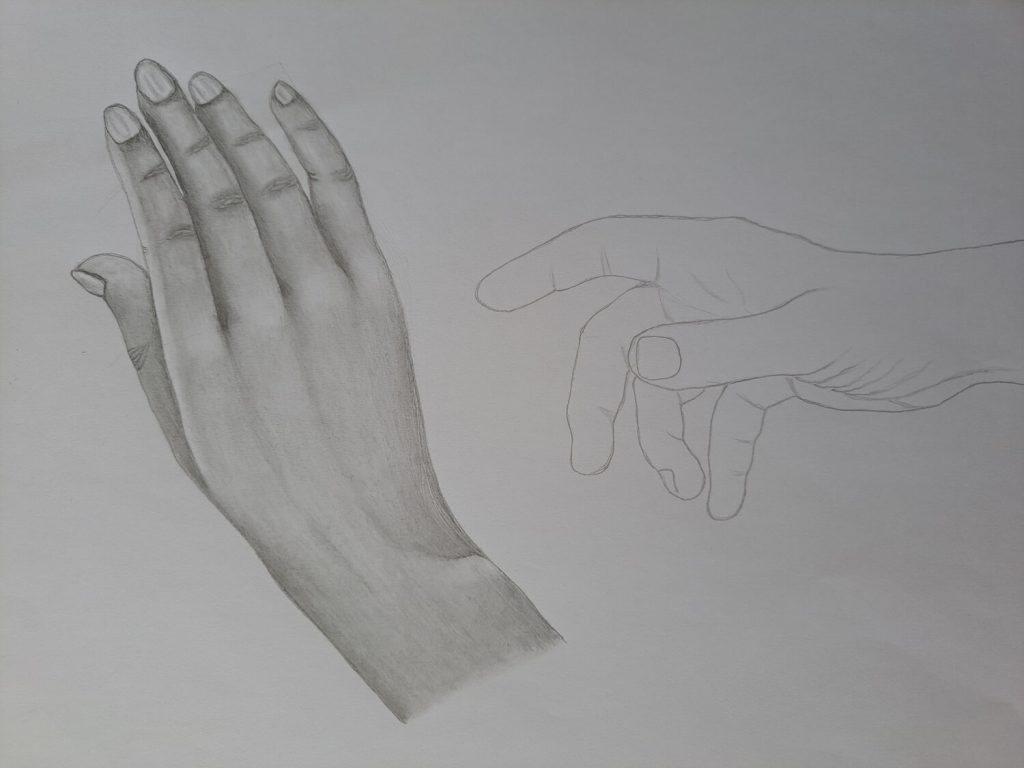
Shading and Blending
By now, you know the drill.
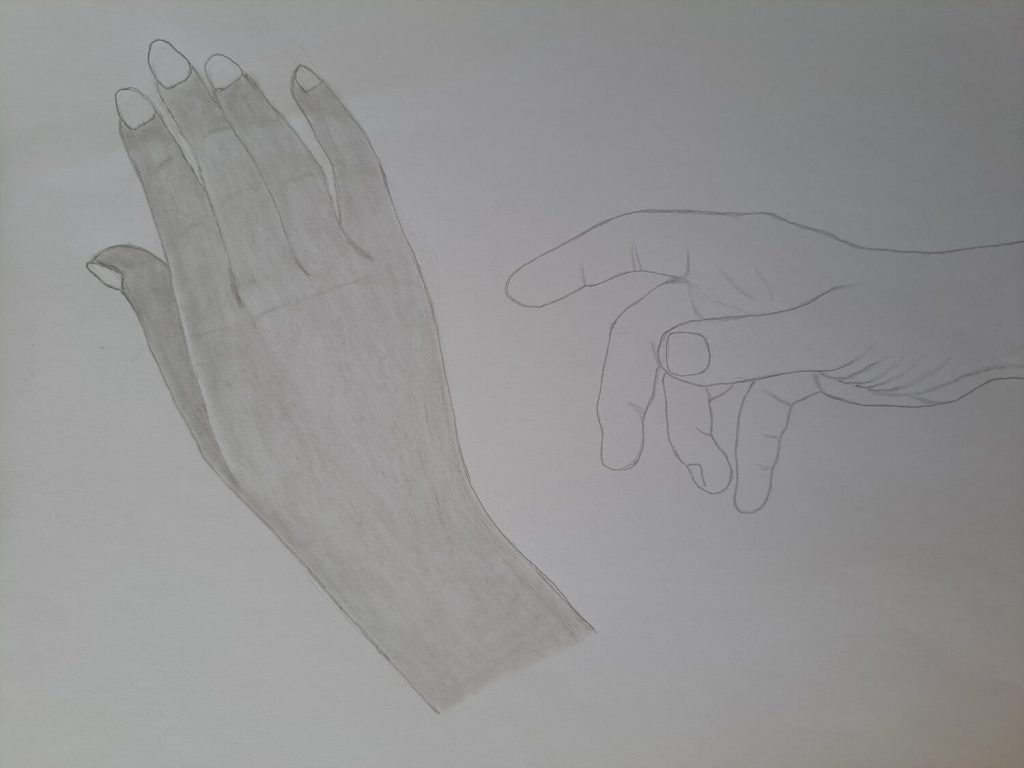
Shade your sketch uniformly using a light pencil and thoroughly blend the graphite.
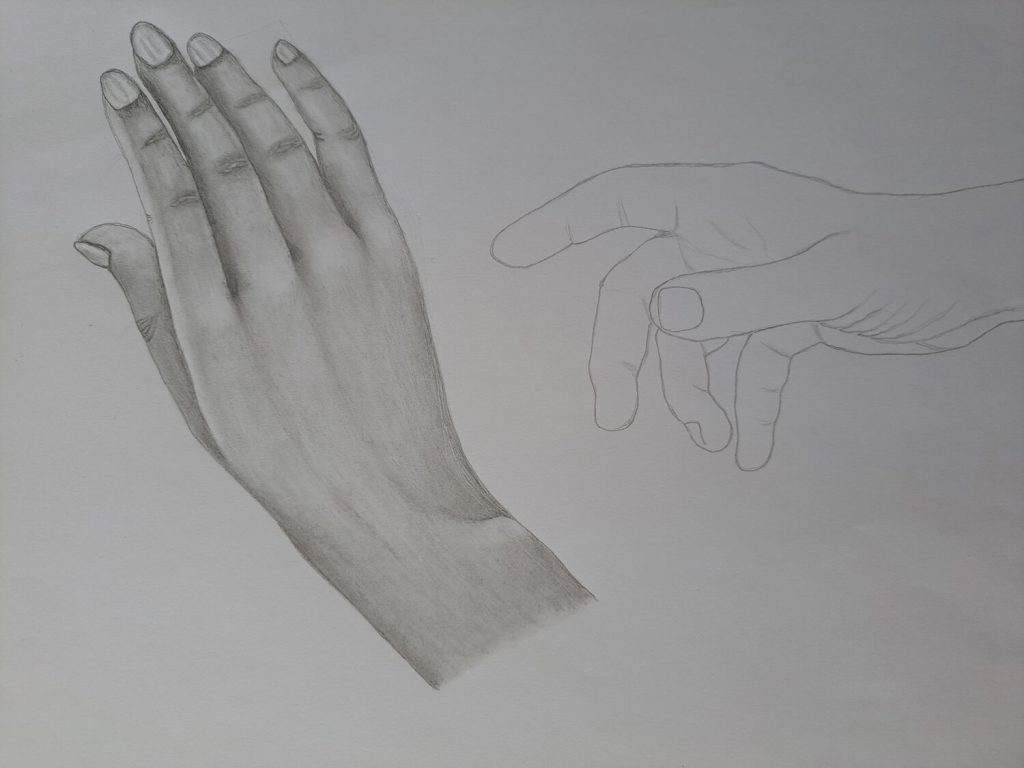
Next, pay attention to how light is reflected on the hand’s surface or lack thereof. Using a smoother and darker pencil (HB & above), shade in more details depicting the finger joints, veins, and shadows.
Use a 3H pencil to shade the nails and other light areas.
If it helps, use my drawing below to guide you with the shading:
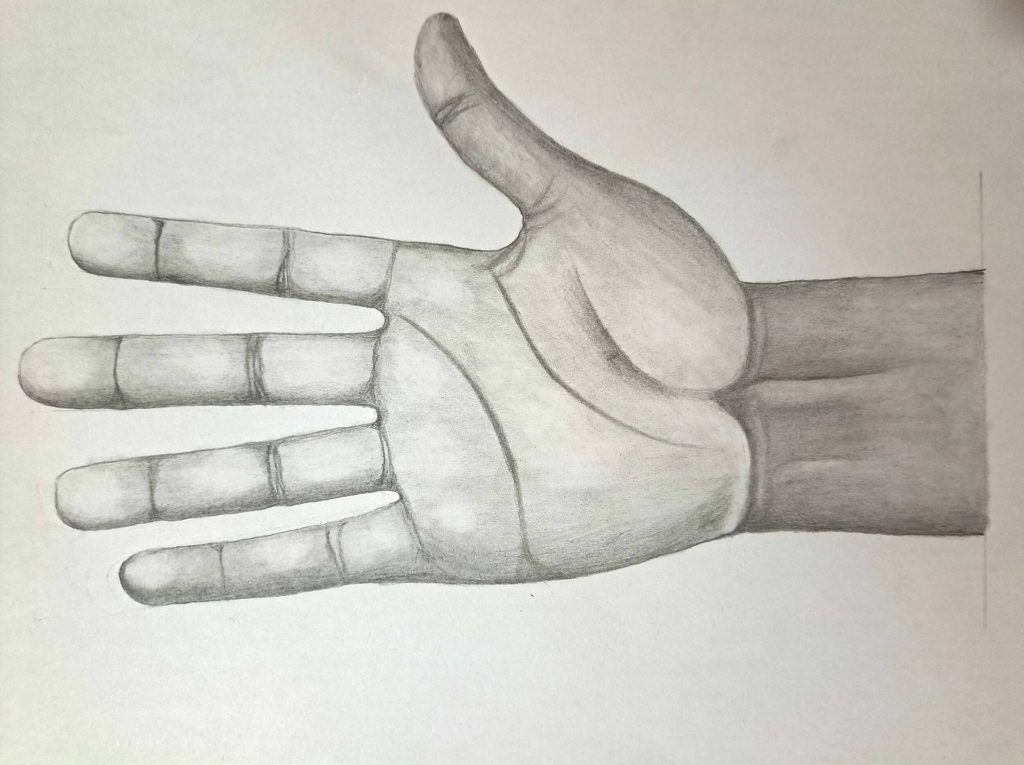
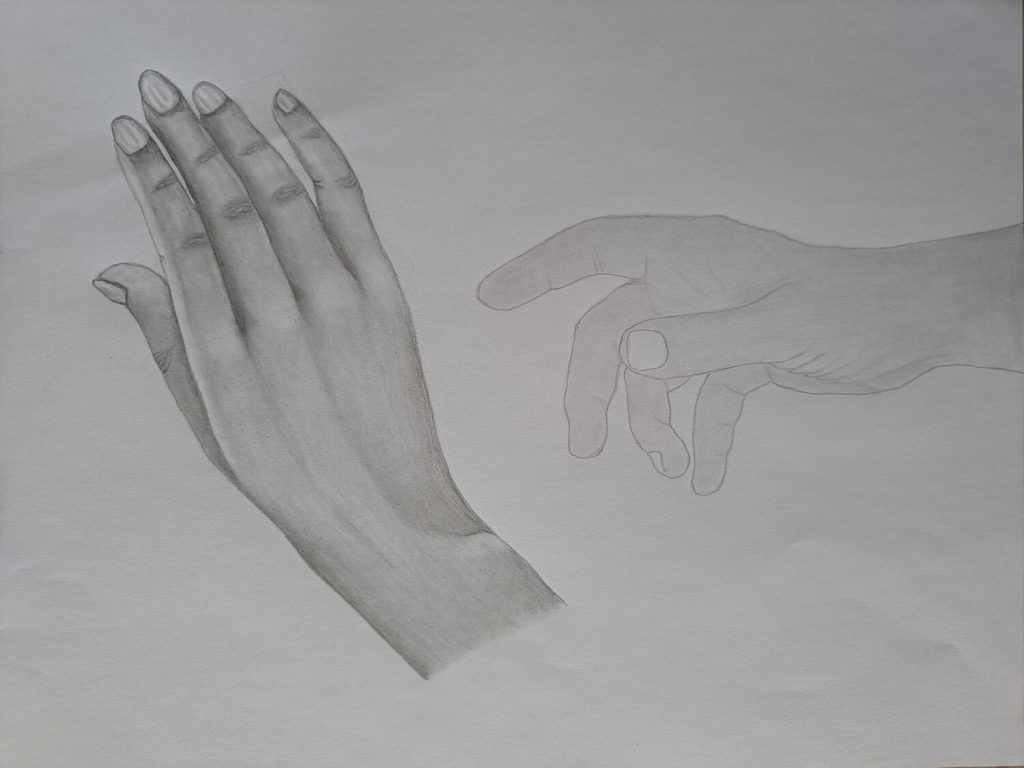
Drawing a male hand pose with a pointing finger (Advanced)
This step requires you to draw the hand either by observing a reference photo or from memory without the help of geometrical shapes.
Do you remember I asked you to ignore that sketch on the right?
This is the time to now focus on it. It’s a sketch that I drew by observing an image I got on Pixabay. You can download it by following the link.
Draw your sketch as accurately as possible
Sketch all the minute details, which include the wrinkles, the finger joints, and the nails.
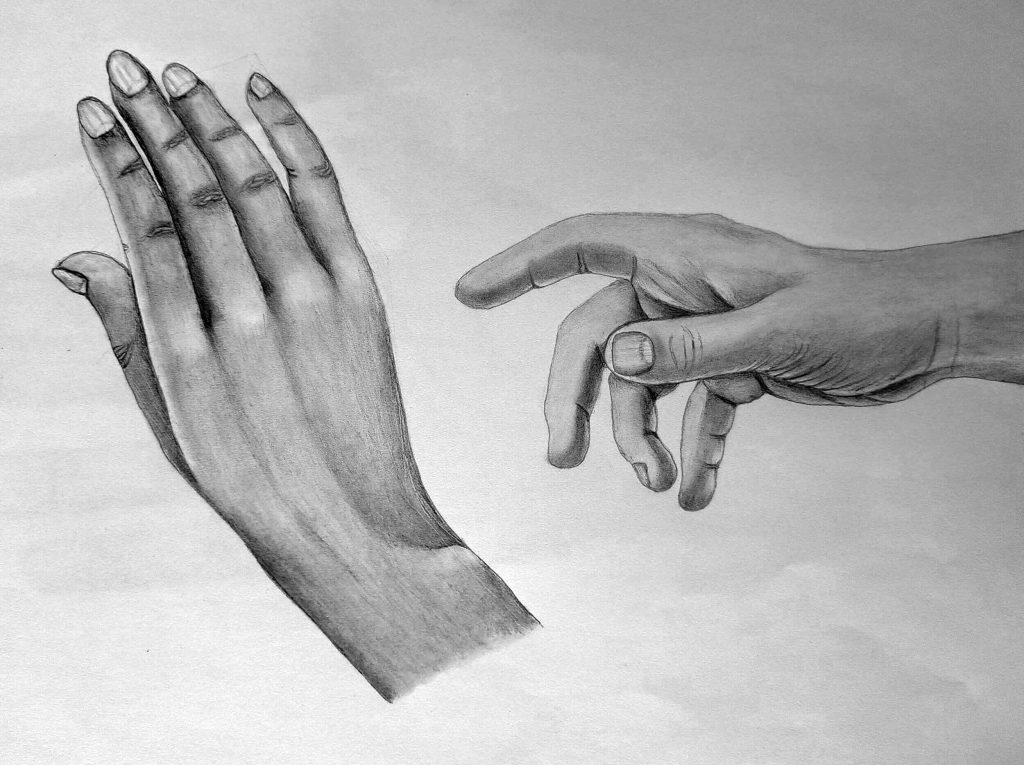
Shade the sketch uniformly and blend. Leave out the nails for now.
Continue shading to include more details in the drawing. To shade the nails, use a 4H pencil and kneadable eraser to lift out the highlights.
Here’s the final piece!
Final Thoughts
There you have it!
You’ve just read a step-by-step tutorial on drawing hands. If you keep practicing the points outlined, you’ll improve. One thing I’d like to emphasize is that don’t chase perfection neither should you be afraid to erase as much as you want.
As always, I’d love to see what you’ve created. Just post your drawing and tag me at #muusarthands and be delighted to see it and probably share some feedback with you.
Until then, happy drawing!