Did you know that parrots can crack hard nuts, mimic sounds, solve puzzles, and form strong social bonds?
In fact, researchers have long noted that parrots rank among the most cognitively advanced birds, showing problem-solving skills that rival some primates in specific tasks.
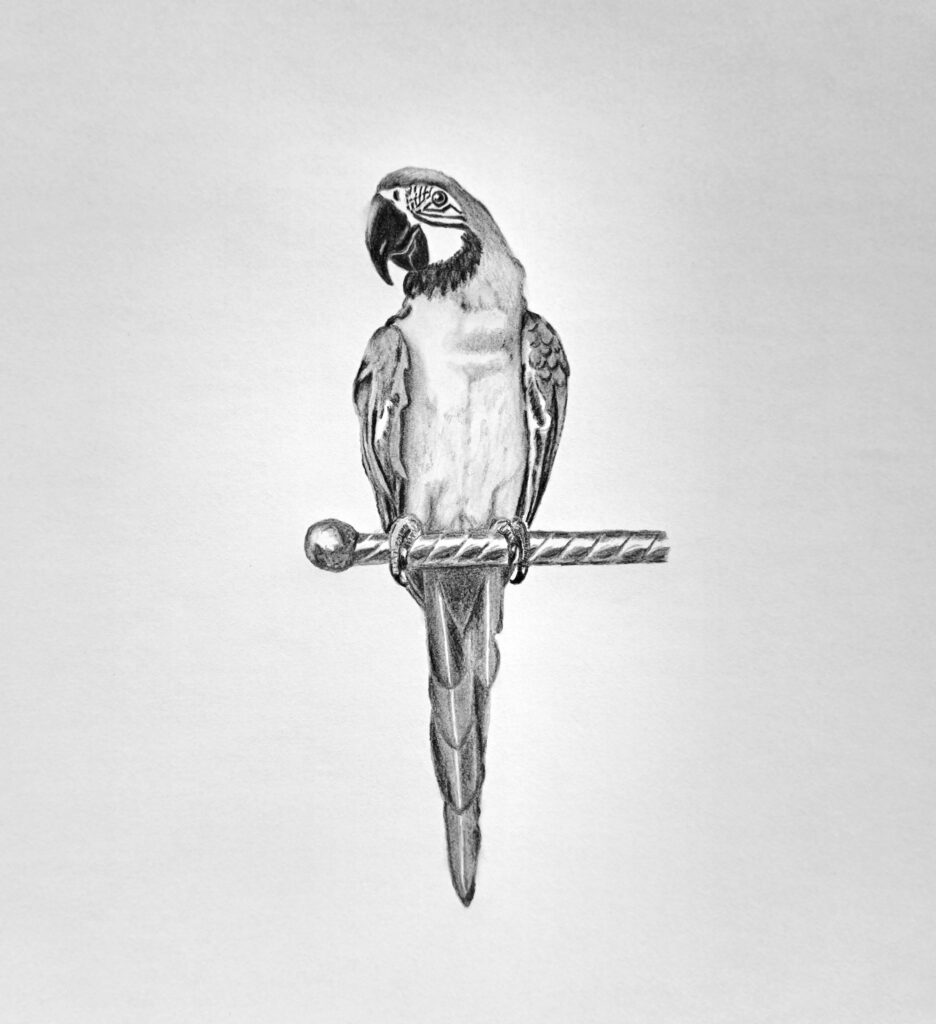
Parrots like the blue-yellow macaw make great pets thanks to their beauty and social interaction.
However, that beauty comes with a serious story. Many macaw species have faced pressure from habitat loss, illegal wildlife trade, and declining wild populations. Several organizations continue to document conservation concerns and support protection efforts.
As artists, we can help with this fundamental awareness. That’s why in today’s tutorial, we’re going to learn how to draw a realistic macaw parrot using graphite pencils.
By sharing our work on these gorgeous subjects, we make people notice them and pay attention to the wildlife around them.
What You’ll Need
Keep it simple:
- Graphite pencils, HB, 2B, 4B, 6B (Sharp is better than expensive always)
- Kneaded eraser
- Blending stump or soft tissue
- Sharpener
- Good paper with slight tooth
- Reference image of a Blue and Yellow Macaw (Copyright-free)
Easy Steps on How to Draw a Parrot Using Graphite Pencils
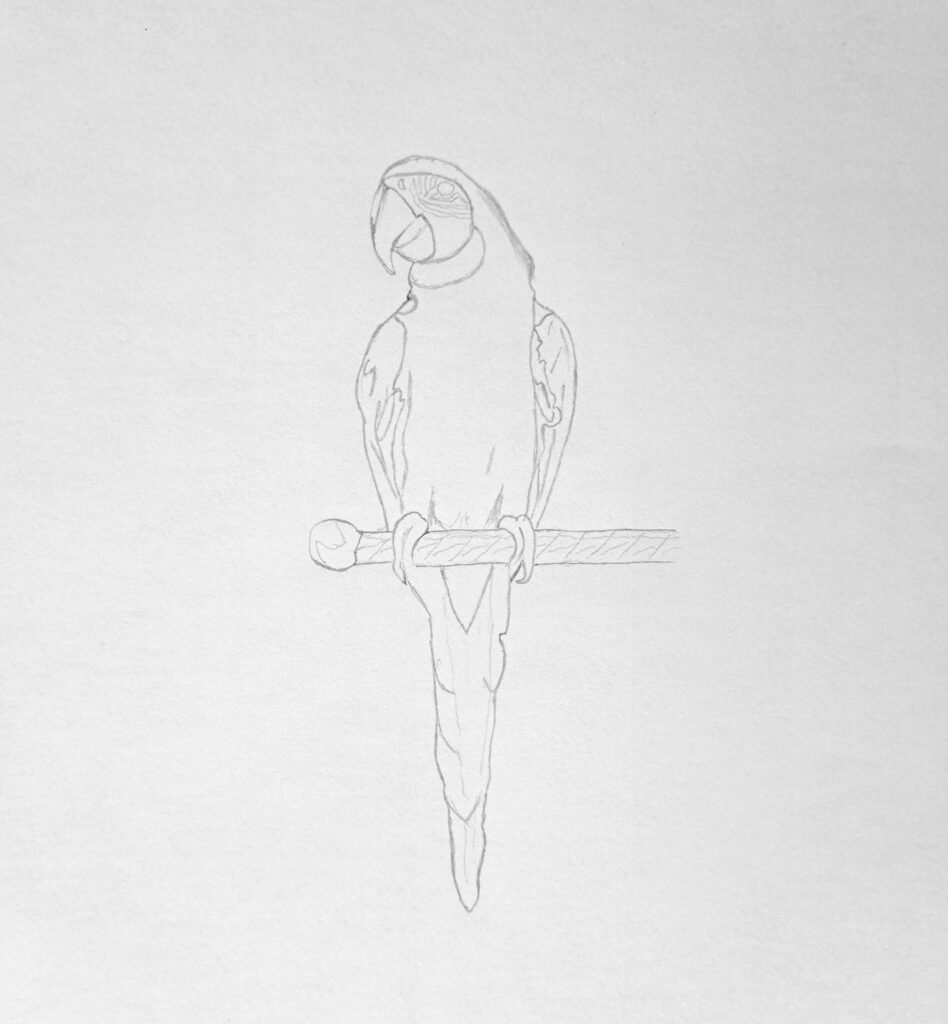
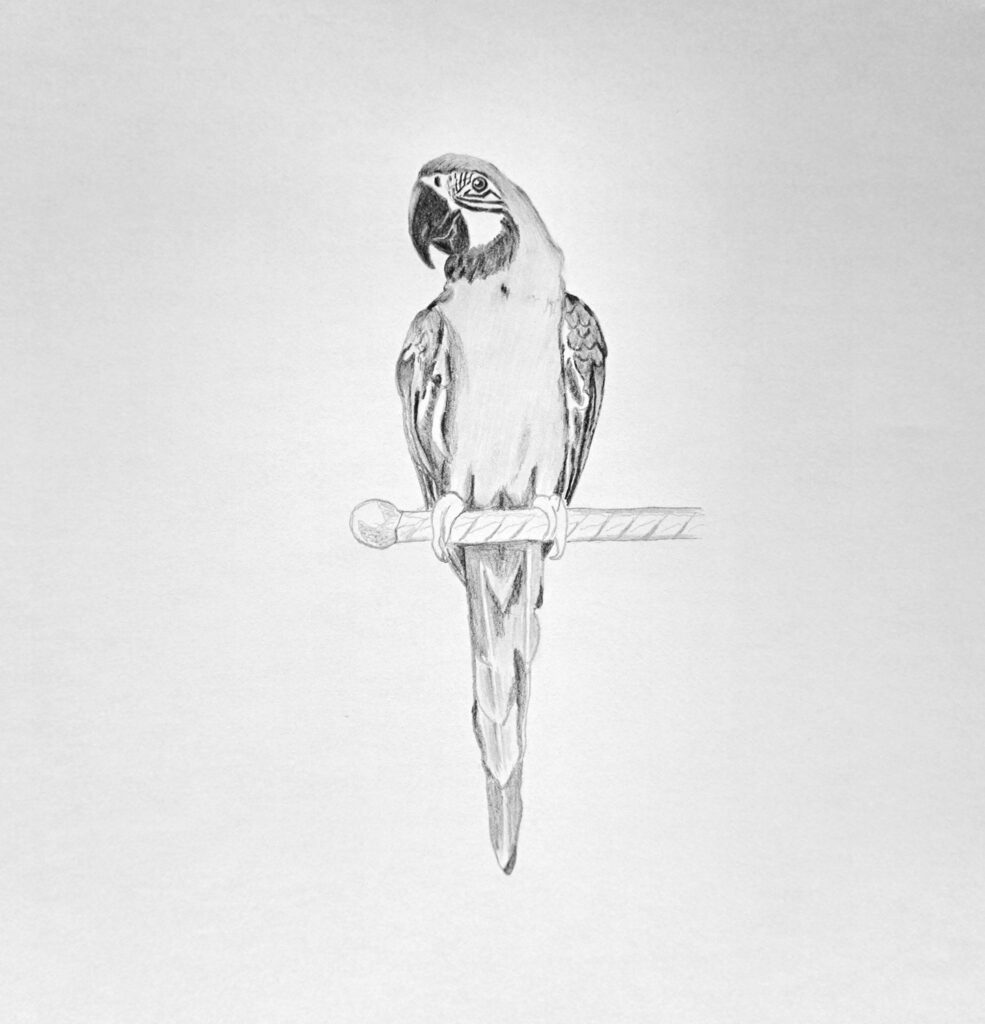
Step 1: Sketching the Parrot
Instead of relying on obvious construction formulas such as recognizable shapes, begin with gesture and proportion. If you need precise guidance, then use the grid method thoroughly discussed in this tutorial about drawing a puppy.
Begin by lightly mapping the bird’s full posture first. Use faint lines to sketch the top of the head to the beak tip. Check how the neck curves into the chest and body width.
Next, observe the tail direction and its length and sketch accordingly. Lastly, sketch the position of the feet on a perch or metallic bar, like in my illustration drawing above.
Pro Tip: A bad sketch cannot be corrected by shading. Make sure you’re happy with the line sketch before you proceed. If need be, have several sketches until you get it right.
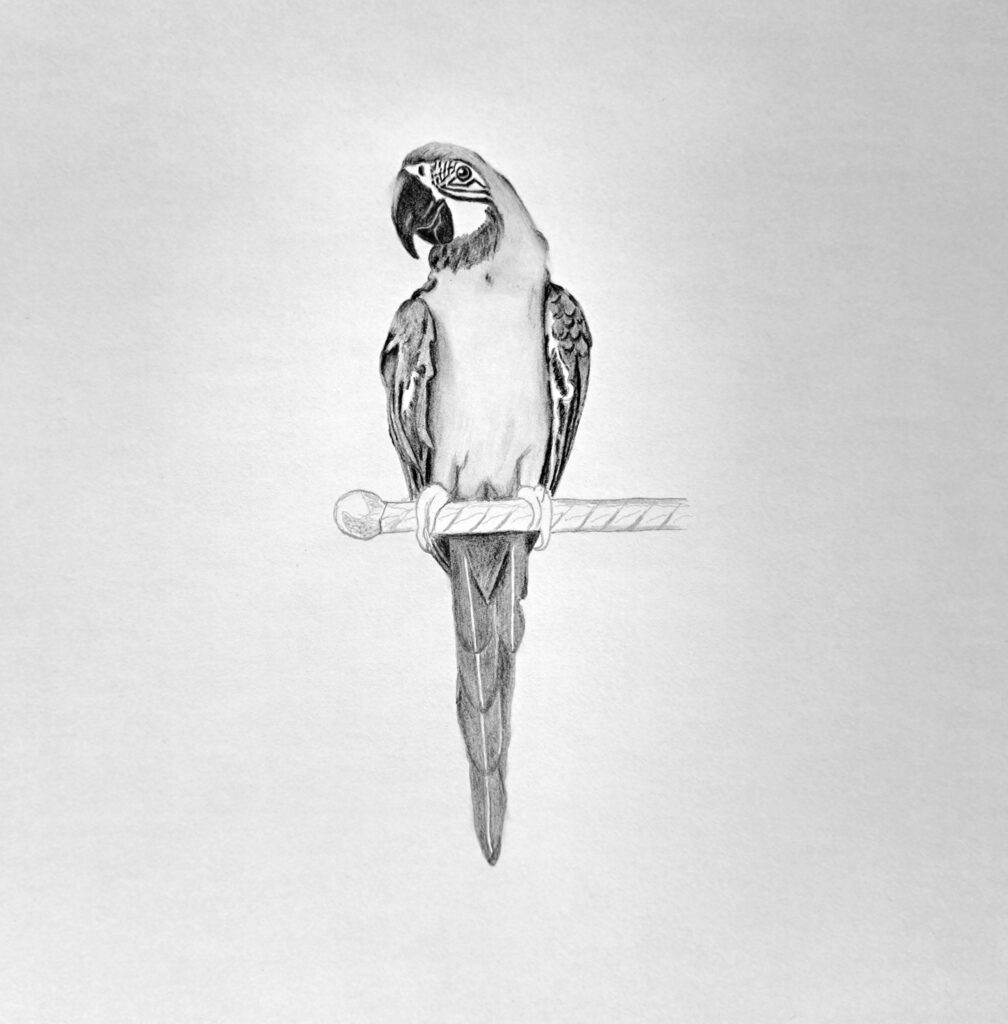
Step 2: Basic Shading for Form and Volume
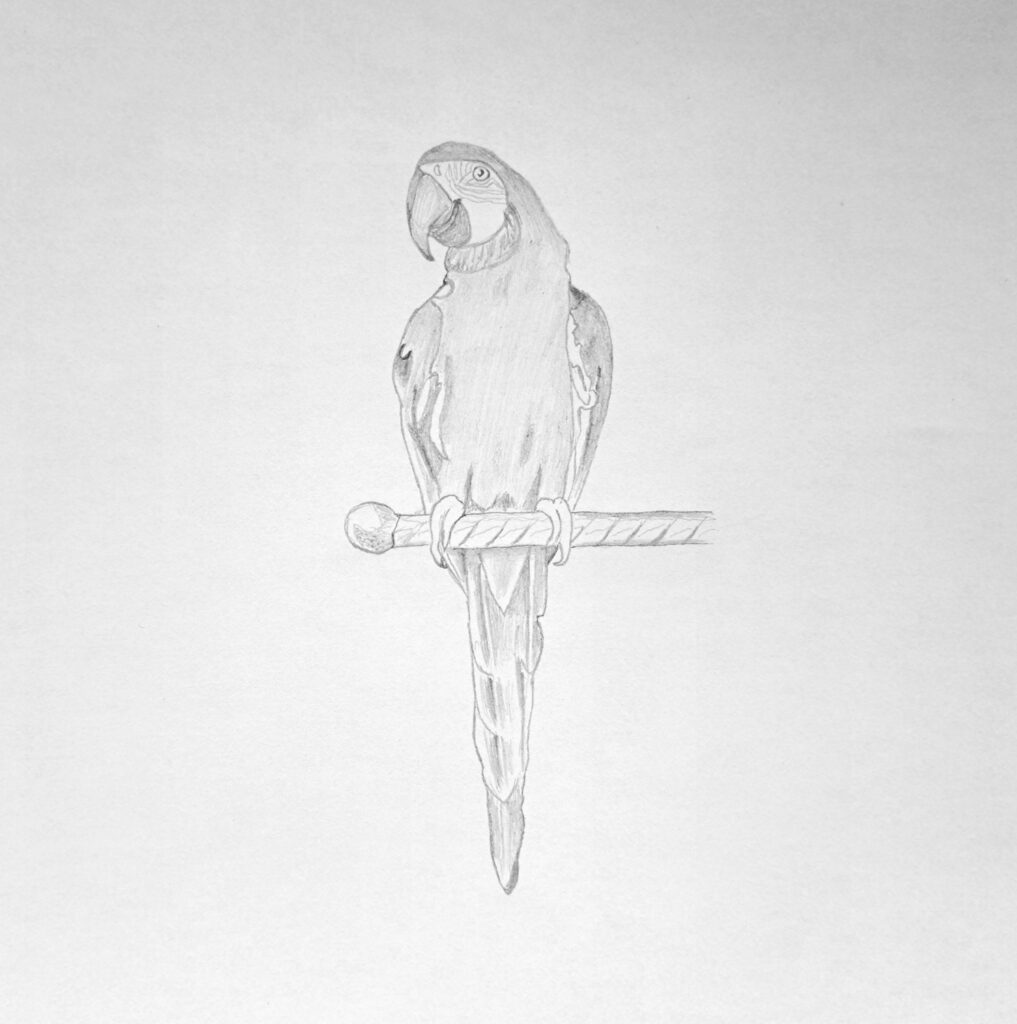
Once you’re happy with your line sketch, begin laying an even midtone over most of the bird.
Use light pressure and small strokes and leave highlights untouched, especially around the eyes, the top ridge of the beak, and the metal bar reflections.
This first layer is important because white paper can flatten forms. A gentle overall tone gives you something to push darker and pull lighter from.
Blend softly with a stump or tissue, but don’t scrub. Keep edges of important features visible. If your sketch lines disappear completely, redraw them lightly. I do this several times.
Use curved shading on rounded areas like the chest and neck. Straight strokes can make a bird look like it’s carved from cardboard.
Step 3: Shading the Head
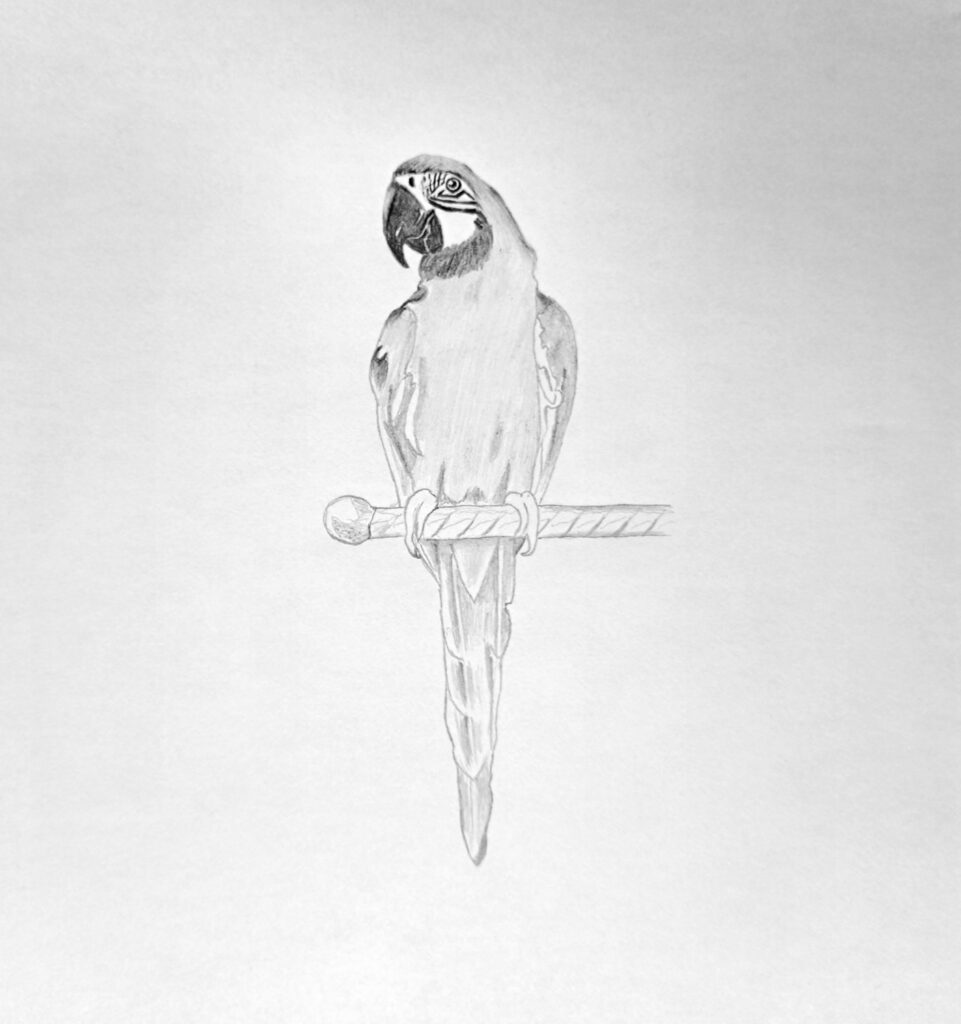
I always like to start with the most important part. When drawing a living thing, the head, including the eyes, gives it personality. For a parrot, the focus areas are the eyes, facial stripes, and the beak.
The Eye
The macaw eye is sharp, alert, and intense. Darken the pupil deeply while preserving a tiny highlight. Build a soft shadow around the eye socket so the eye sits inside the head rather than floating on it.
Feather Stripes
Blue and Yellow Macaws have pale facial skin crossed by delicate dark feather lines. These lines curve with the face, not like random scratches.
Use a sharp, soft pencil (4B or 6B) and light pressure. Shade the lines while spacing them naturally; that’s why a reference comes in handy.
The Beak
The upper beak curves strongly downward and overlaps the lower beak. Shade it with smooth tonal transitions.
Make the topside light to create the illusion of reflected shine. Around the mouth split line, leave a subtle highlight.
Step 4: Shade the Body (Dark Feathered Areas)
Now move into the torso and wing masses.
Don’t chase every feather yet. First, establish shadow families, the darker zones that define structure. These often include: underside of wing overlap, spaces between feather layers, and lower belly recesses.
When dark values go in early, the lighter feather textures make more sense later.
Use directional strokes that follow feather growth. On the chest, feathers may appear softer and fluffier. On wings, they become more ordered and layered.
Shade beneath the top feather edge to create lift.
Pro Tip: A common mistake is outlining each feather equally. Some edges vanish in light; others sharpen in shadow. Therefore, use value more than lines since real birds are built from light and shadow.
Step 5: Shade the Parrot Tail Wings
The long tail gives the macaw elegance. Tail feathers are smoother, longer, and more structured than body feathers. Use long controlled pencil strokes from base to tip. Let the graphite travel with the feather grain.
Darken the gaps where feathers overlap. Deep shadows between tail feathers create separation and realism. Remember to leave highlights for the shaft of the feather.
Now revisit your darkest darks across the drawing and make them deeper.
If you want to learn how to draw a single feather, check this great tutorial.
Step 6: Finalize by shading the Feet and the metallic bar
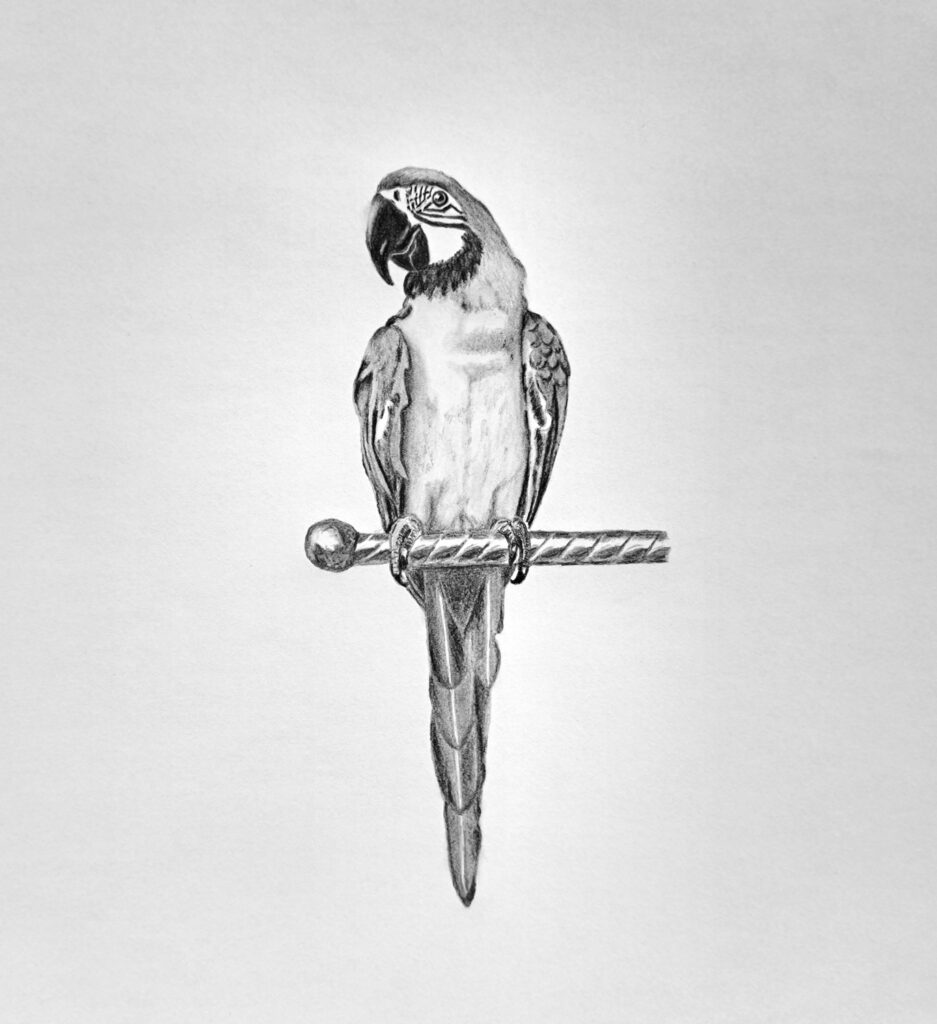
Parrot feet are wonderfully strange. Two toes forward, two backward, built for gripping branches and climbing. This zygodactyl foot structure is one reason parrots are such skilled climbers.
Draw each talon wrapping around the metal bar with clear pressure points. Where claw meets metal, add contact shadows. Also, try to make them scaly.
Metallic Bar
Metal reflects sharply compared with feathers.
Use cleaner highlights and firmer transitions. Add a cast shadow from the foot across the bar. If the bar is cylindrical, shade it with a smooth gradient.
Breast Feathers
Now soften the chest area using short, tapered strokes and gentle blending. These feathers should feel airy, layered, almost like fabric stirred by wind.
Pro Tip: Remember to vary the texture. For instance, the beak texture should differ from that of feathers, and the feet should differ from metal. If everything has the same pencil treatment, everything feels made of the same material. Secondly, bright, untouched paper can become the sparkle in the eye, the sheen on the beak, the shine on metal.
Here are my most recommended tutorials to inspire more ideas to draw:
- How to draw a bird (graphite)
- How to draw a bird (colored pencils)
- How to draw an owl
- How to draw a penguin
Conclusion
Congratulations on reaching this point!
I hope you’ve been able to create a beautiful artwork, courtesy of today’s tutorial. If you have, consider sharing with others (your artwork and this guide).
But most importantly, remember that parrots are vanishing before our eyes. But it doesn’t have to be this way.
Now is the time to act.
Donate today to help protect these incredible birds by supporting anti-poaching efforts, vital conservation programs, and habitat restoration globally.
You can also check out the World Parrot Trust to find out how you can contribute.